Diverter valve replacement

Introduction
Use this guide to replace the diverter valve in a 2007 - 2010 R56 Mini Cooper S.
1. Equipment
Gather the following equipment to complete this guide.
Some links below are affiliate links. I may earn a small commission at no extra cost to you. As an Amazon associate and eBay partner, I earn from qualifying purchases.
2. Removal
-
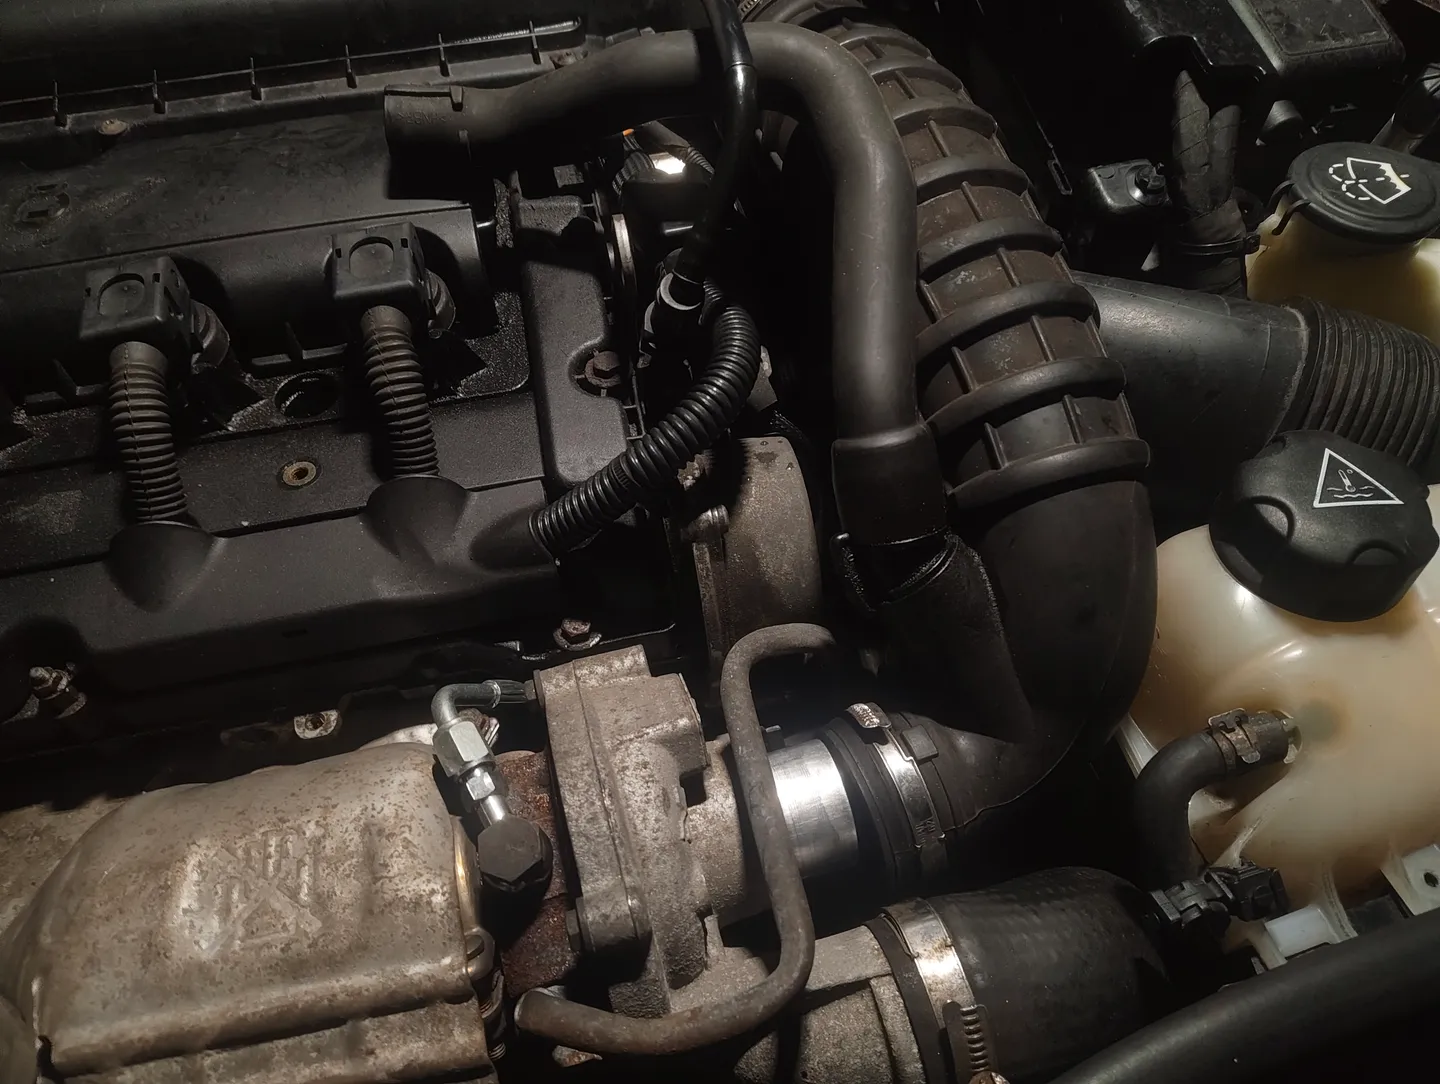
Loosen the hose clamp securing the top of the boost pipe to the air filter housing.
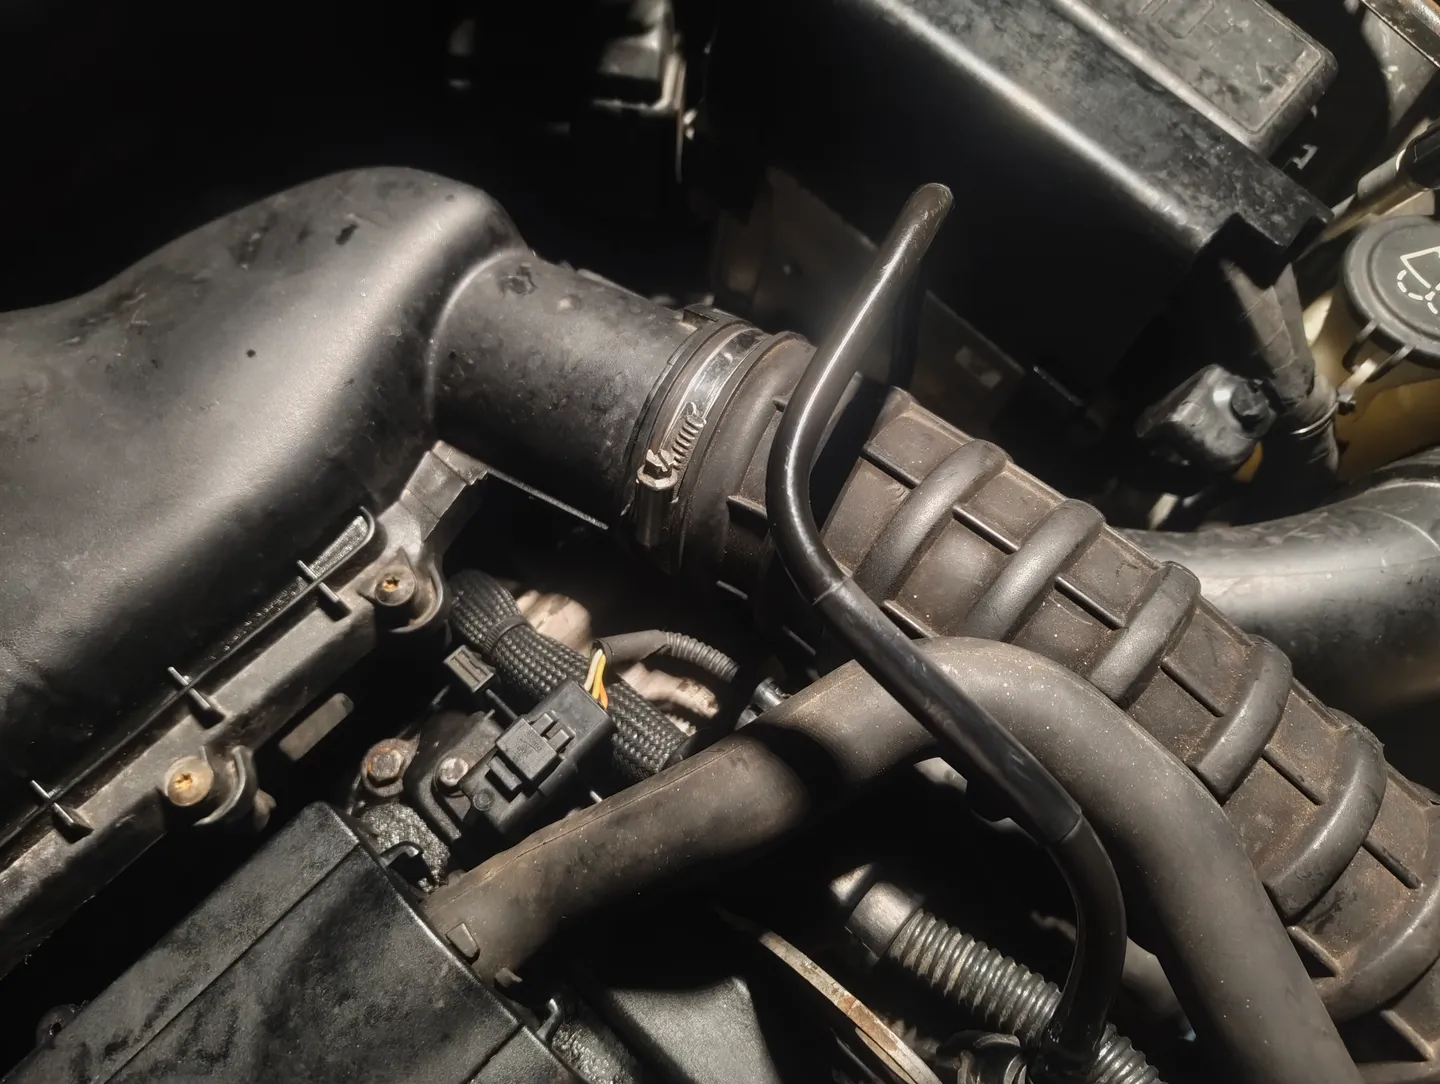

-
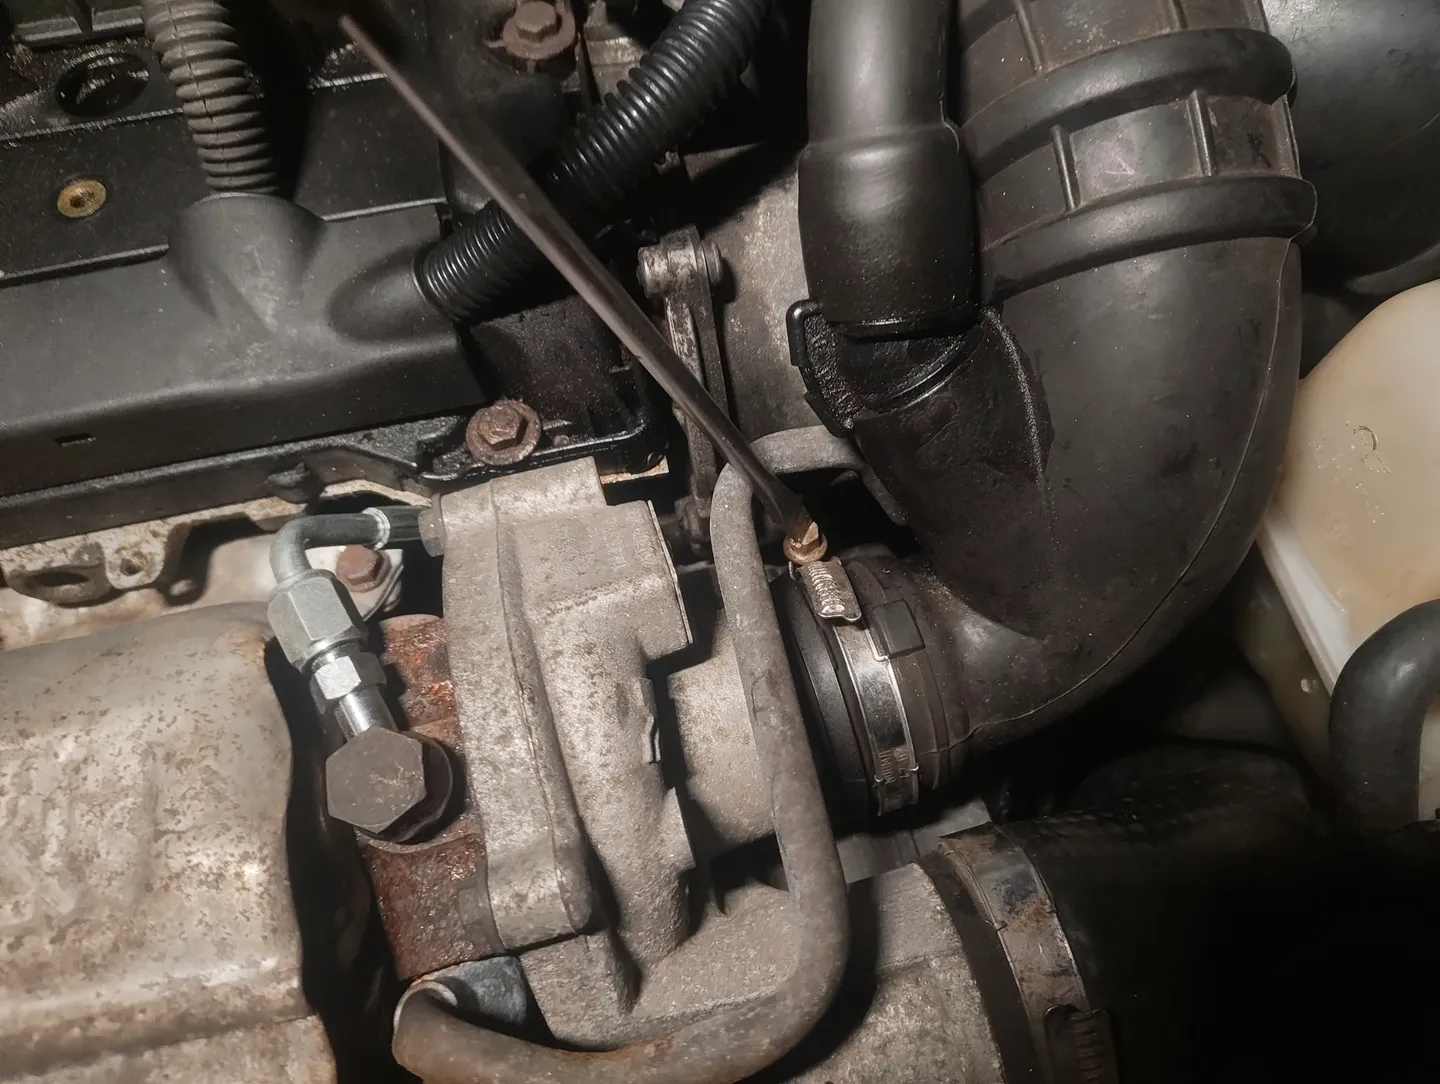
Loosen the hose clamp securing the bottom of the boost pipe to the turbo.
-
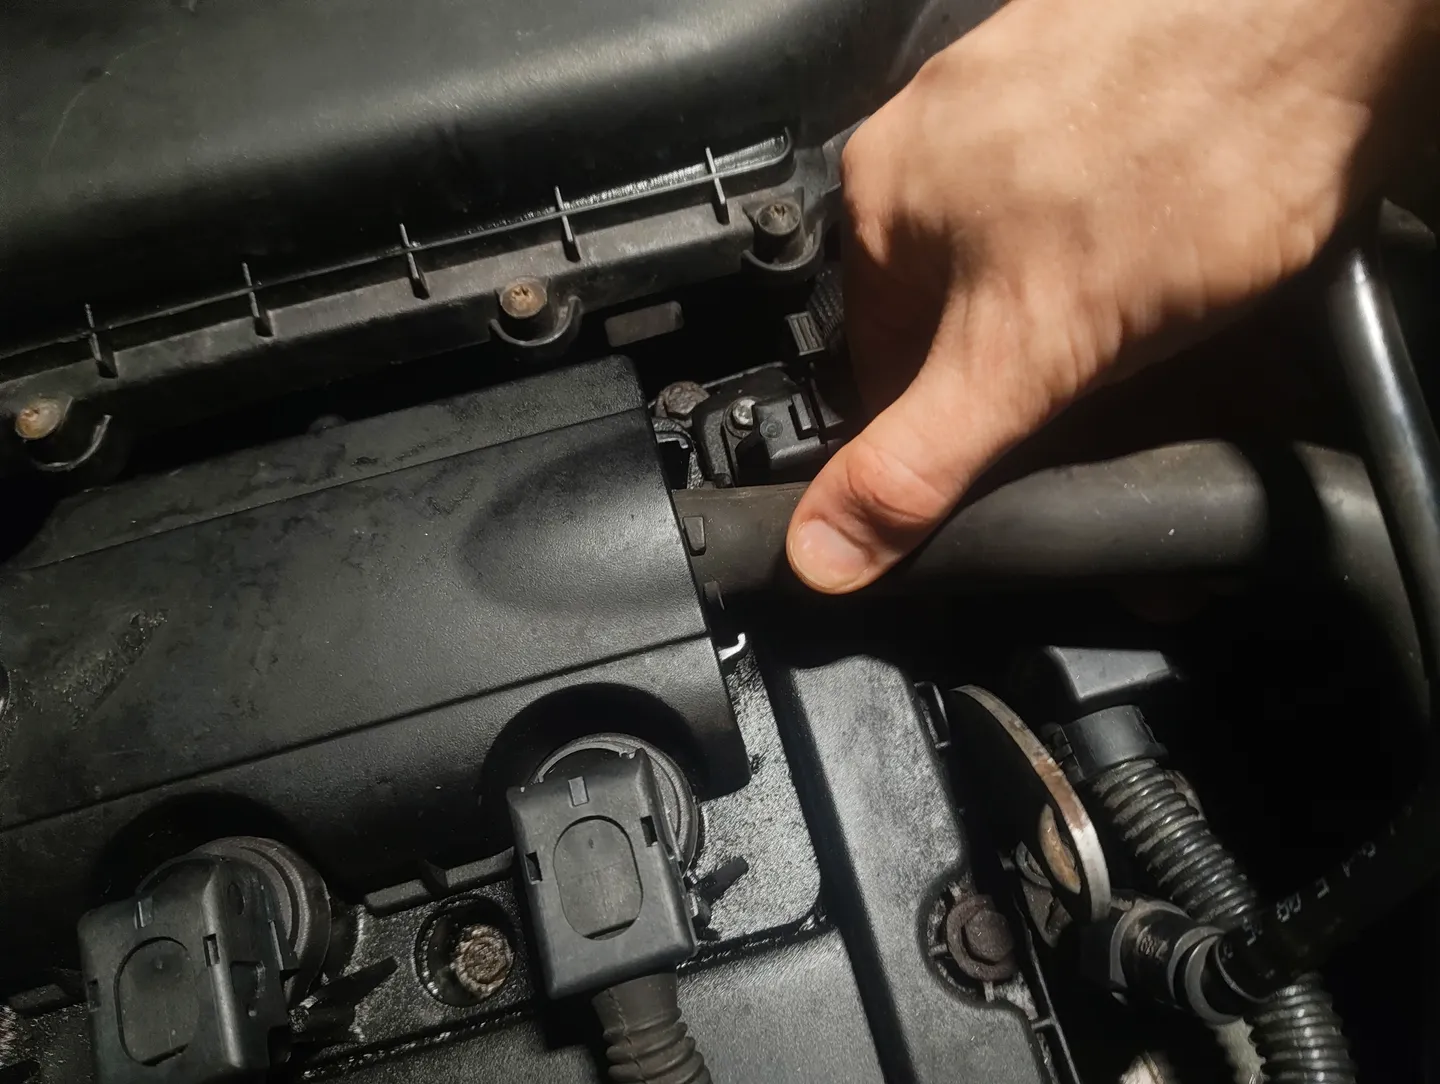
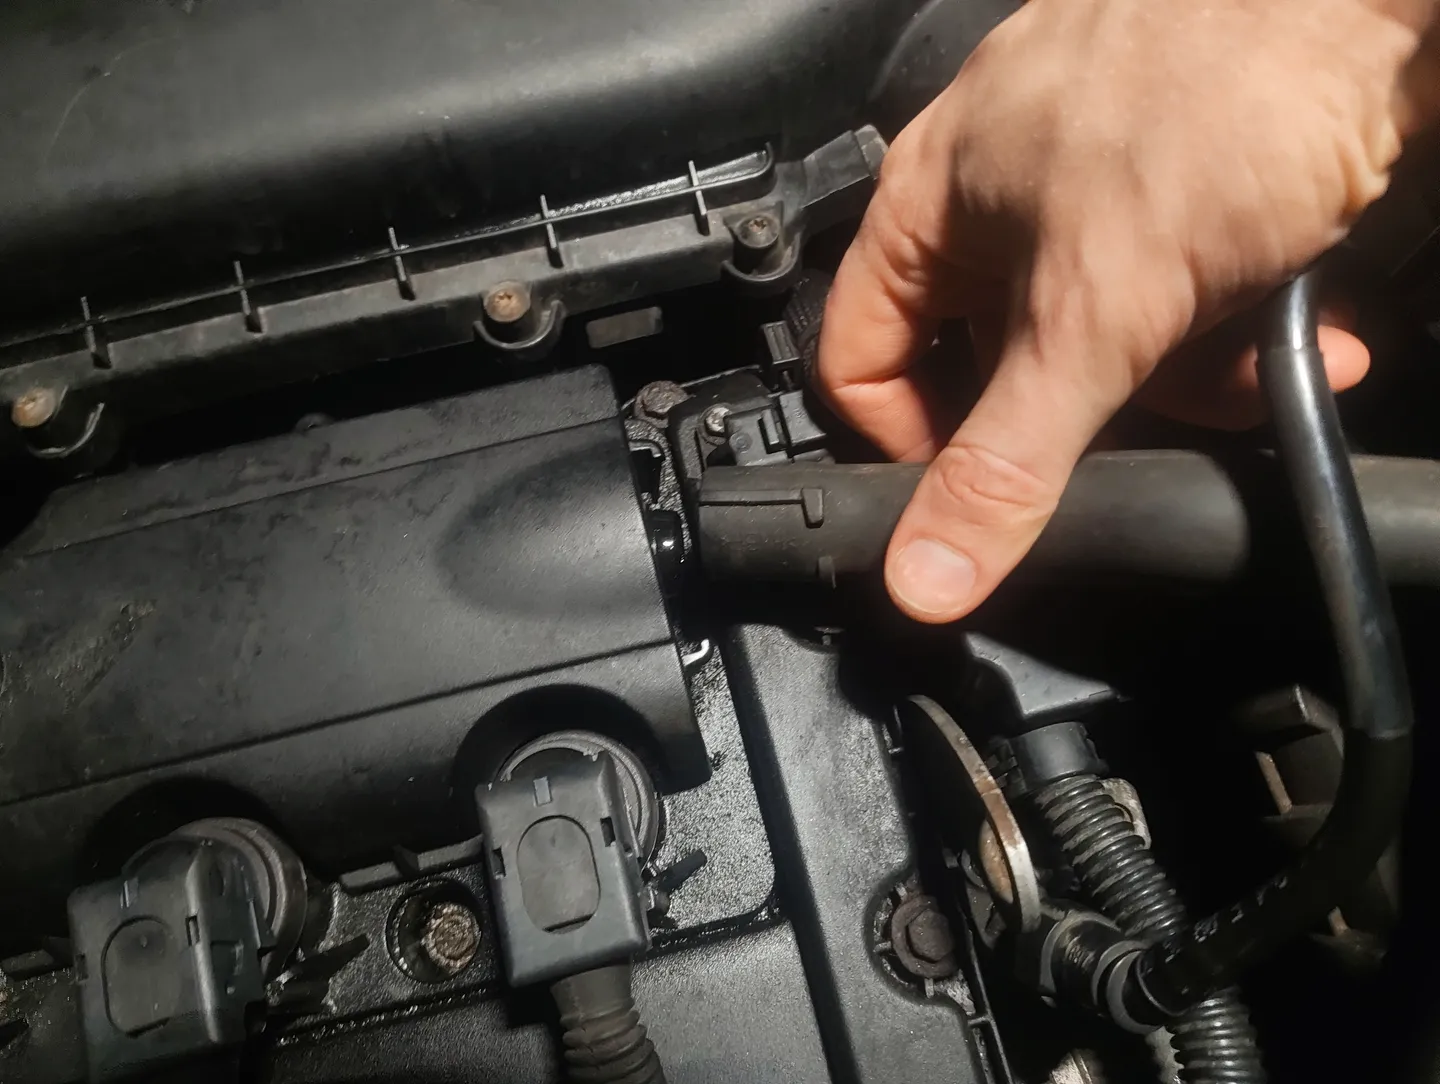
Remove the smaller boost hose feeding into valve cover.

-
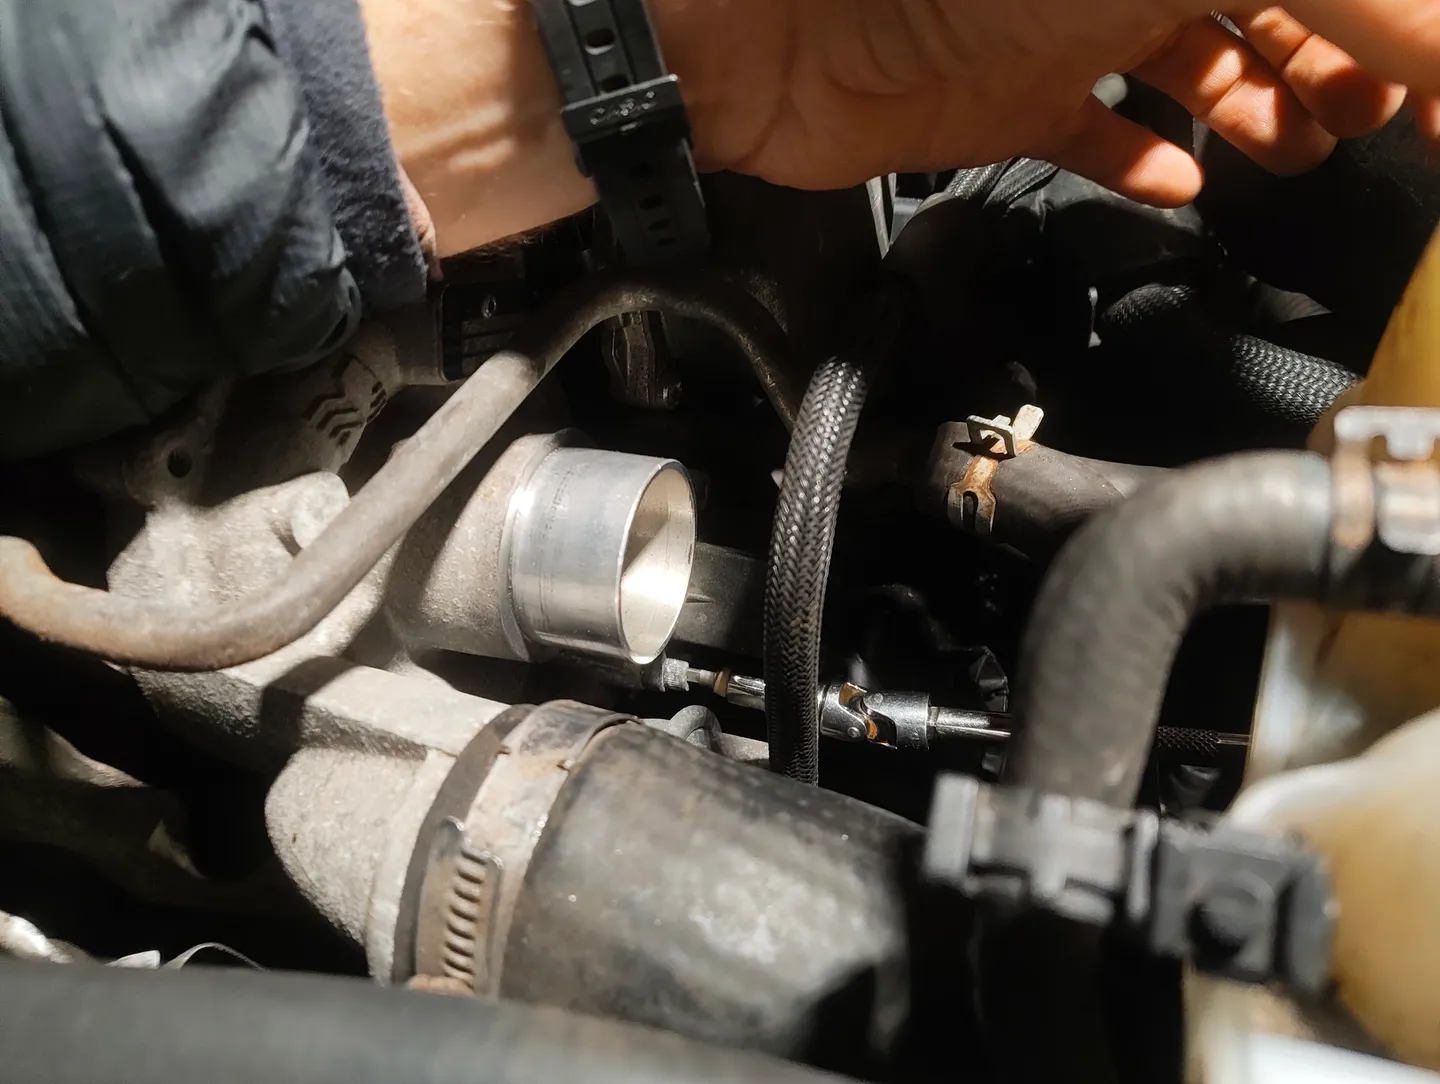
Starting with the lower boost pipe connection completely remove and set aside the boost pipe.
-
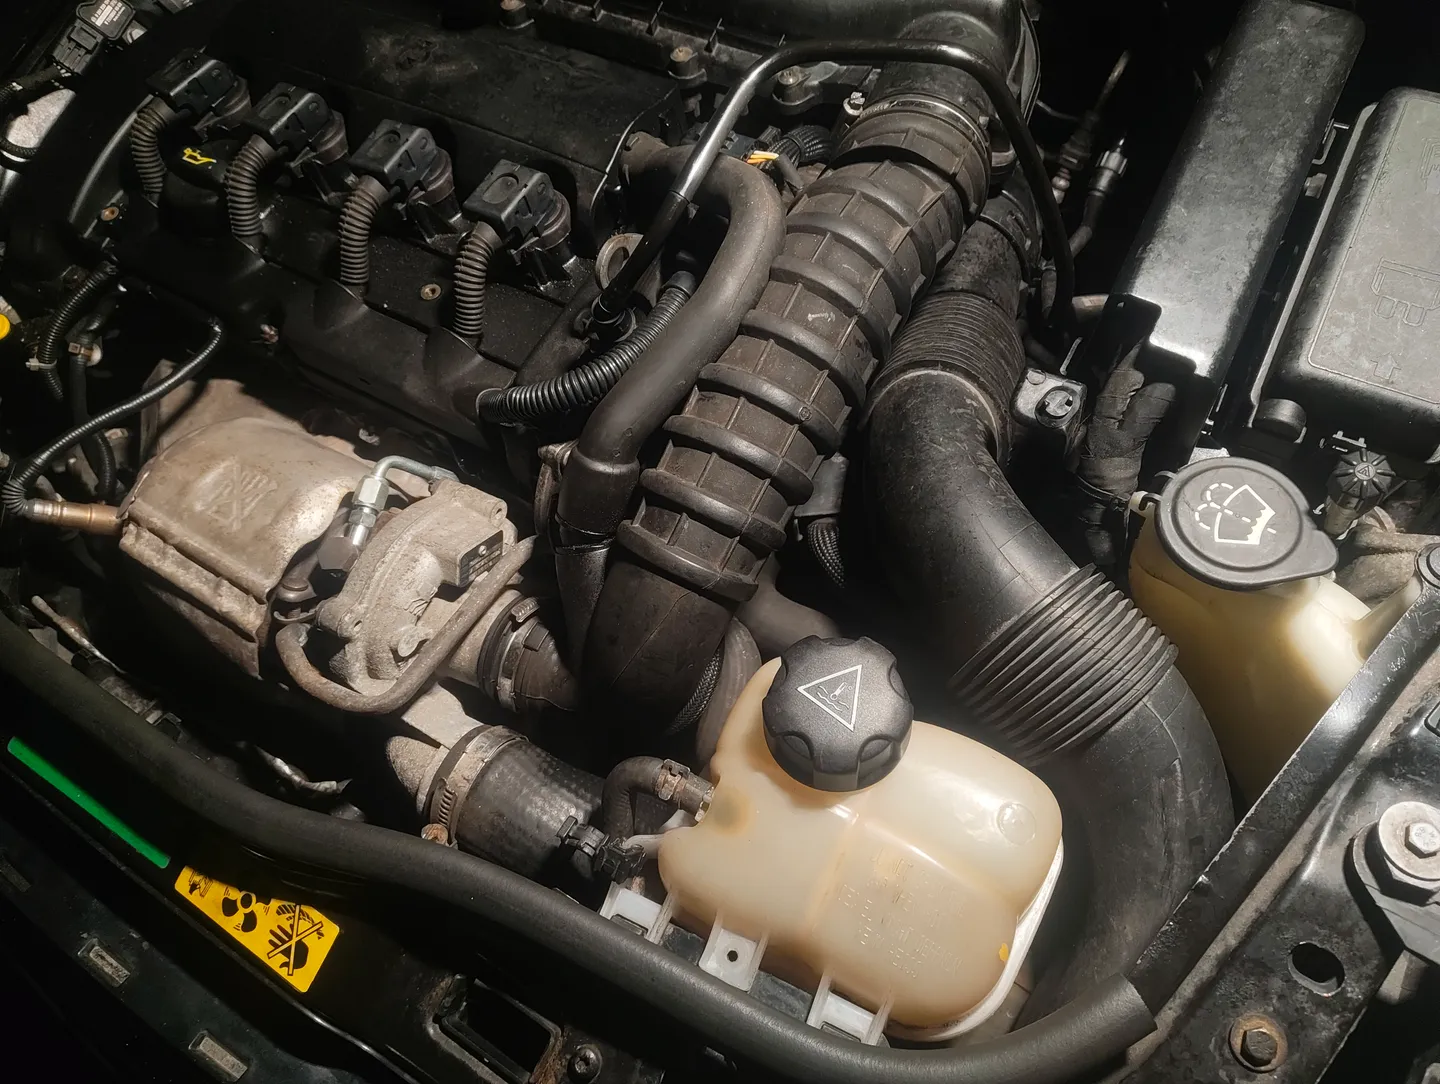
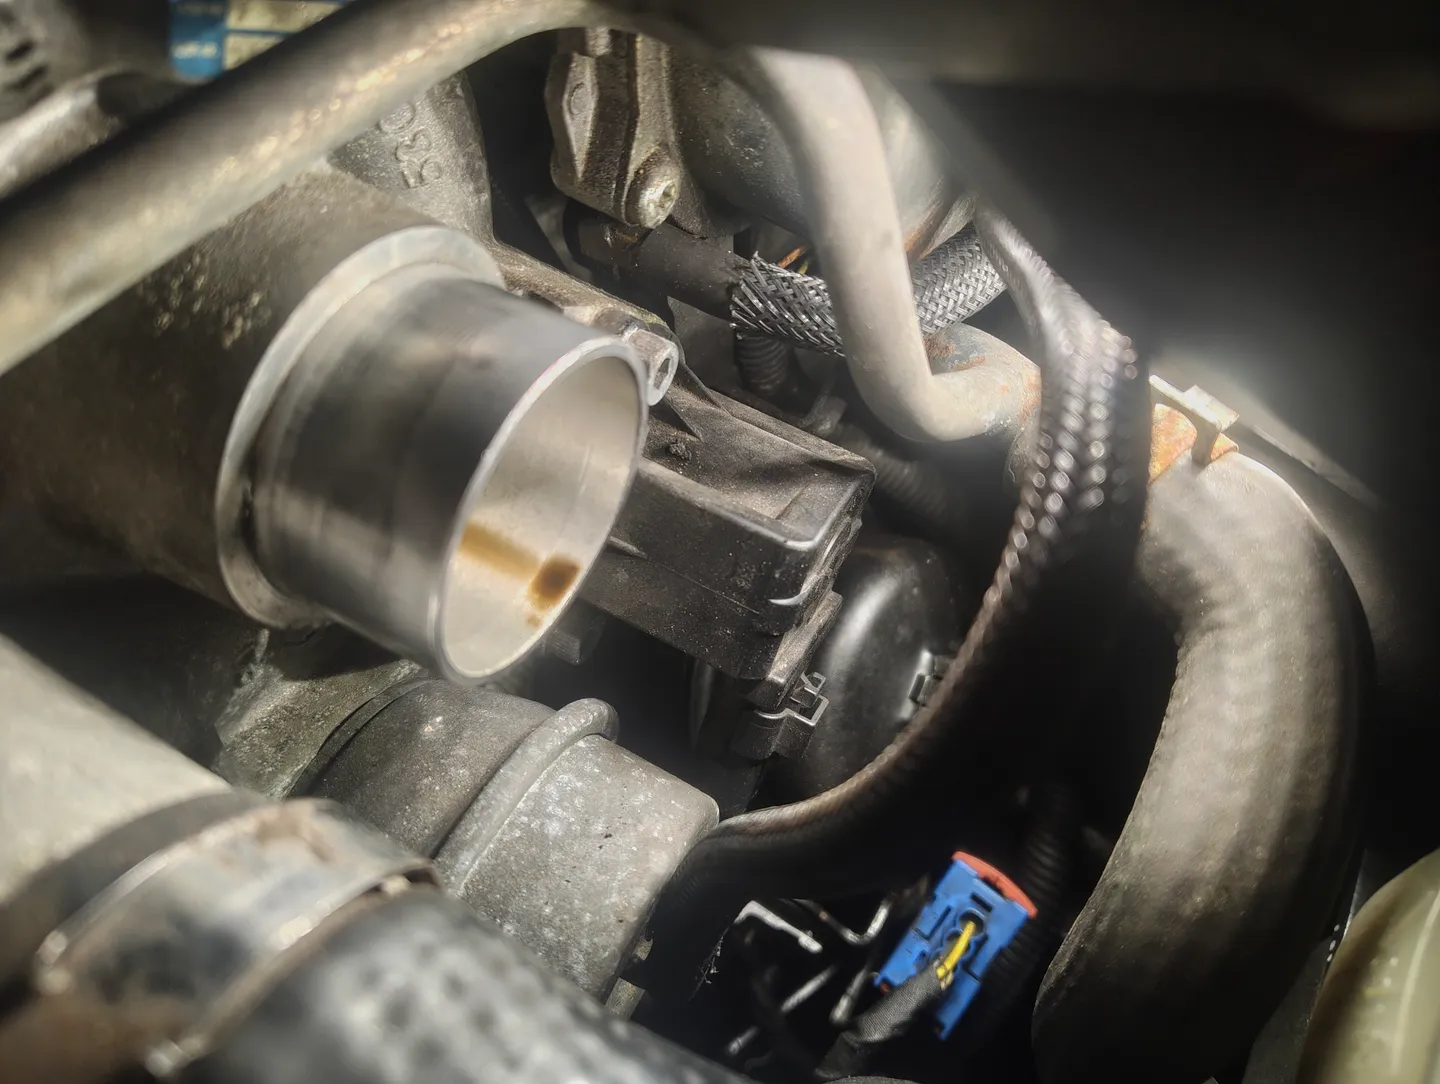
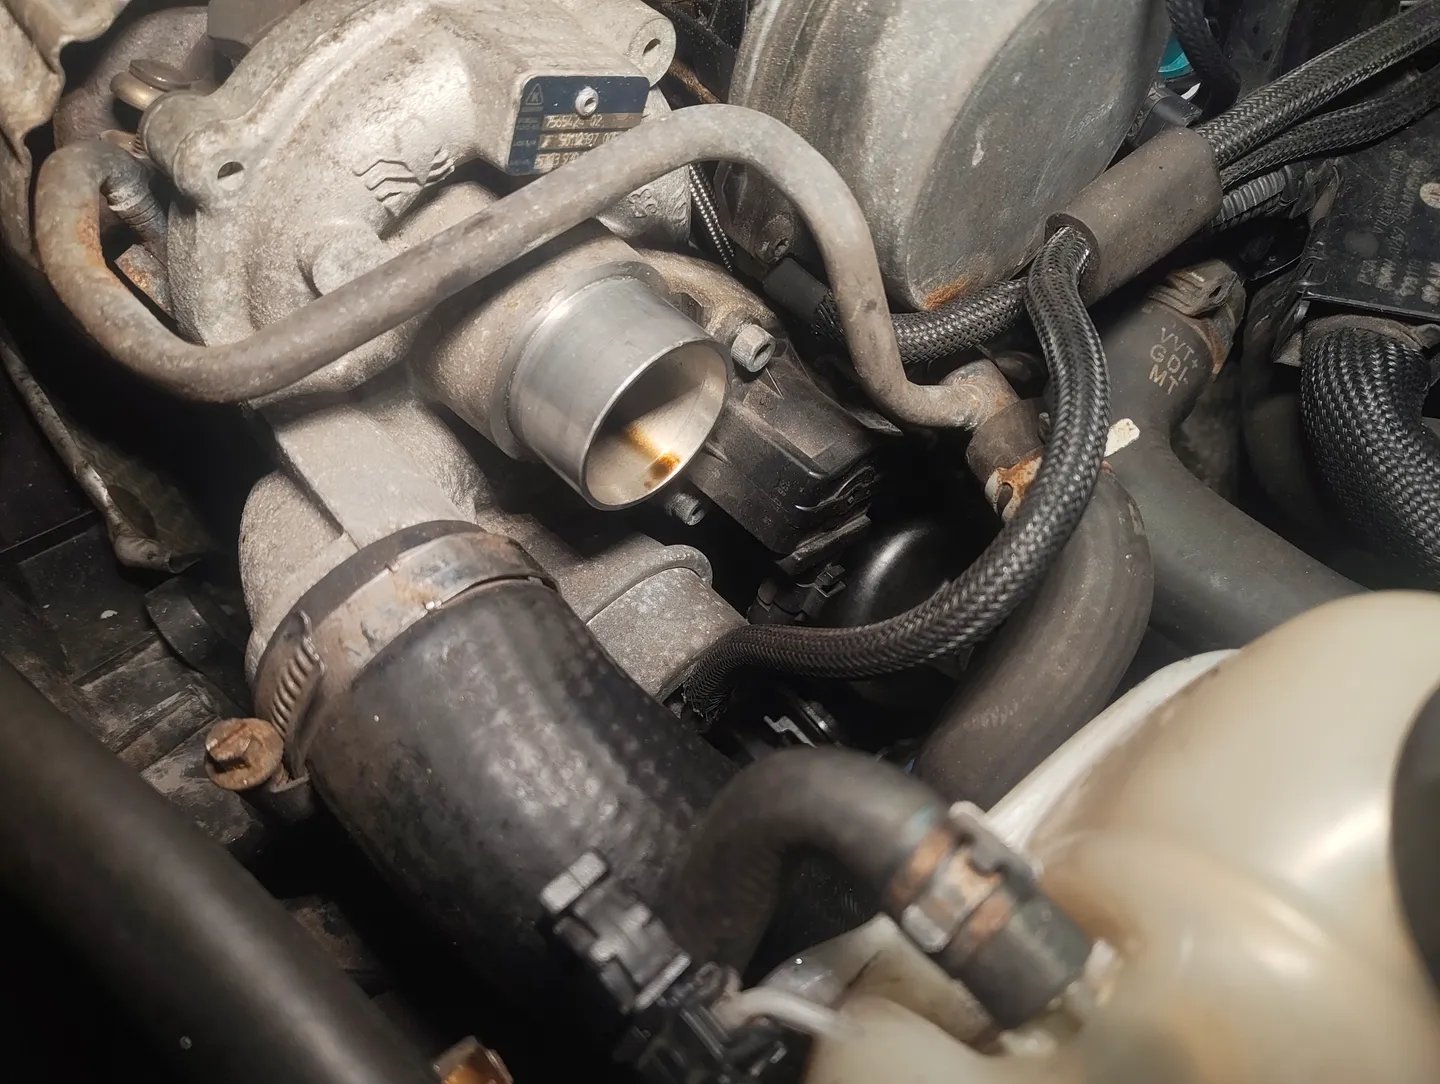
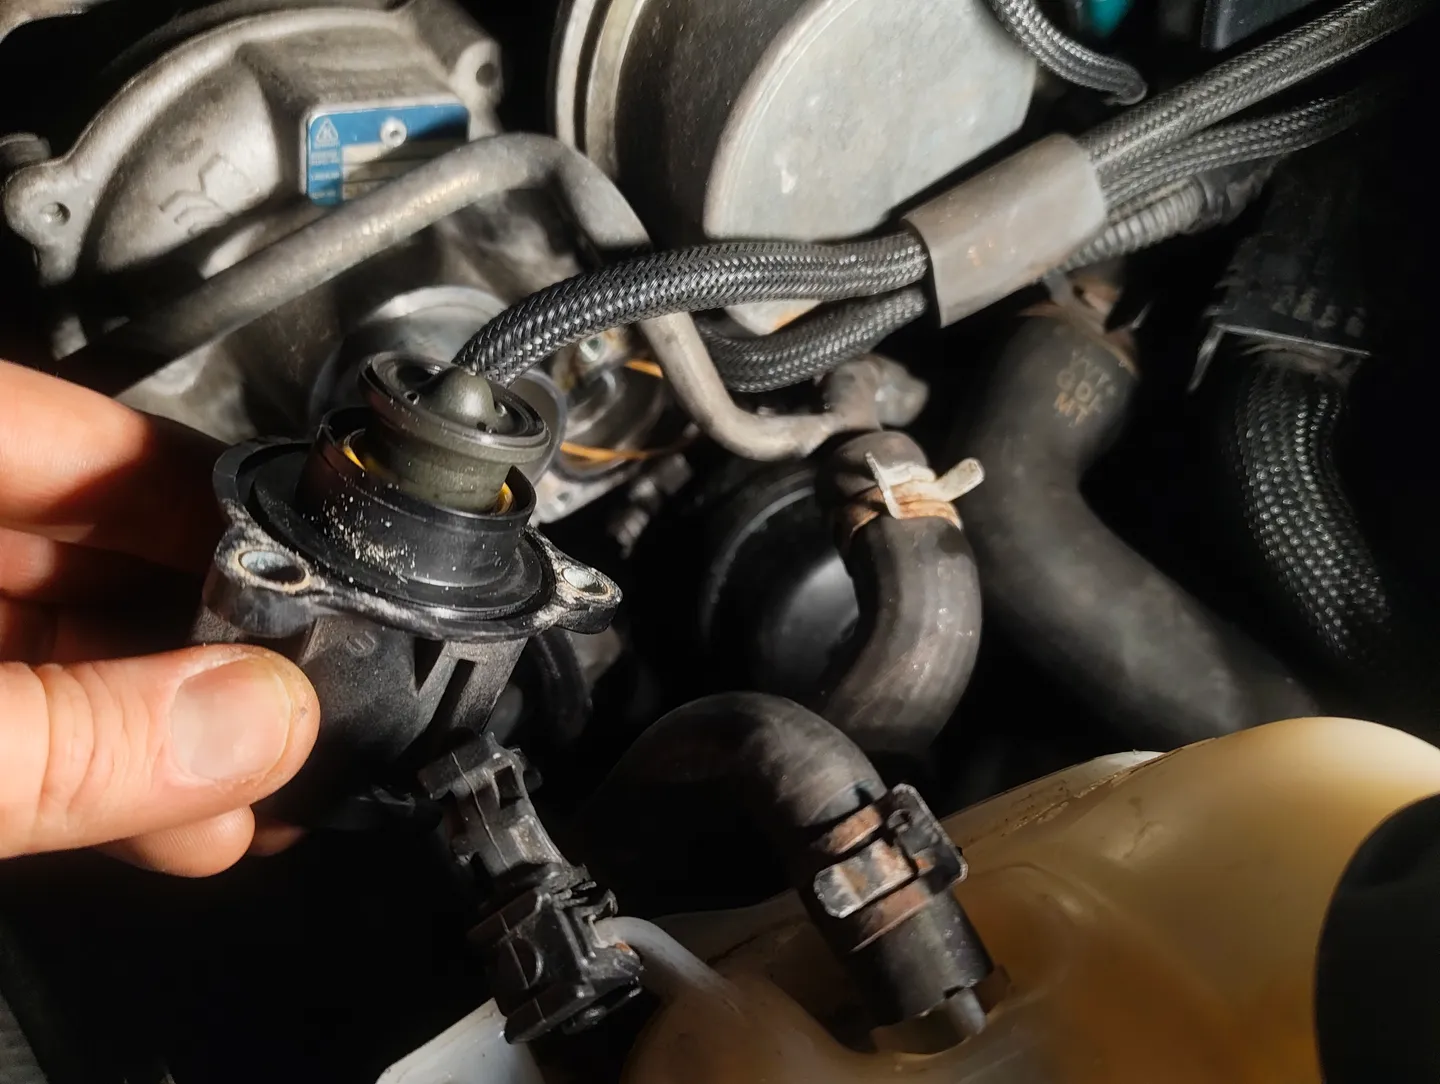
You should now have a clear view of the diverter valve.
Unplug the connector using a small flathead screwdriver.
-
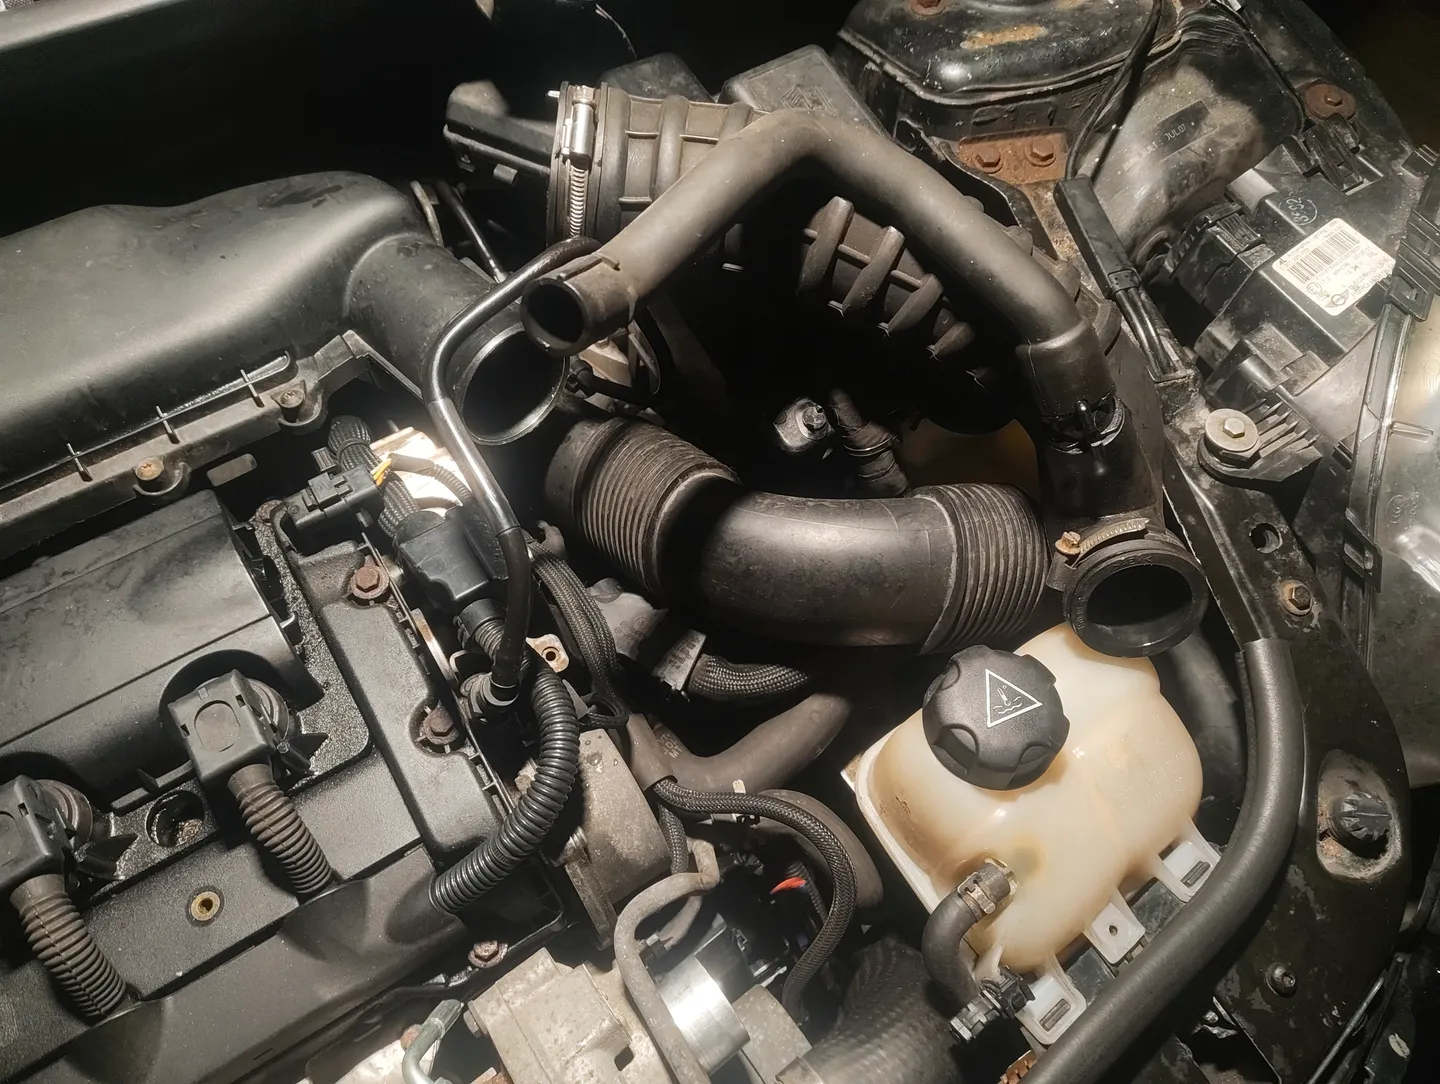
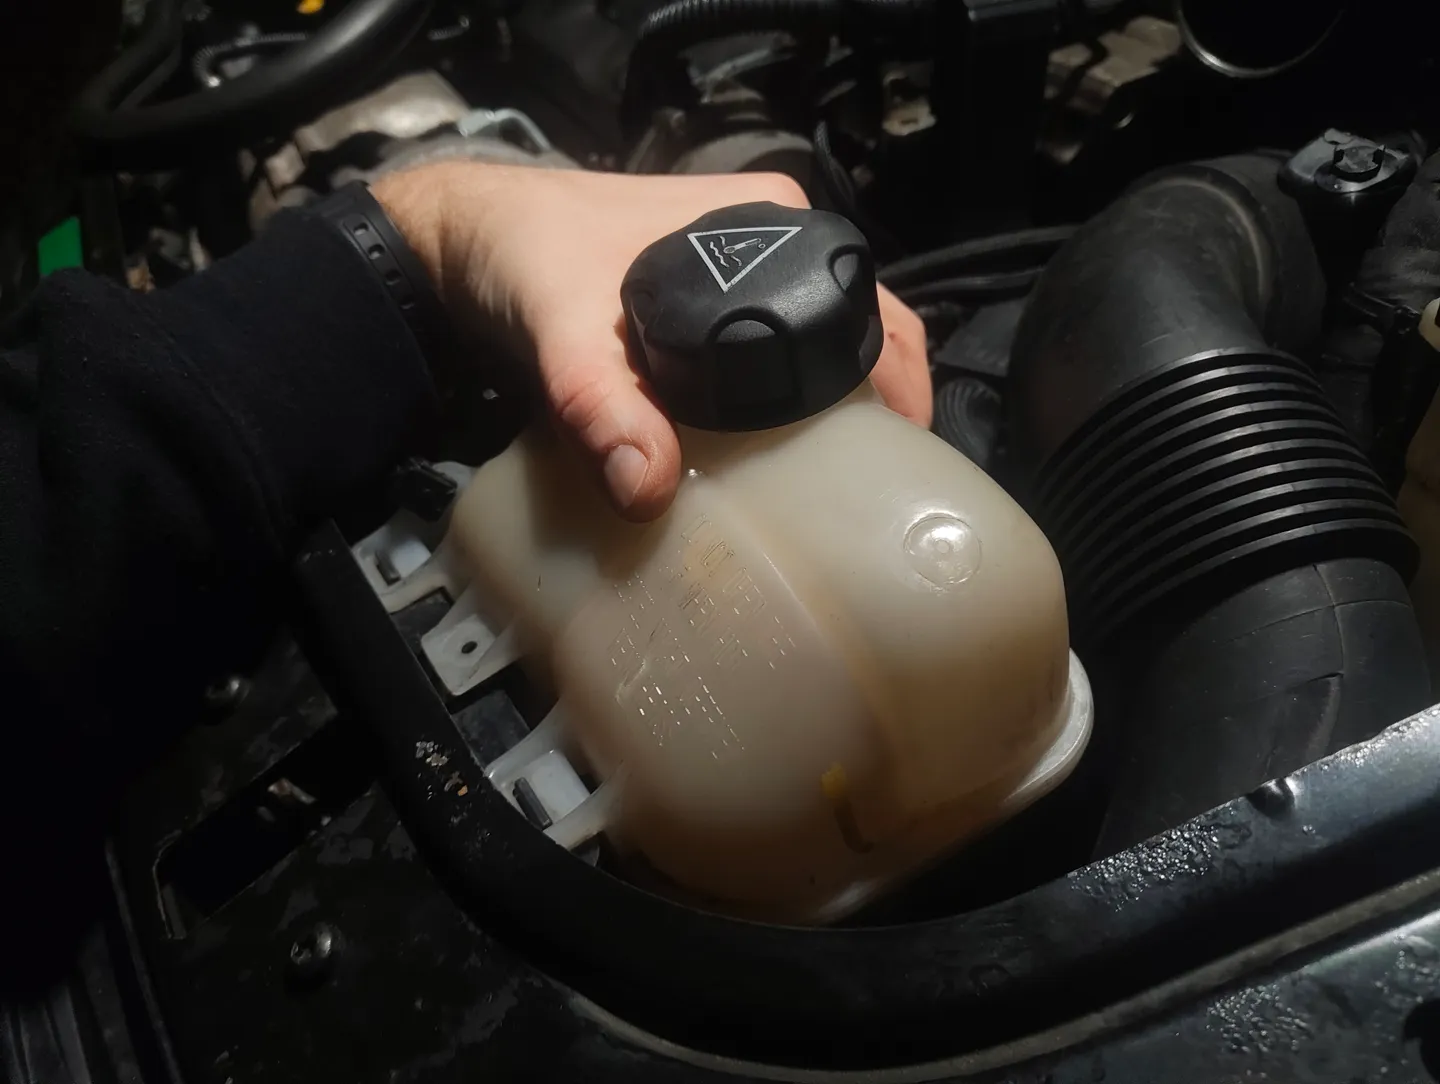
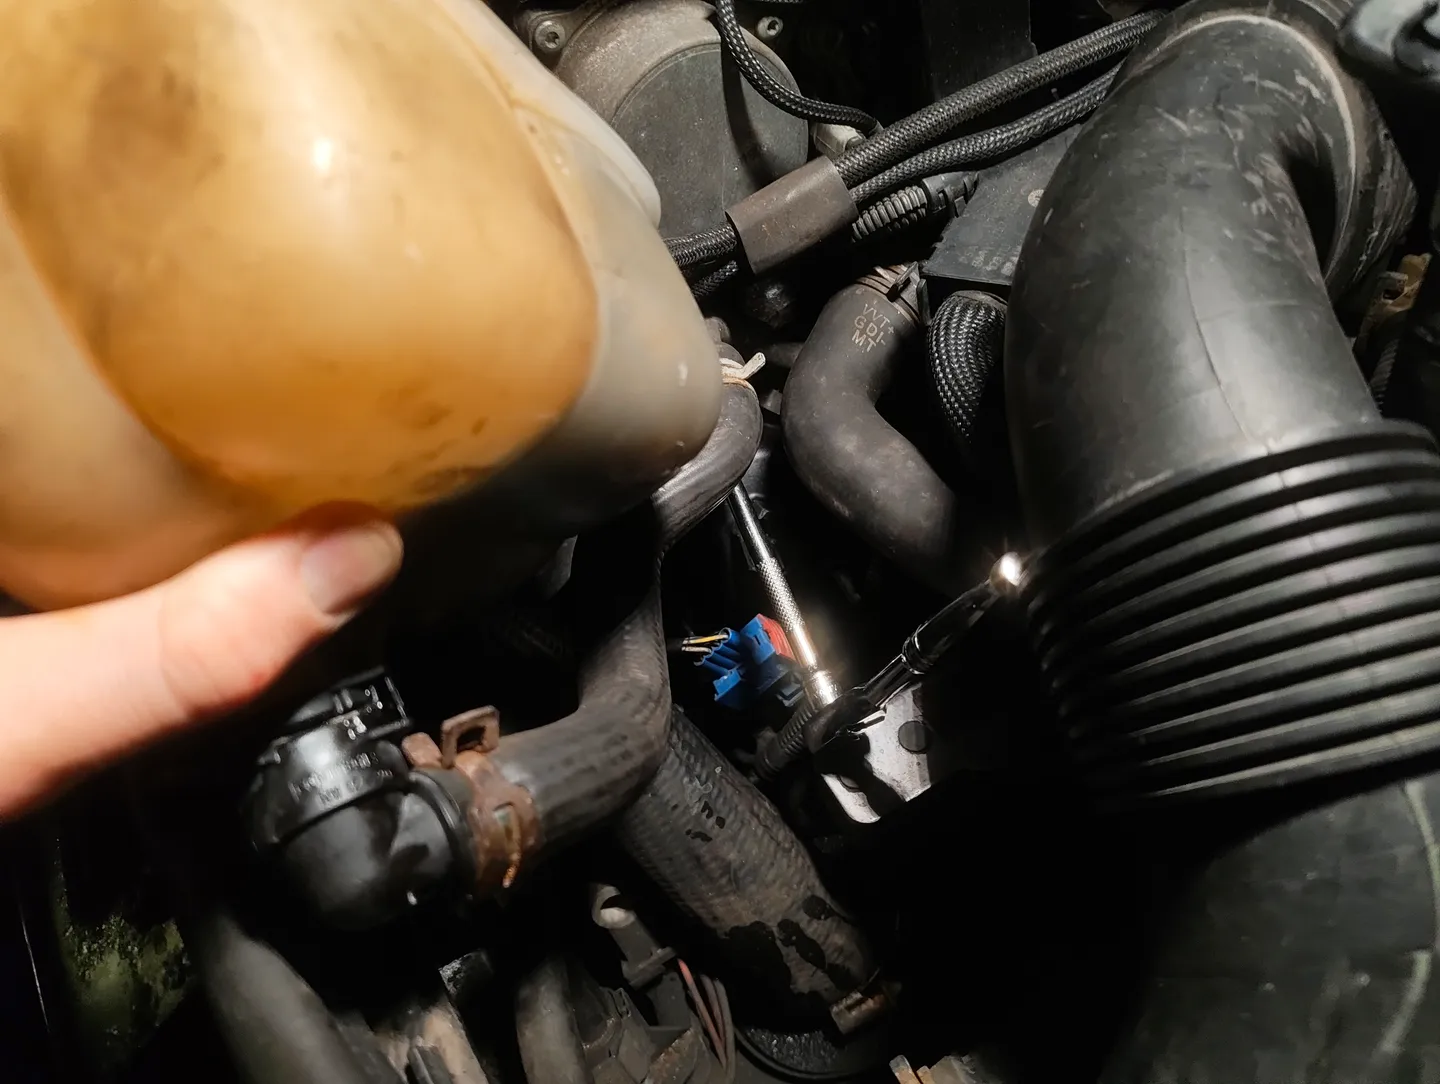
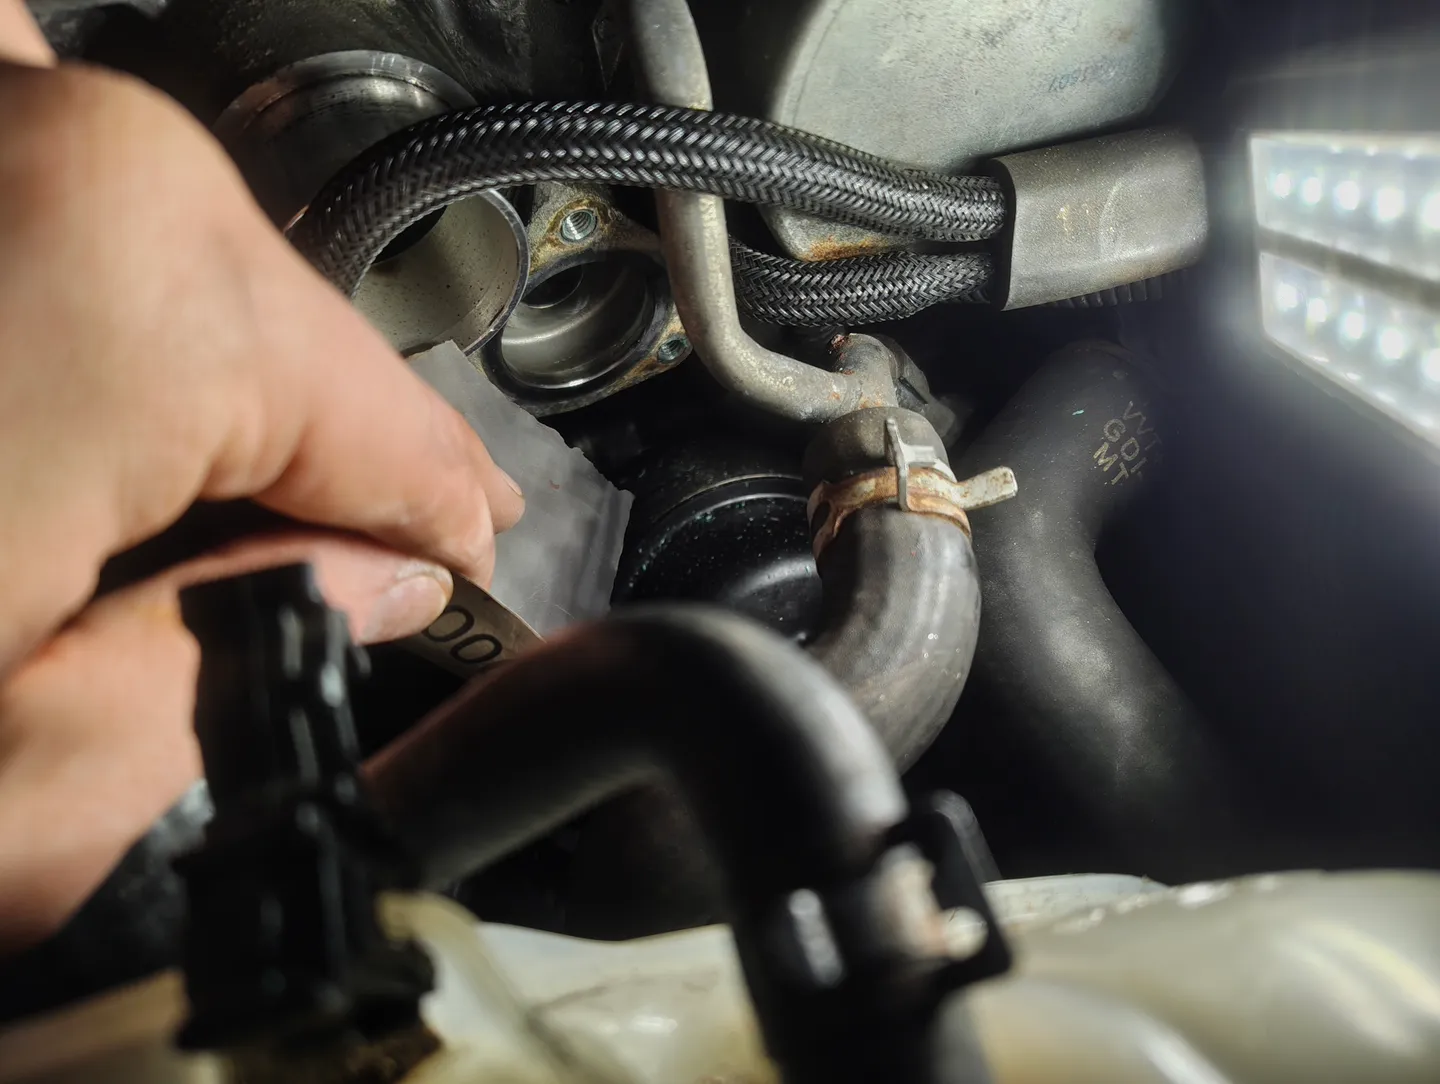
Prior to unbolting, unclip and rest the coolant reservoir.
-
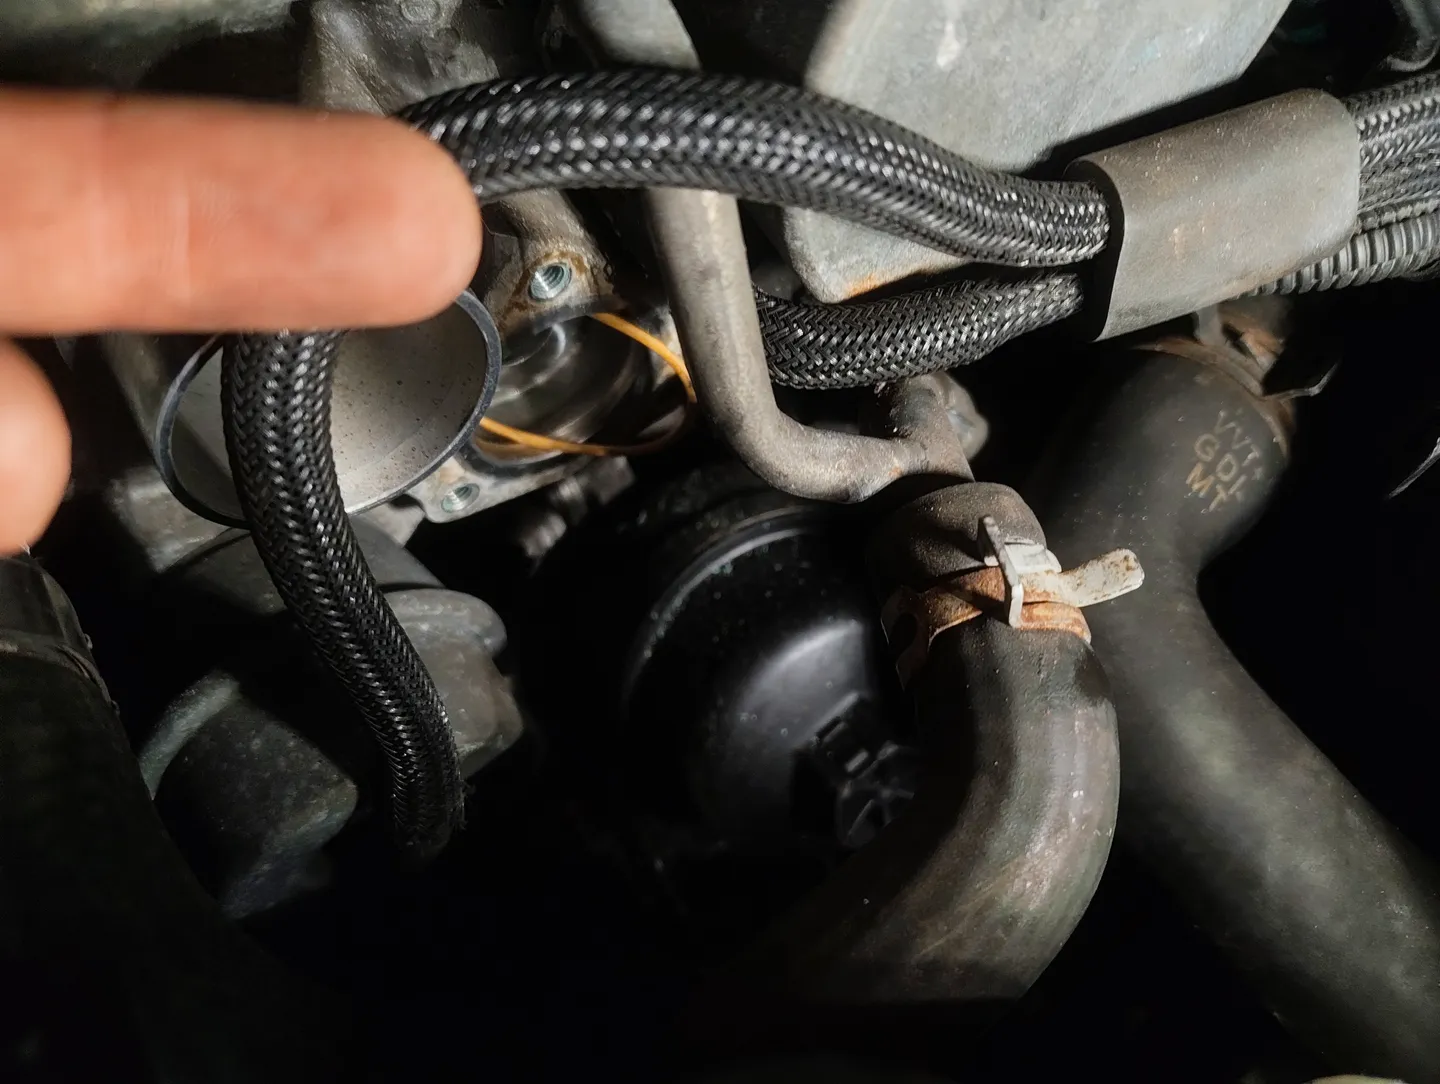
Two bolts are located on the left side and another hidden on the bottom right.
-
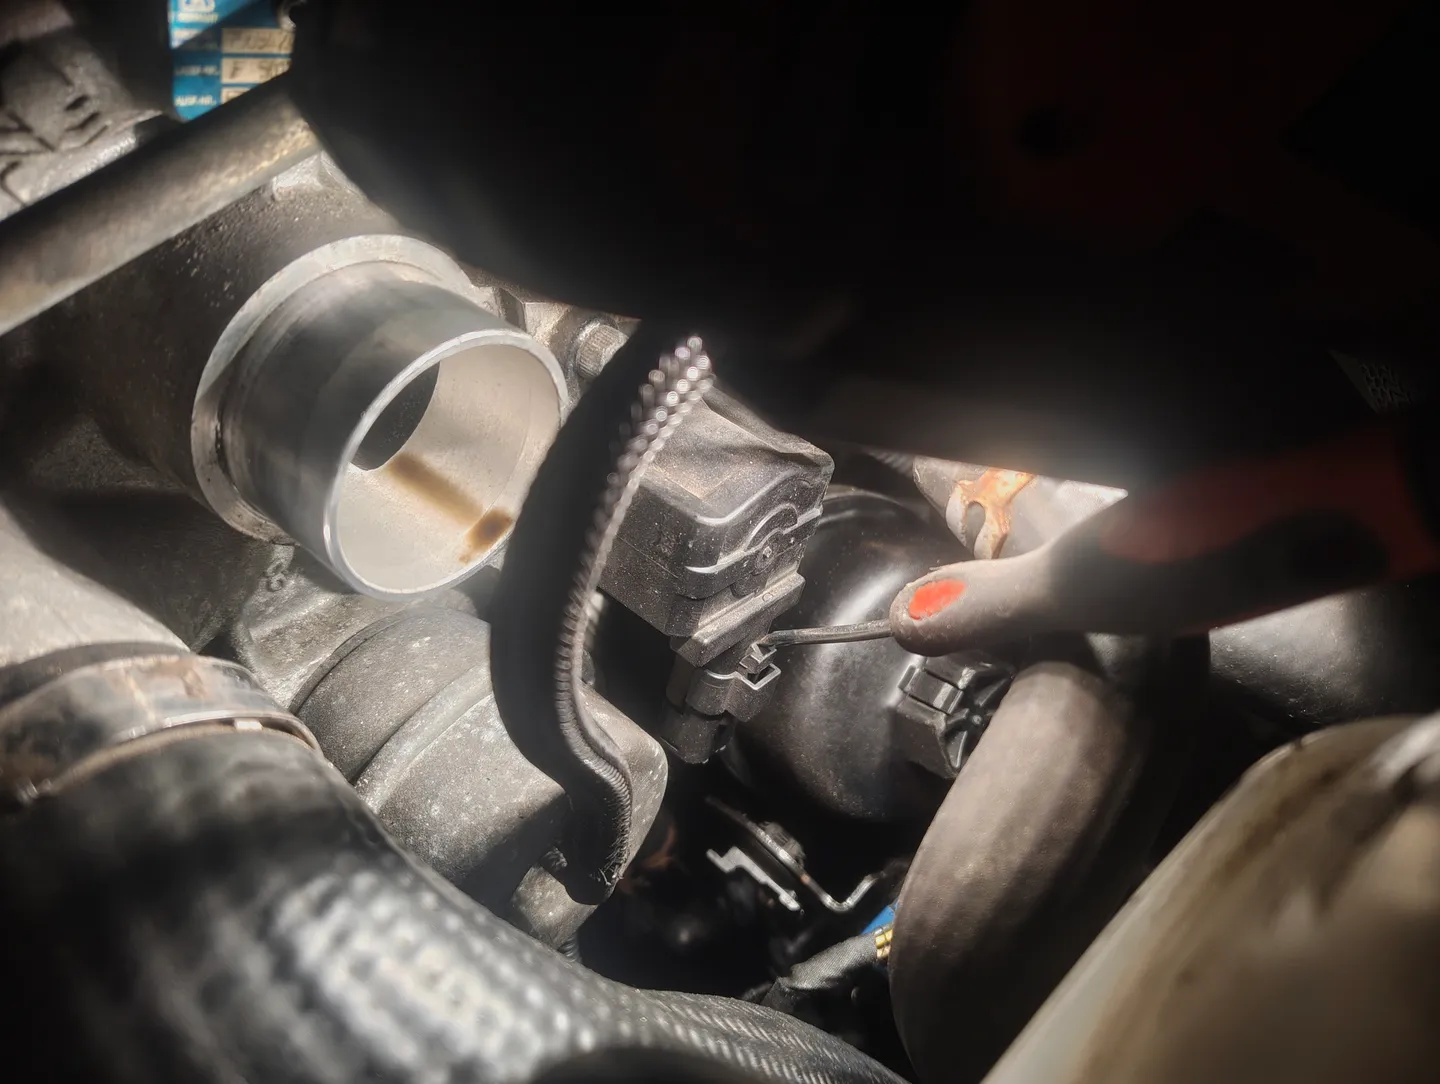
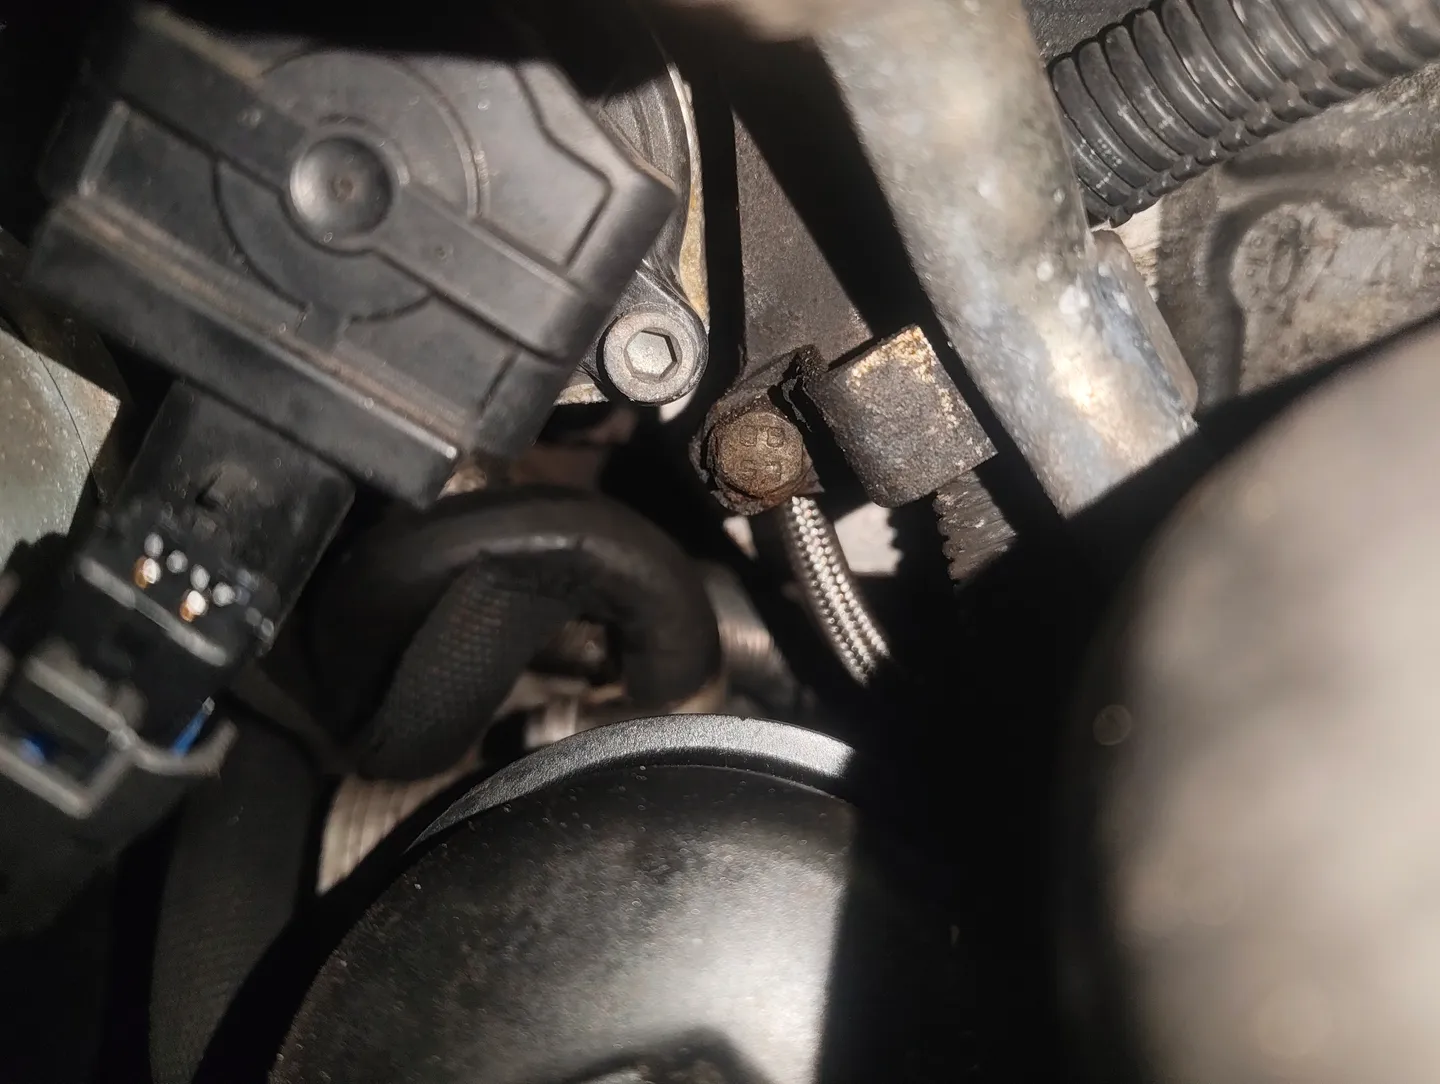
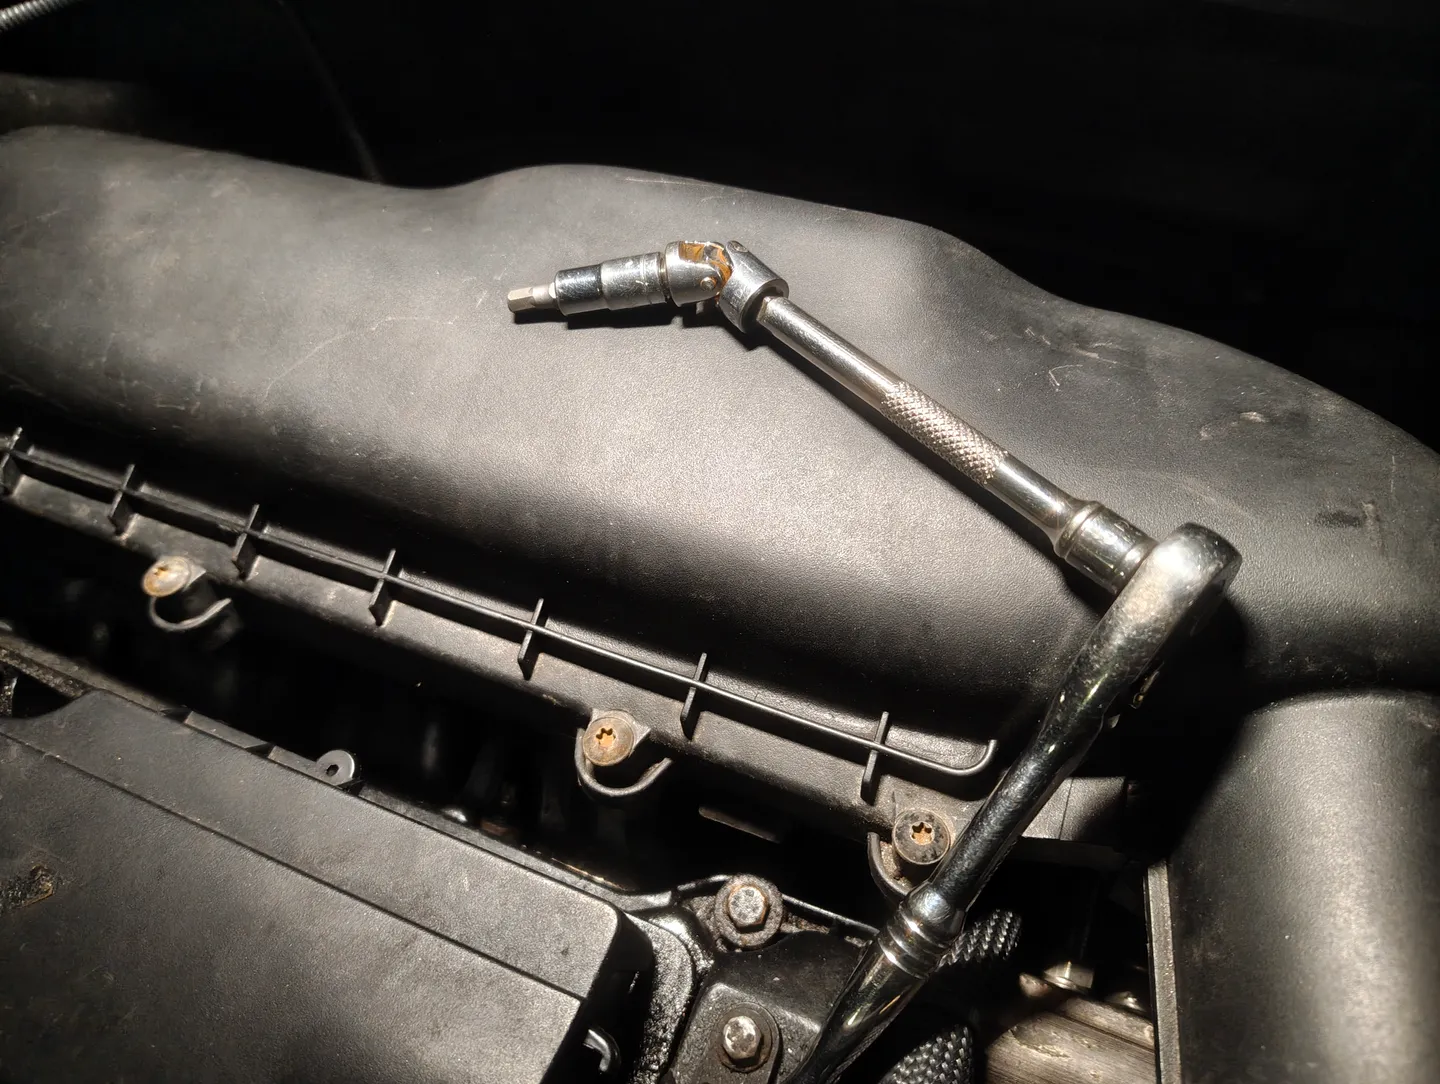
Grab your 1/4 ratchet, extension, swivel adapter and 5mm hex socket and piece them together.
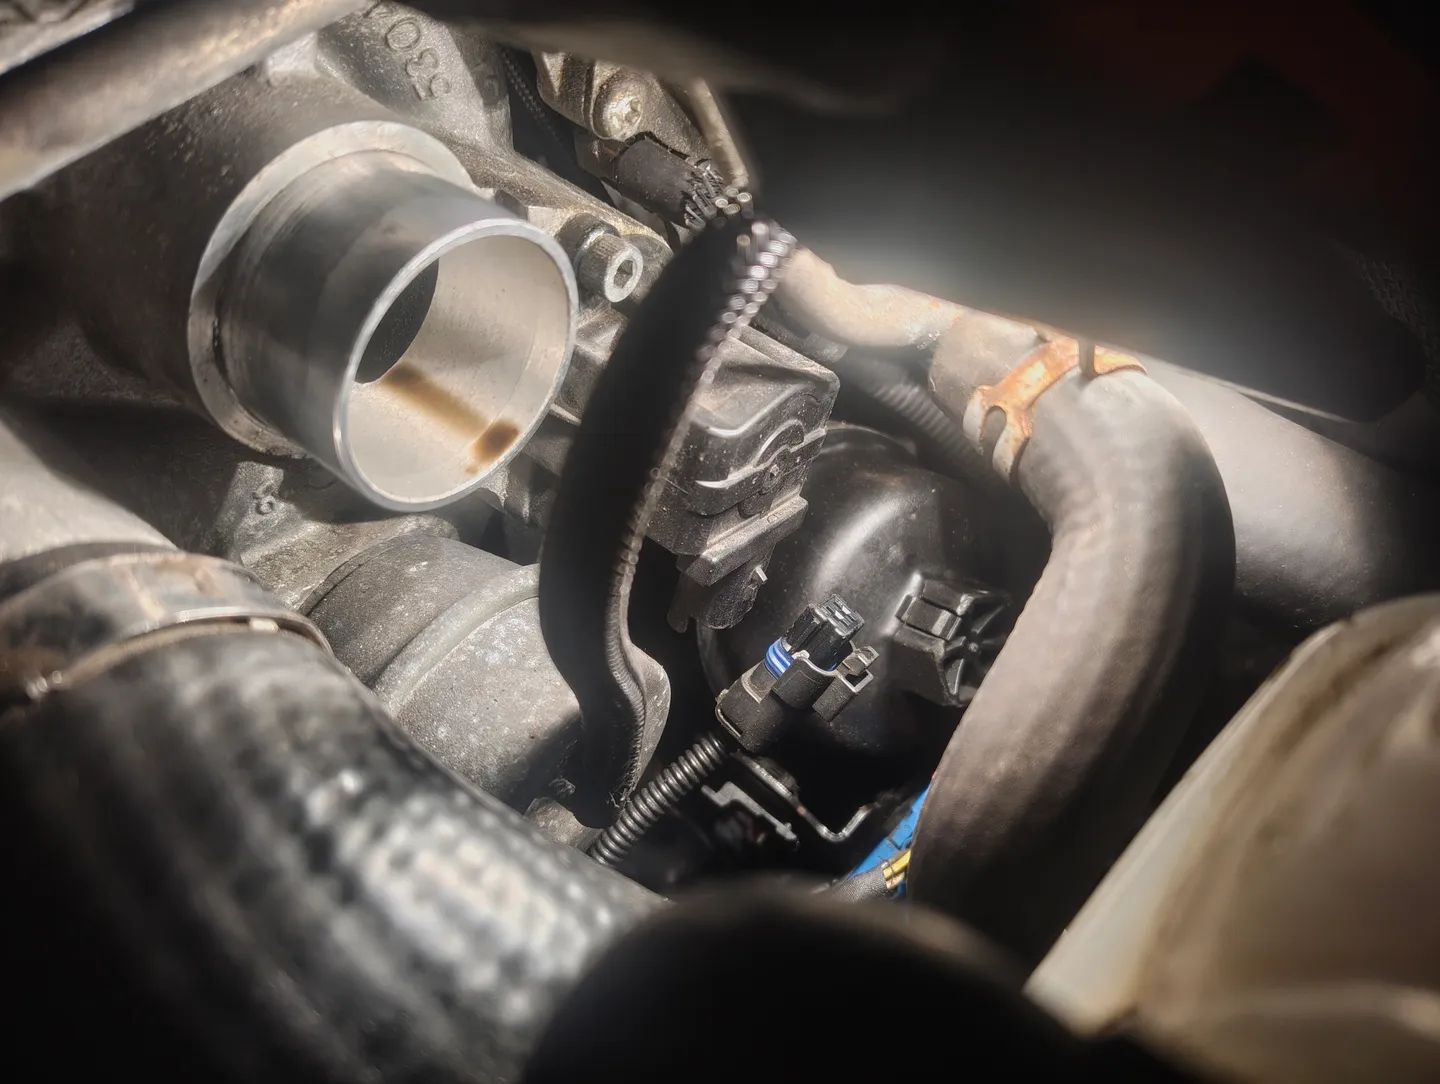
Unscrewing the top bolt should be fairly straight forward but bottom left and right are finicky, I've shown you the positions I used in the below images.
You'll have to maneuvor the coolant reservoir but careful not to snap the bottom reservoir connector, it might start leaking a little but that's fine.
-
Once all bolts are removed, retrieve the valve and the o-ring if it came off.
3. Cleaning
-
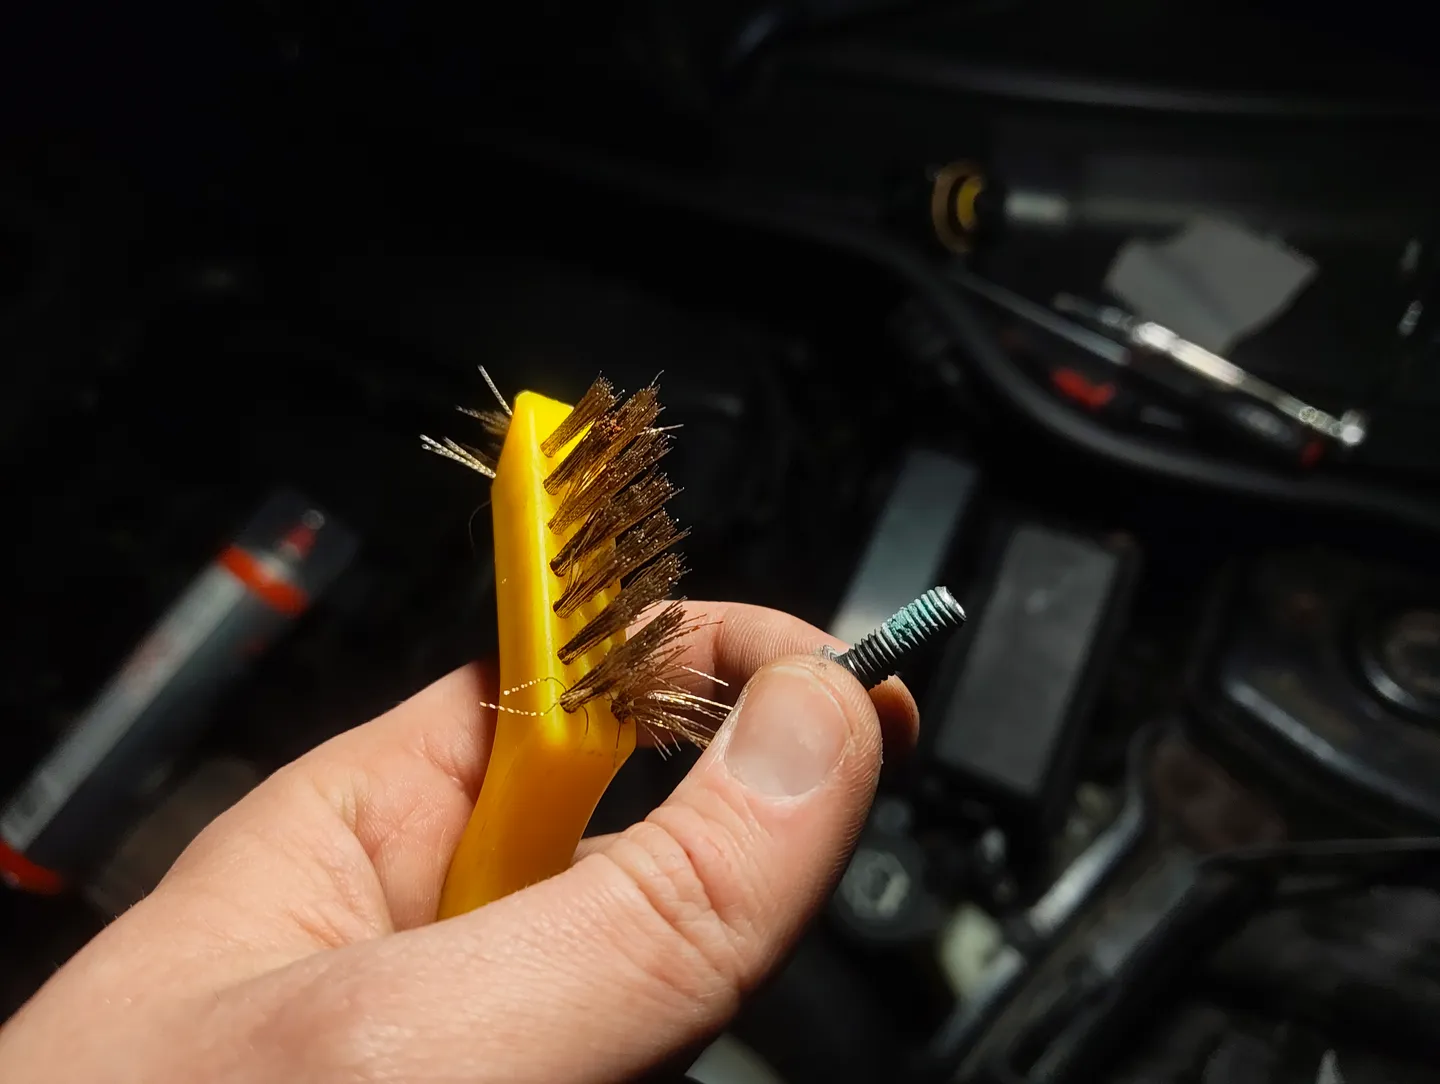
Scrub the corrosion off the bolts with a wire brush.
-
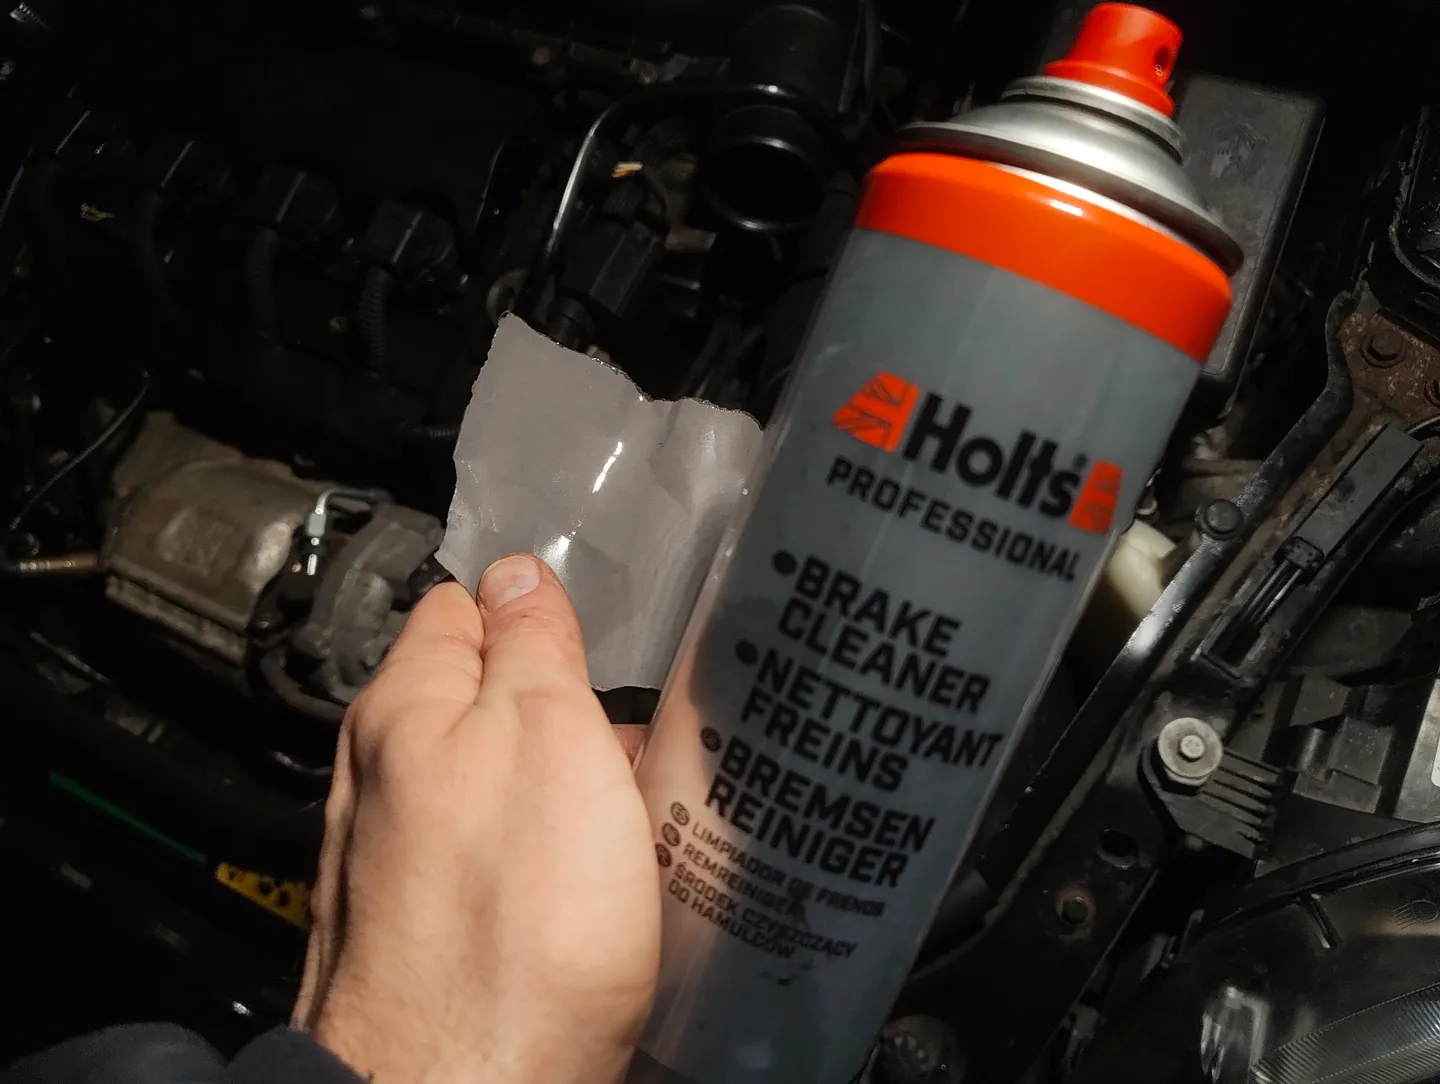
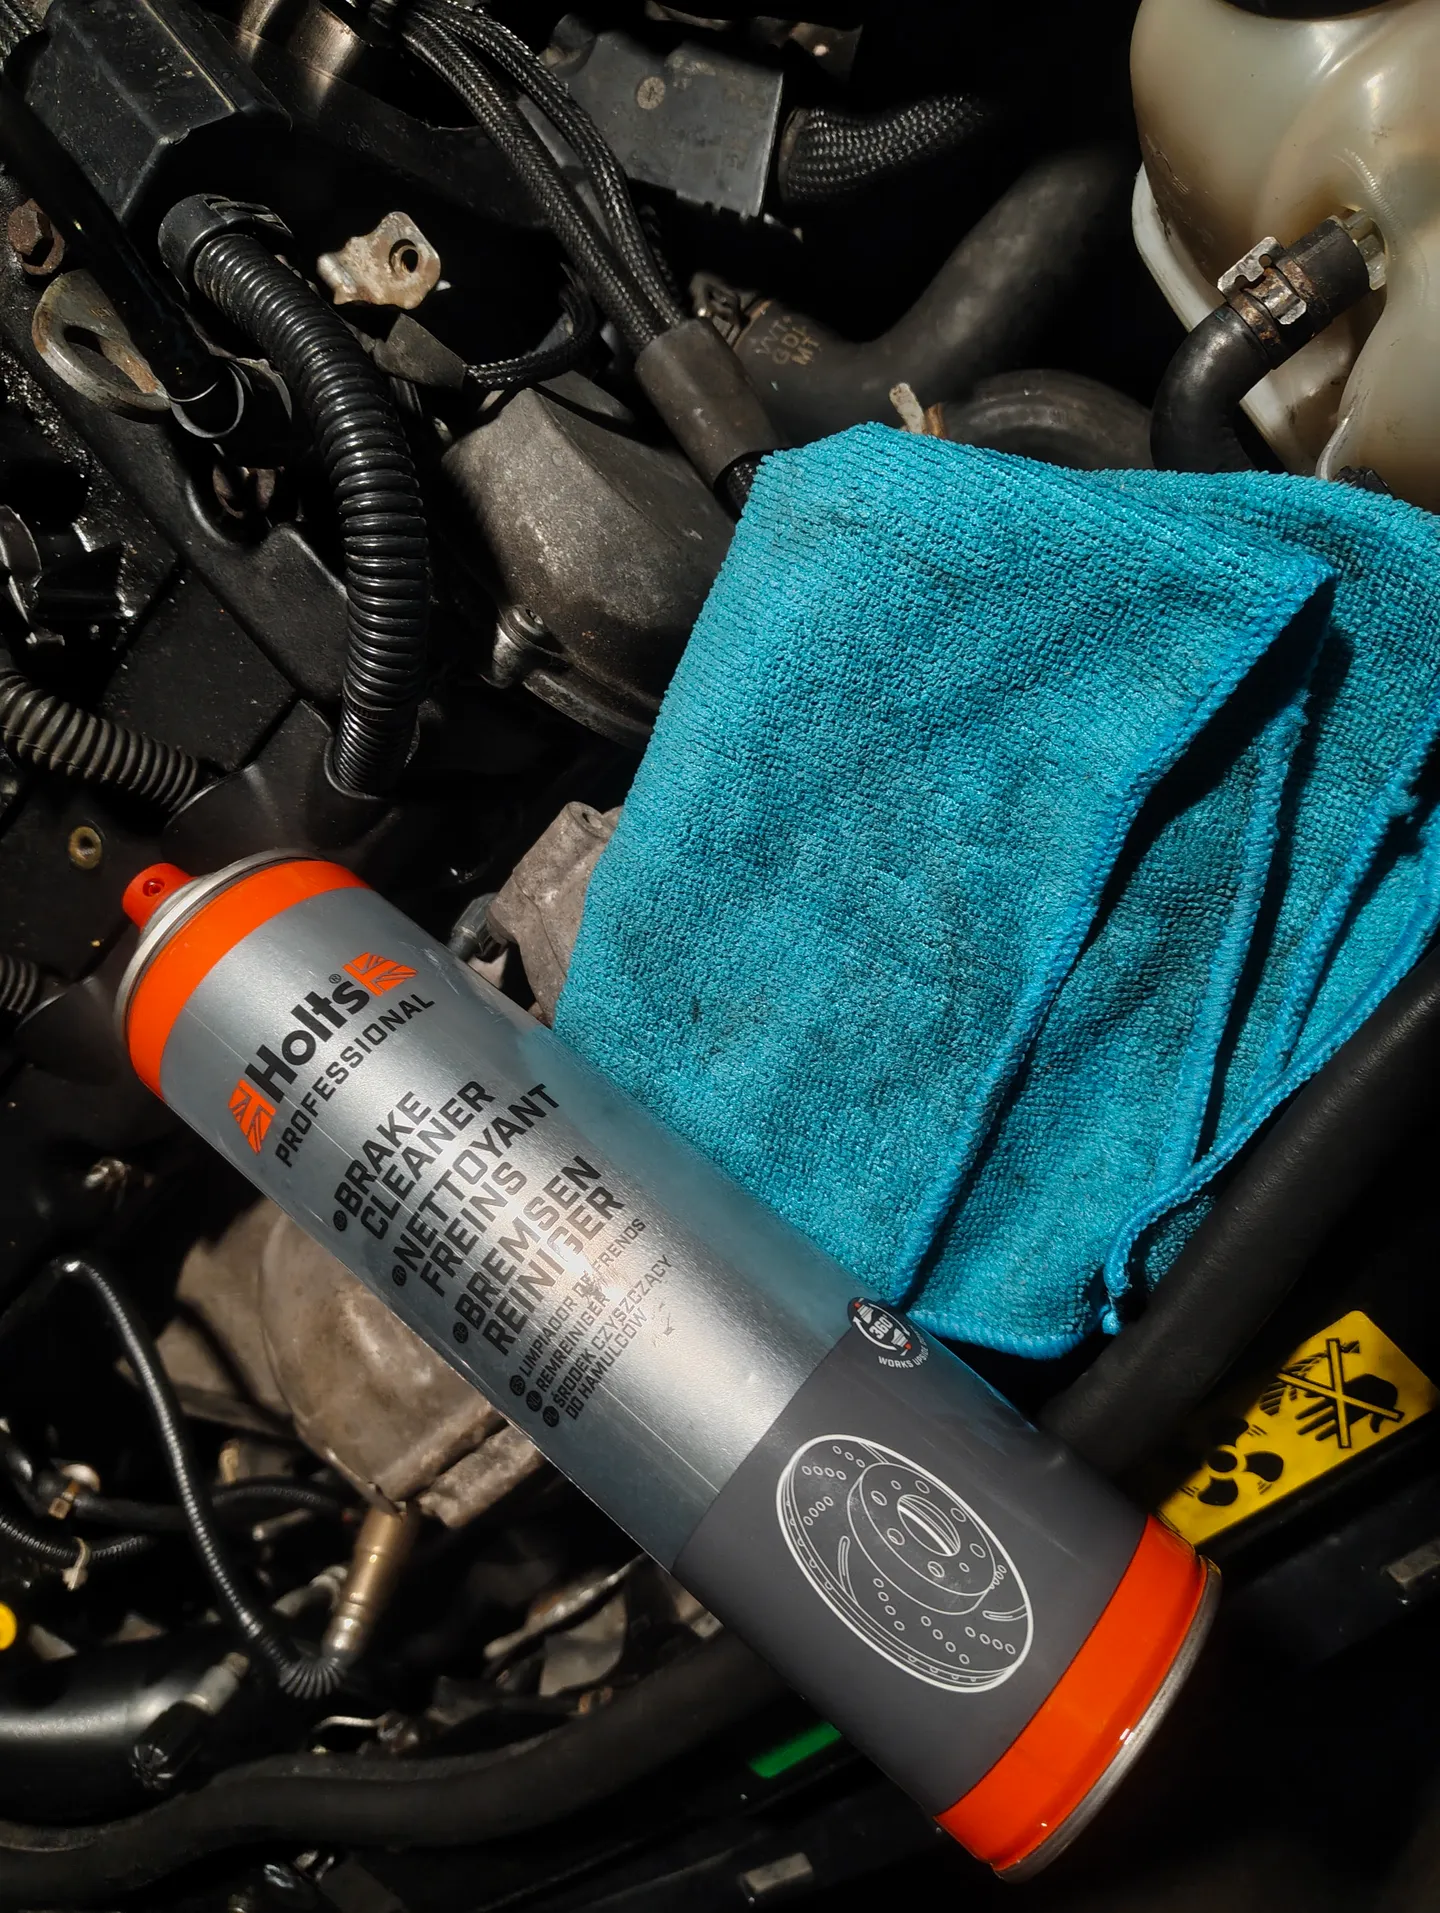
Spray some brake cleaner on the sandpaper and lightly sand the diverter valve mating surface to ensure the new valve seals properly.
-
Finally, spray a little brake cleaner on the mating surface and wipe down with a microfibre towel.
🏁 Conclusion
Reassembly is the reverse of removal.