Rear brake pad replacement

Introduction
Use this guide to replace the rear brake pads on a 2007 Mini Cooper S.
Torque specs
| Road wheel to hub | 140 Nm |
| Brake caliper to bracket (replace self-locking M8 bolts with new) | 35 Nm |
1. Equipment
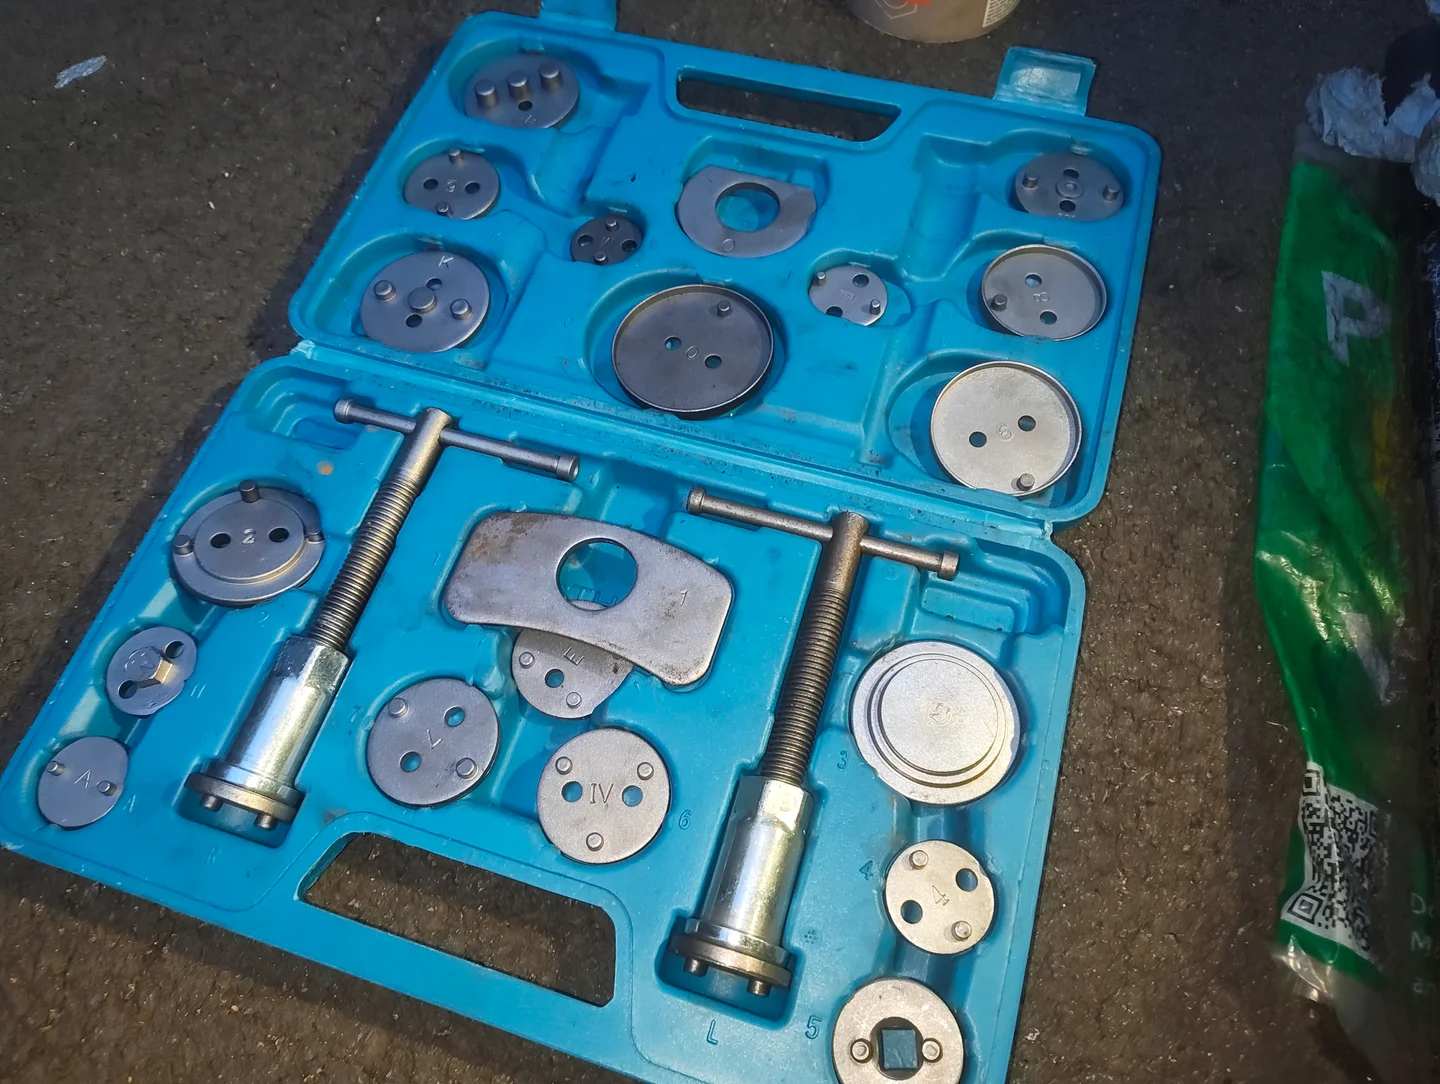
Gather the following equipment to complete this guide.
Some links below are affiliate links. I may earn a small commission at no extra cost to you. As an Amazon associate and eBay partner, I earn from qualifying purchases.
- Breaker bar
- 17 mm socket
- Flathead screwdriver
- Torx 20
- 15 mm spanner
- 13 mm spanner (optional)
- 13 mm socket
- 3/8 inch ratchet
- Brake caliper piston retraction tool
- Hard nylon brush
- Threadlocker (if no new bolts are provided with the new brake pads)
- New brake pads
- Blue paper roll
- Brake cleaner
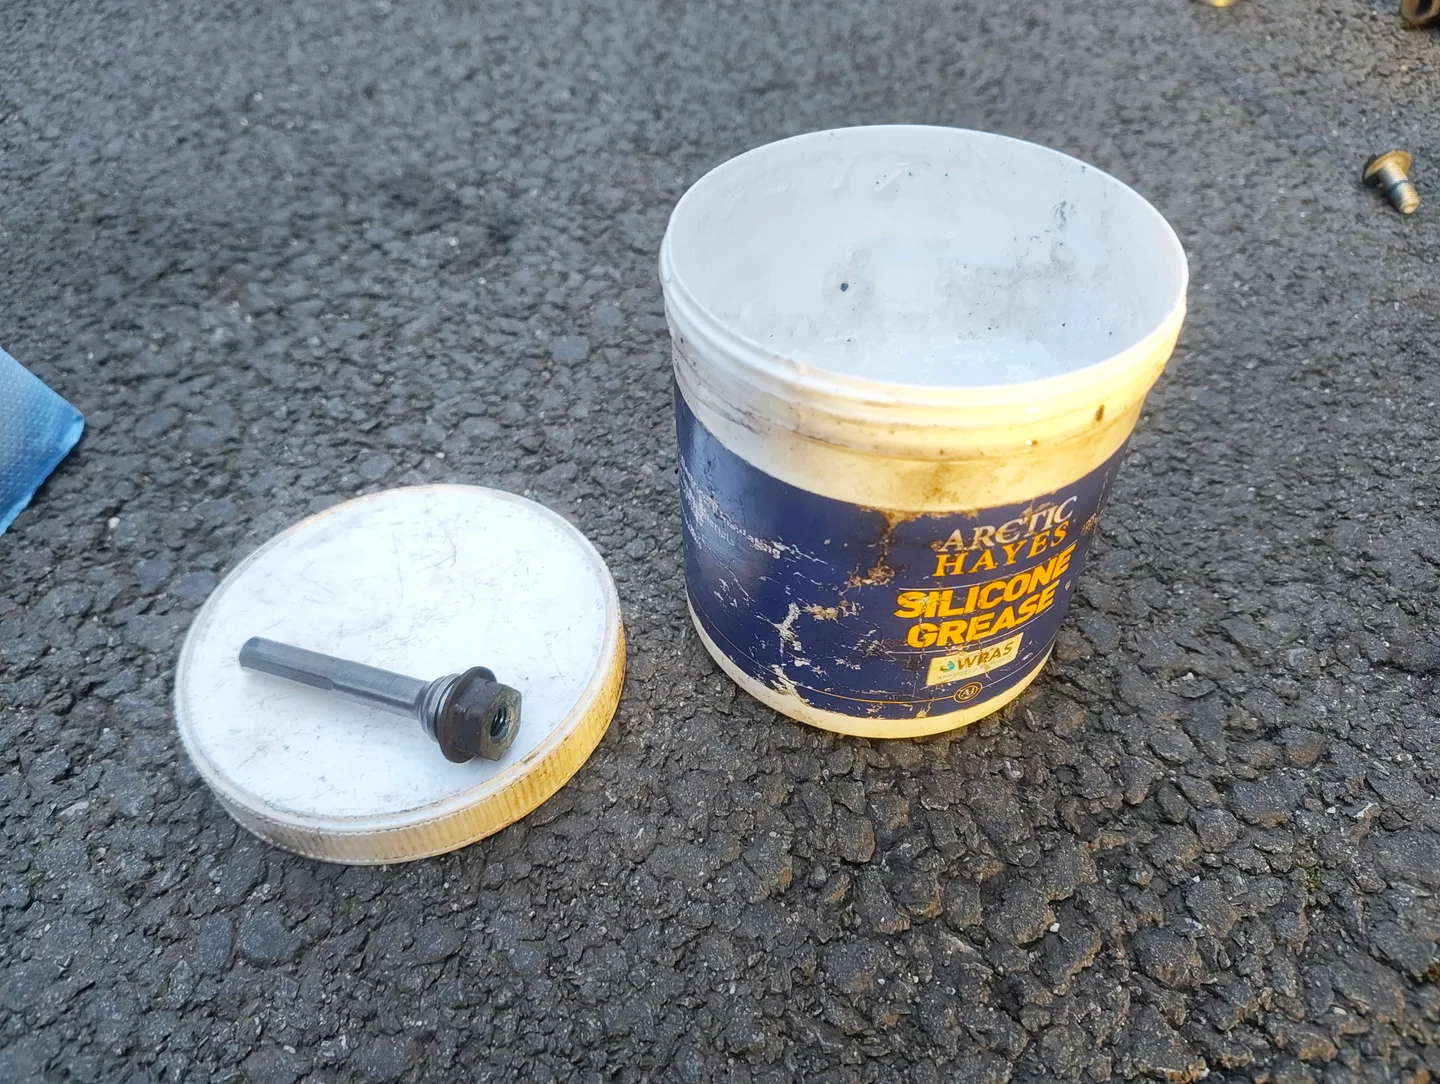
- Silicone grease
- Copper grease
- Penetrant
- Plastic shopping bag (optional)
2. Preperation
-
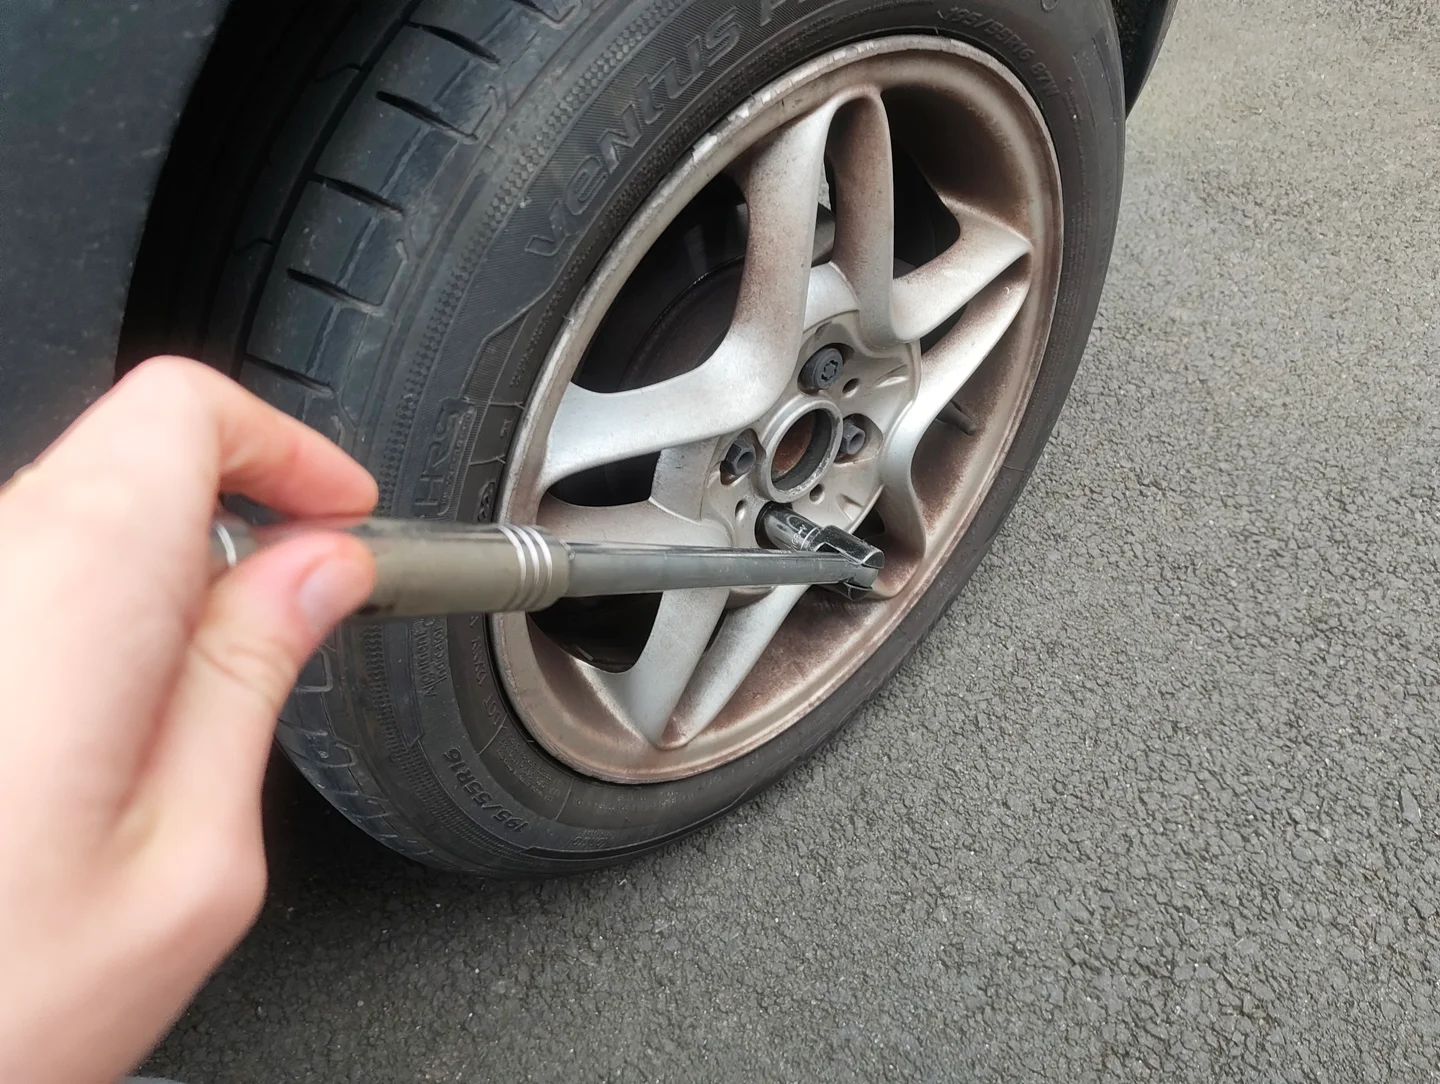
Loosen the lug nuts on the offside rear wheel.
-
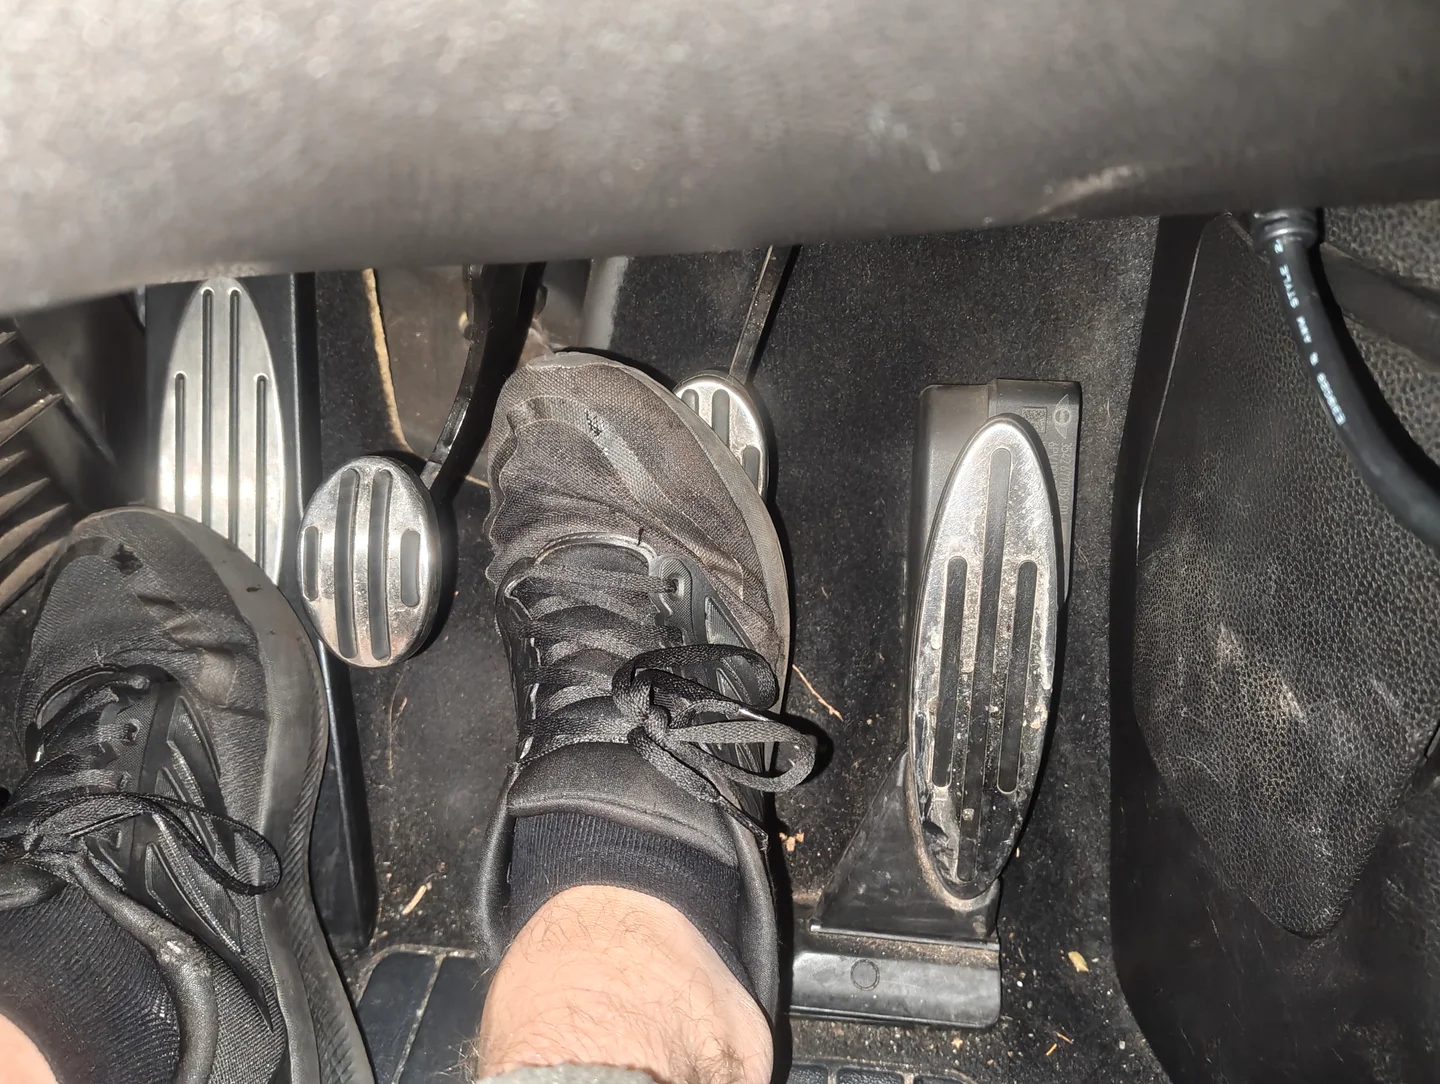
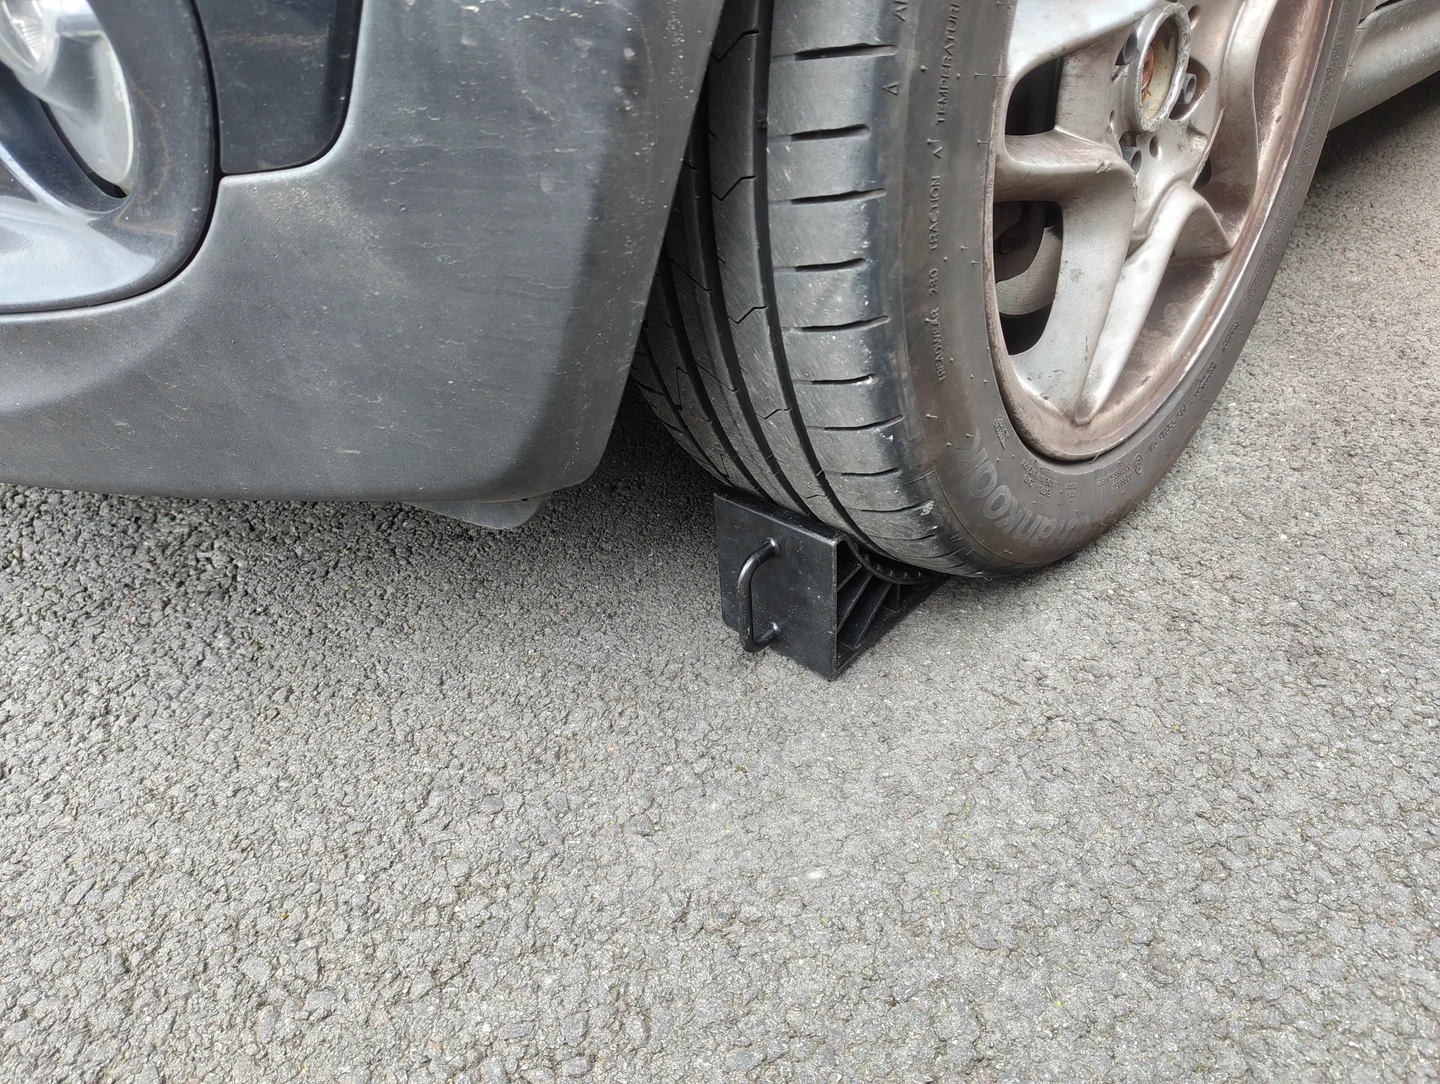
Chock the outside of the front two wheels.
-
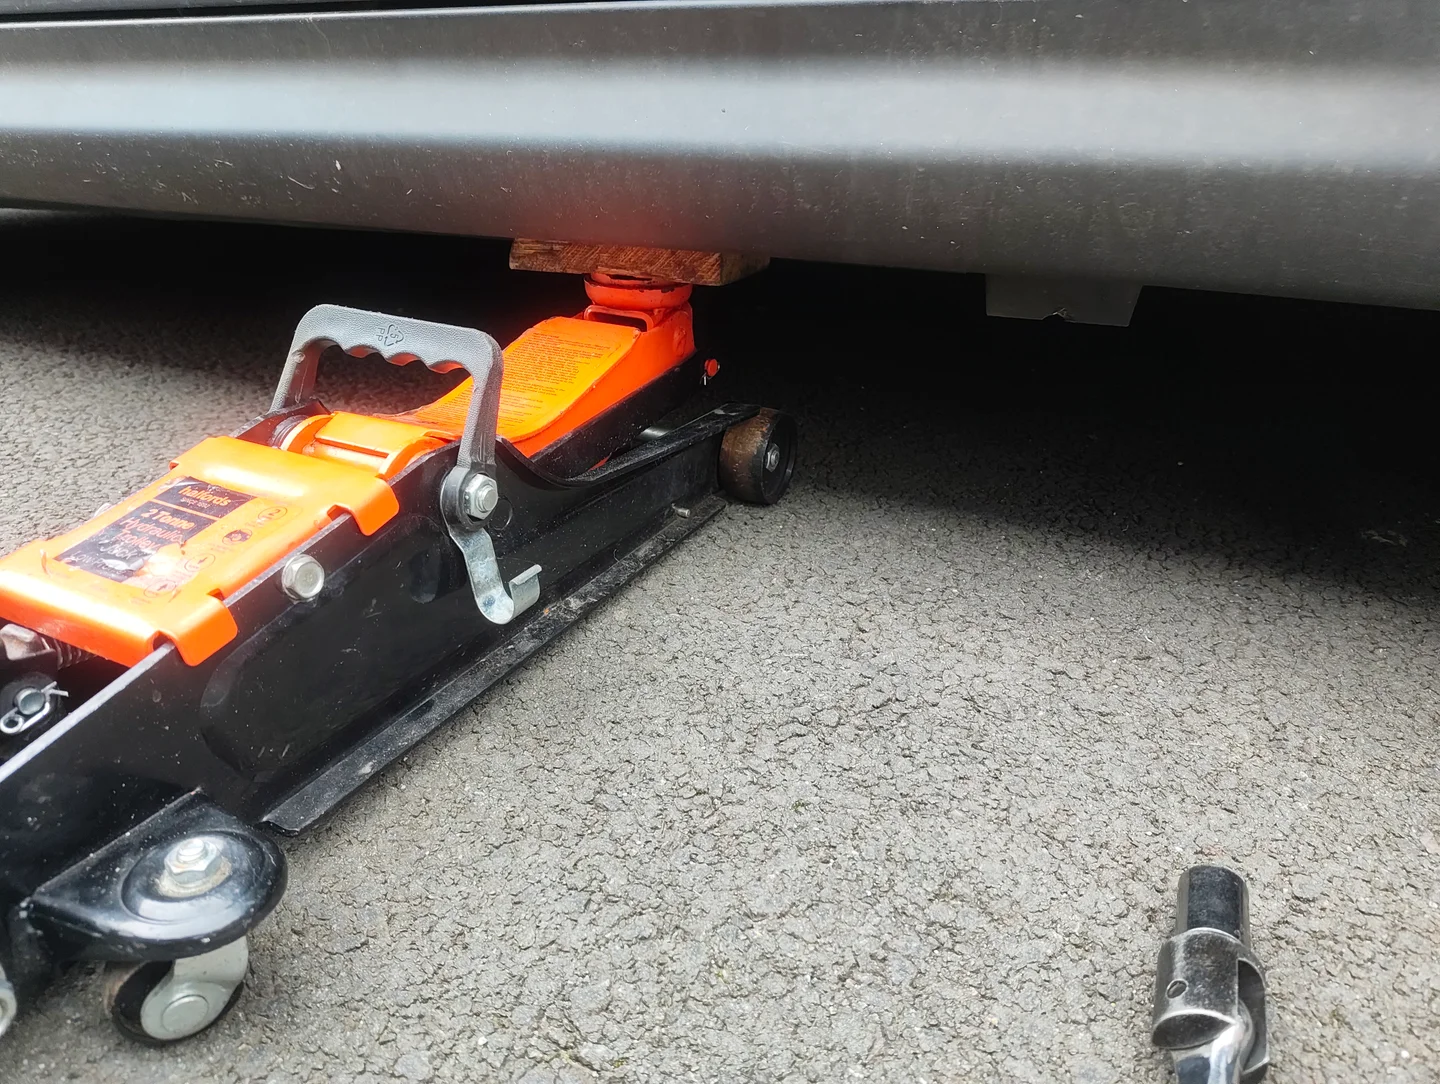
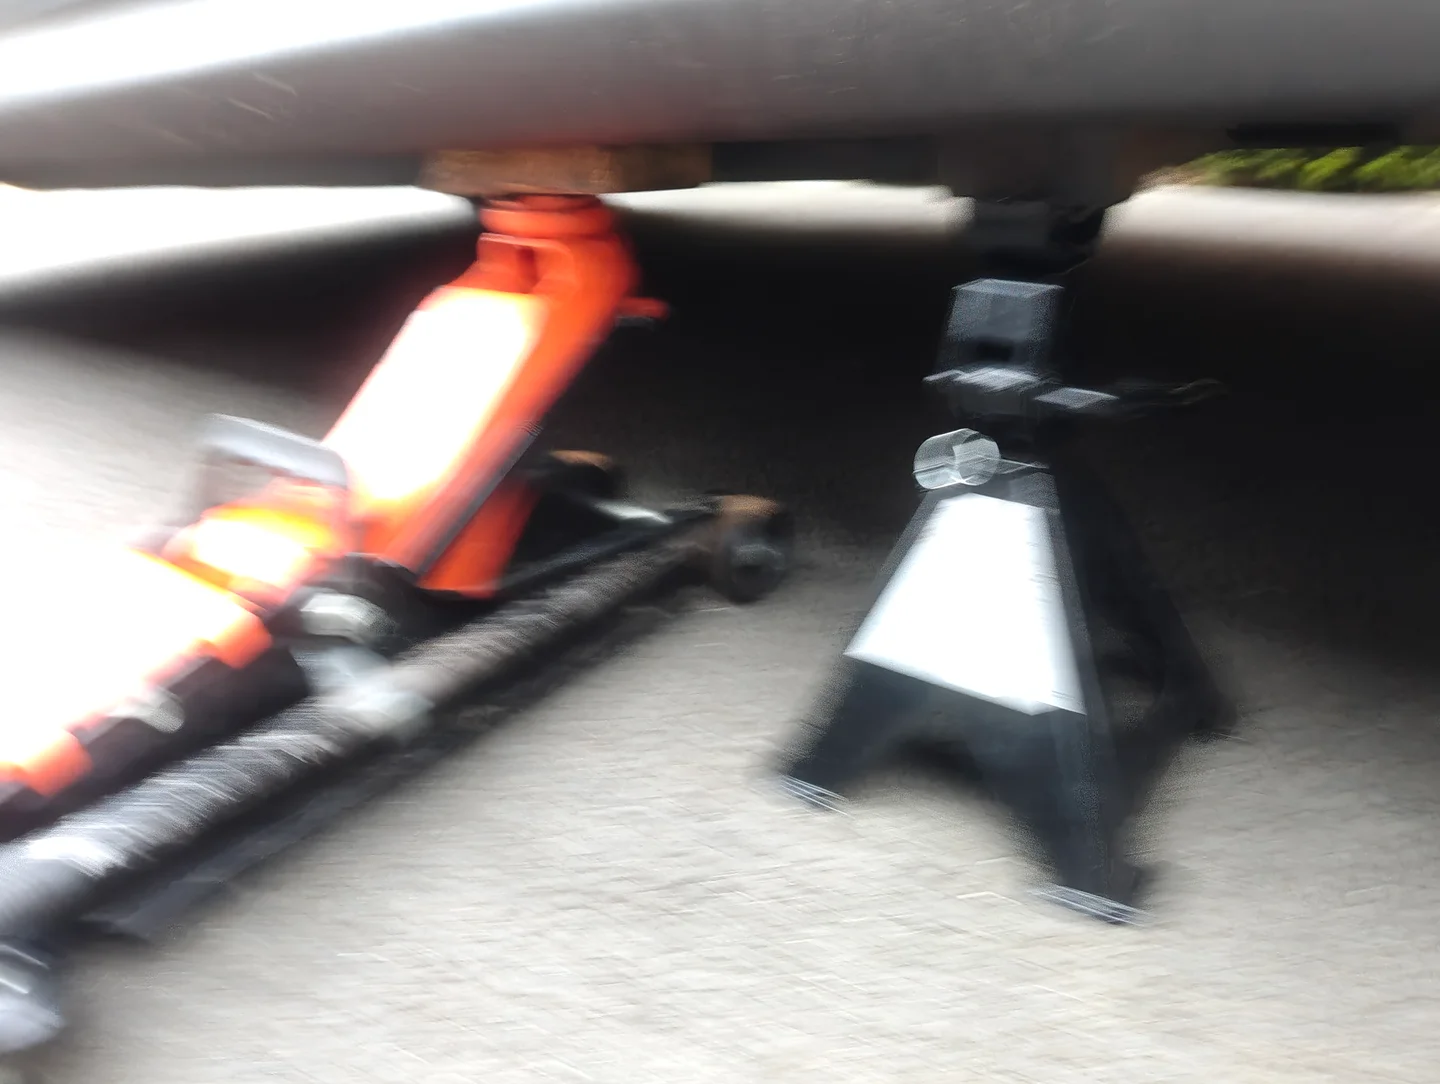
Jack up the offside rear of the car, place a piece of solid oak wood on top of the jack saddle to avoid damaging the plastic side skirt.
-
Now rest the jacking point on a jack stand. Give the car a slight shake to ensure it's secure.
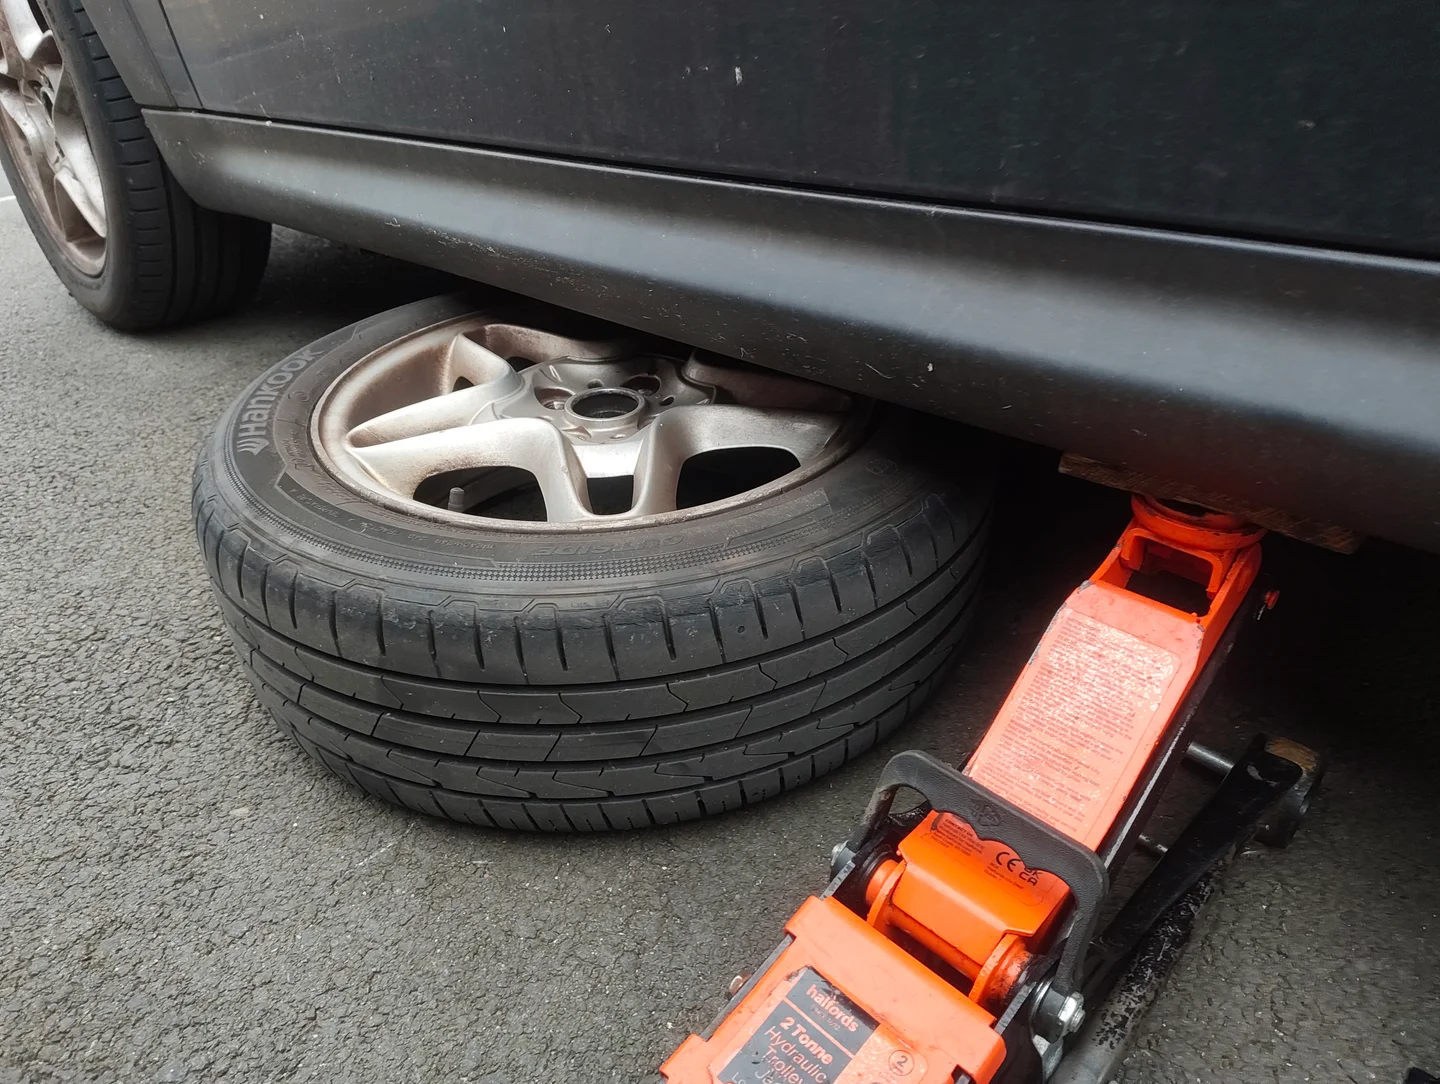
-
Remove the lug nuts then the wheel and place the wheel under the offside pinch weld for an extra jack backup.
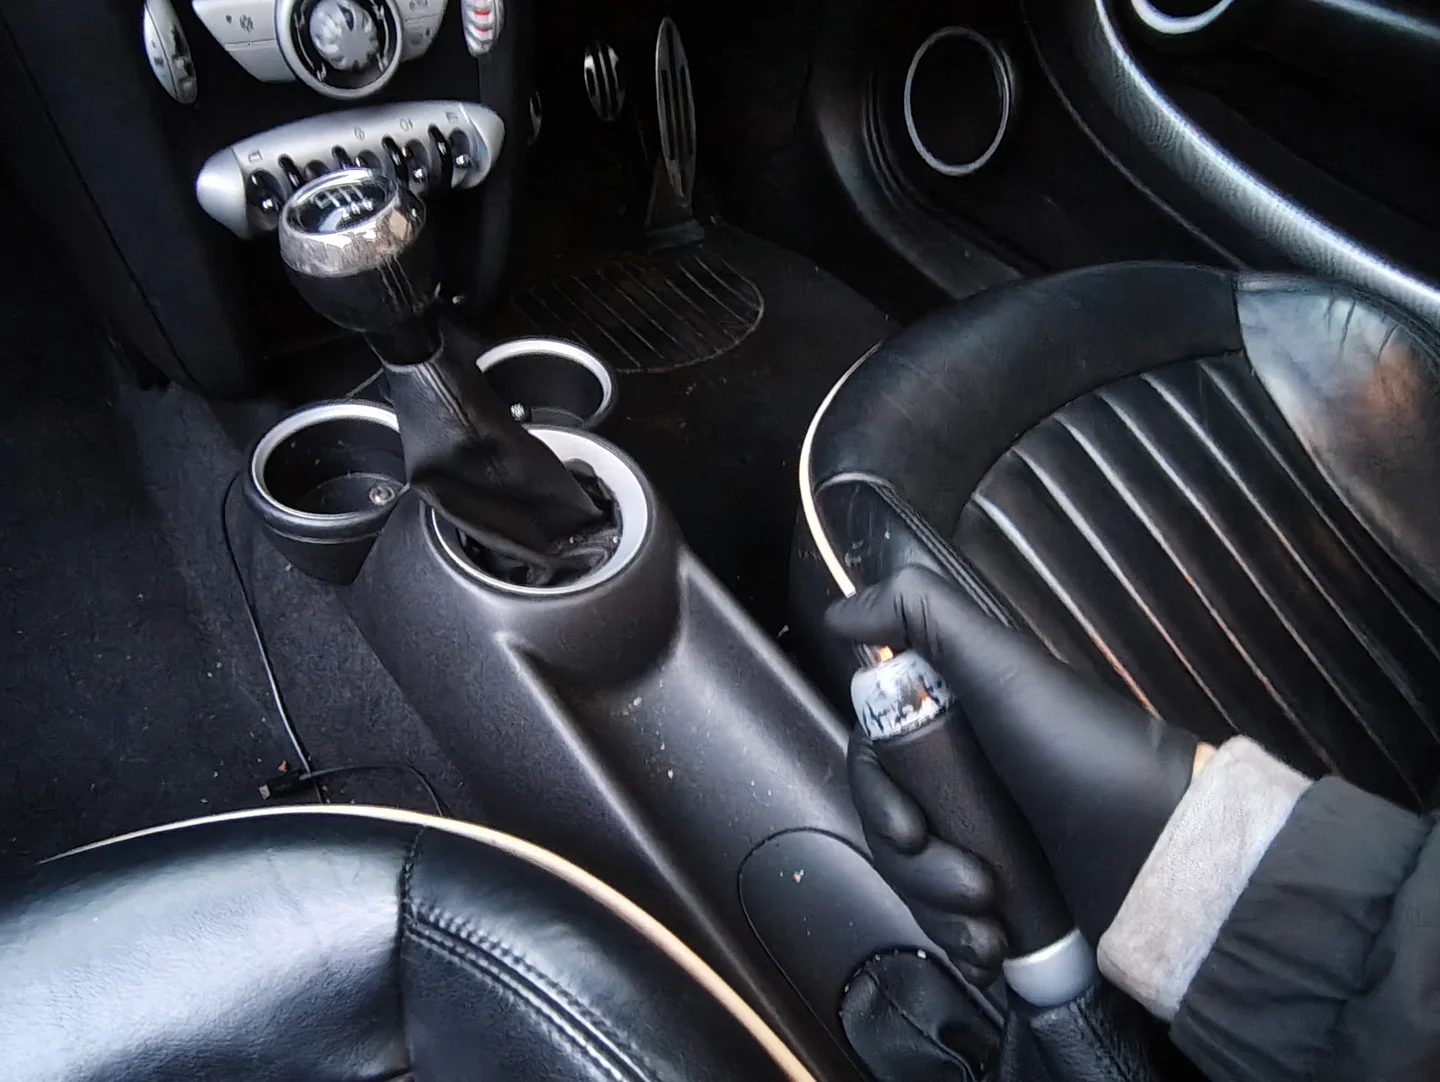
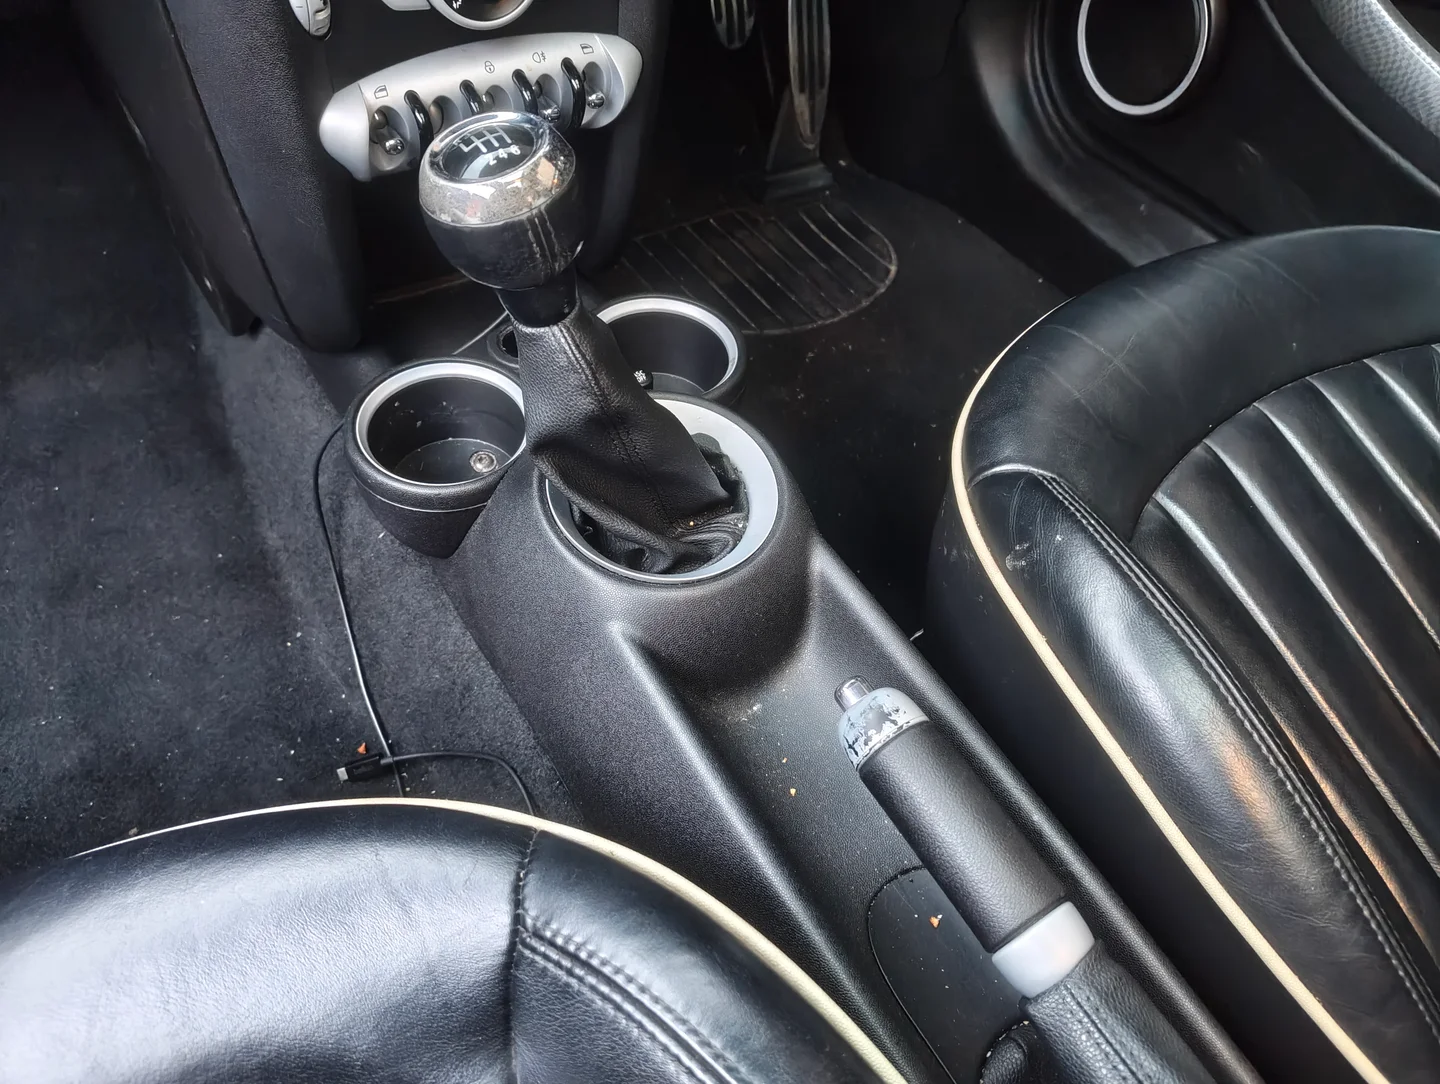
-
With the car now jacked up and supported, put the car in reverse and release the handbrake.
Don't worry, with the front wheels chocked, car in reverse and nearside rear stable on a jack stand, the car should'nt go anywhere.
Give the car another little shake to ensure it's secure.
2. Removal
-
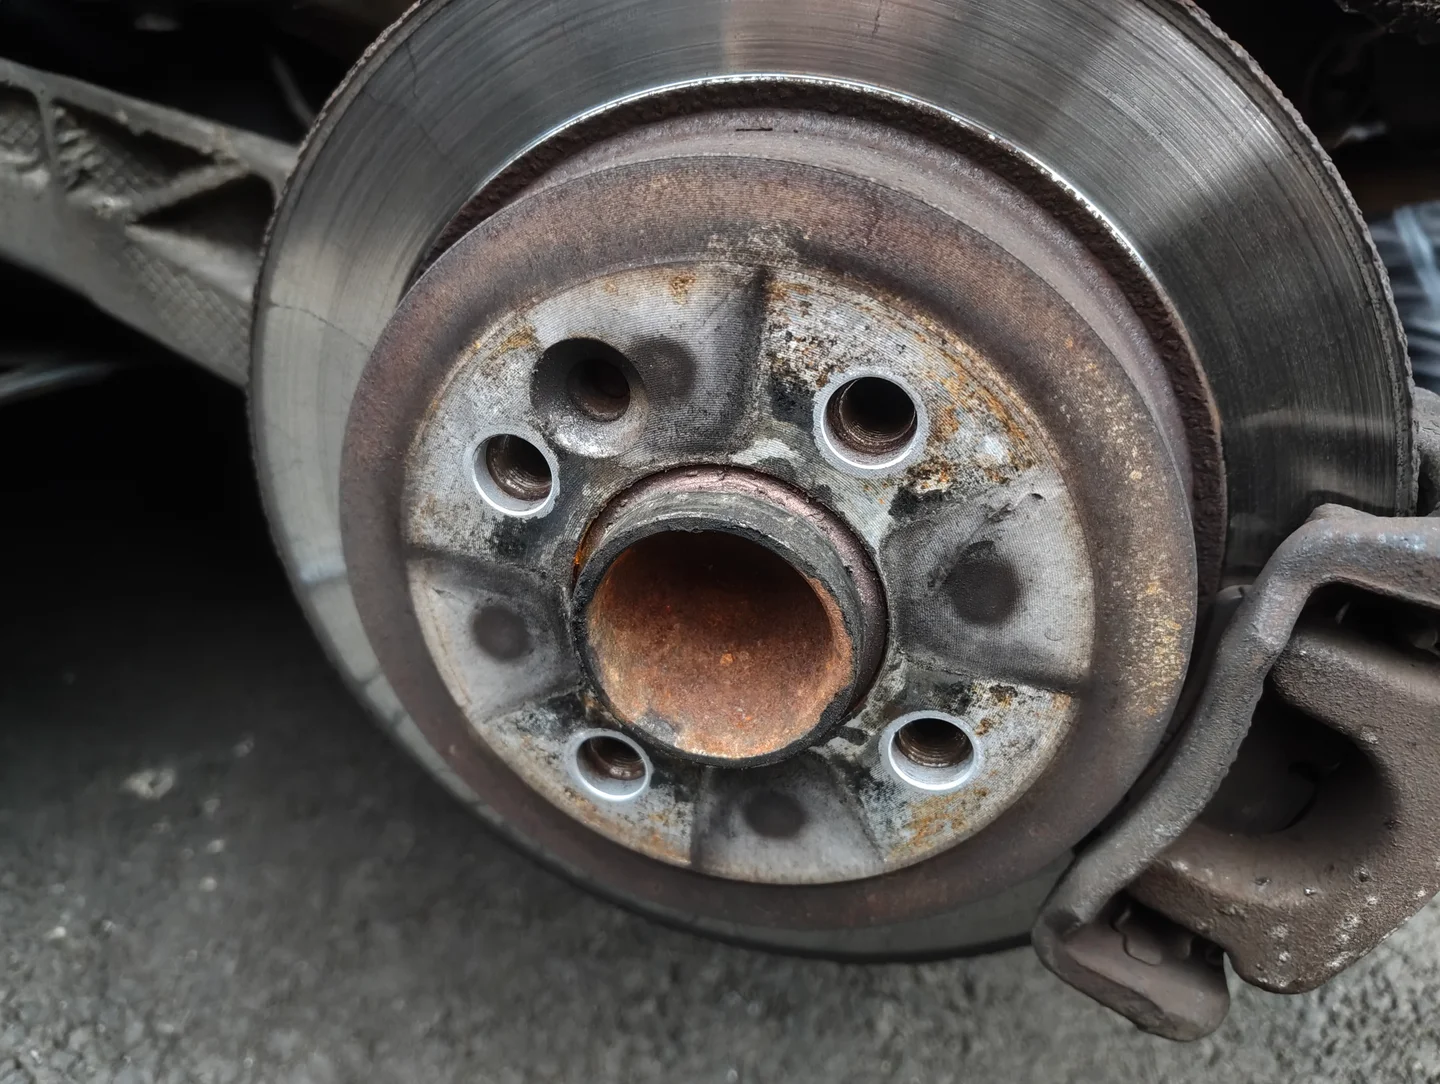
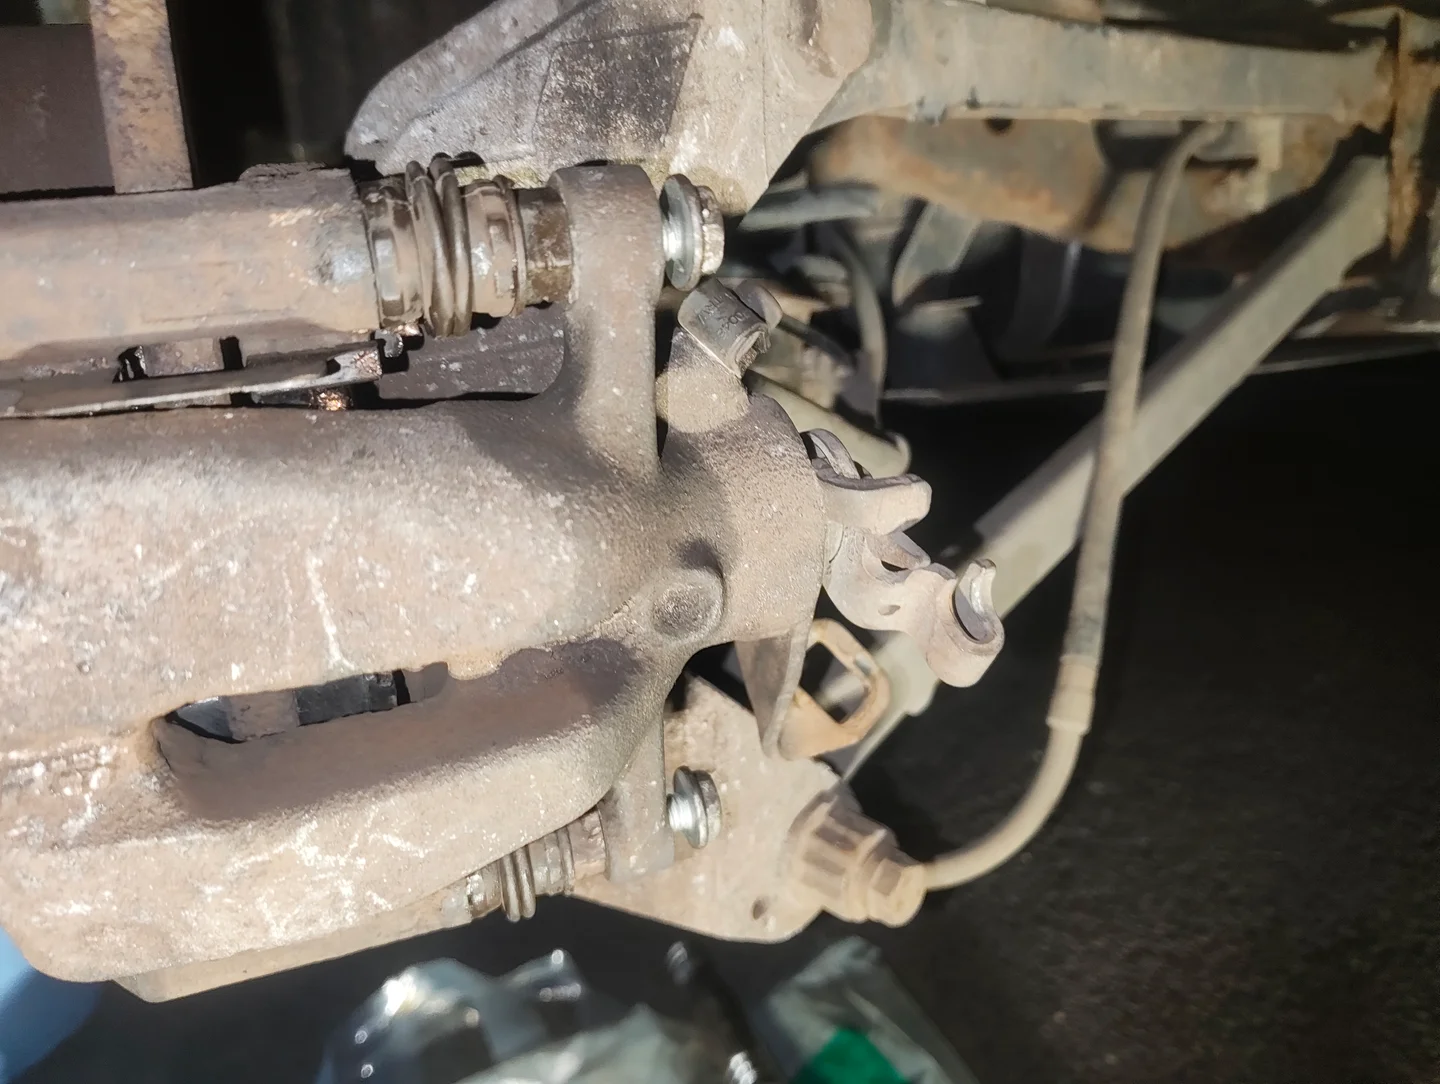
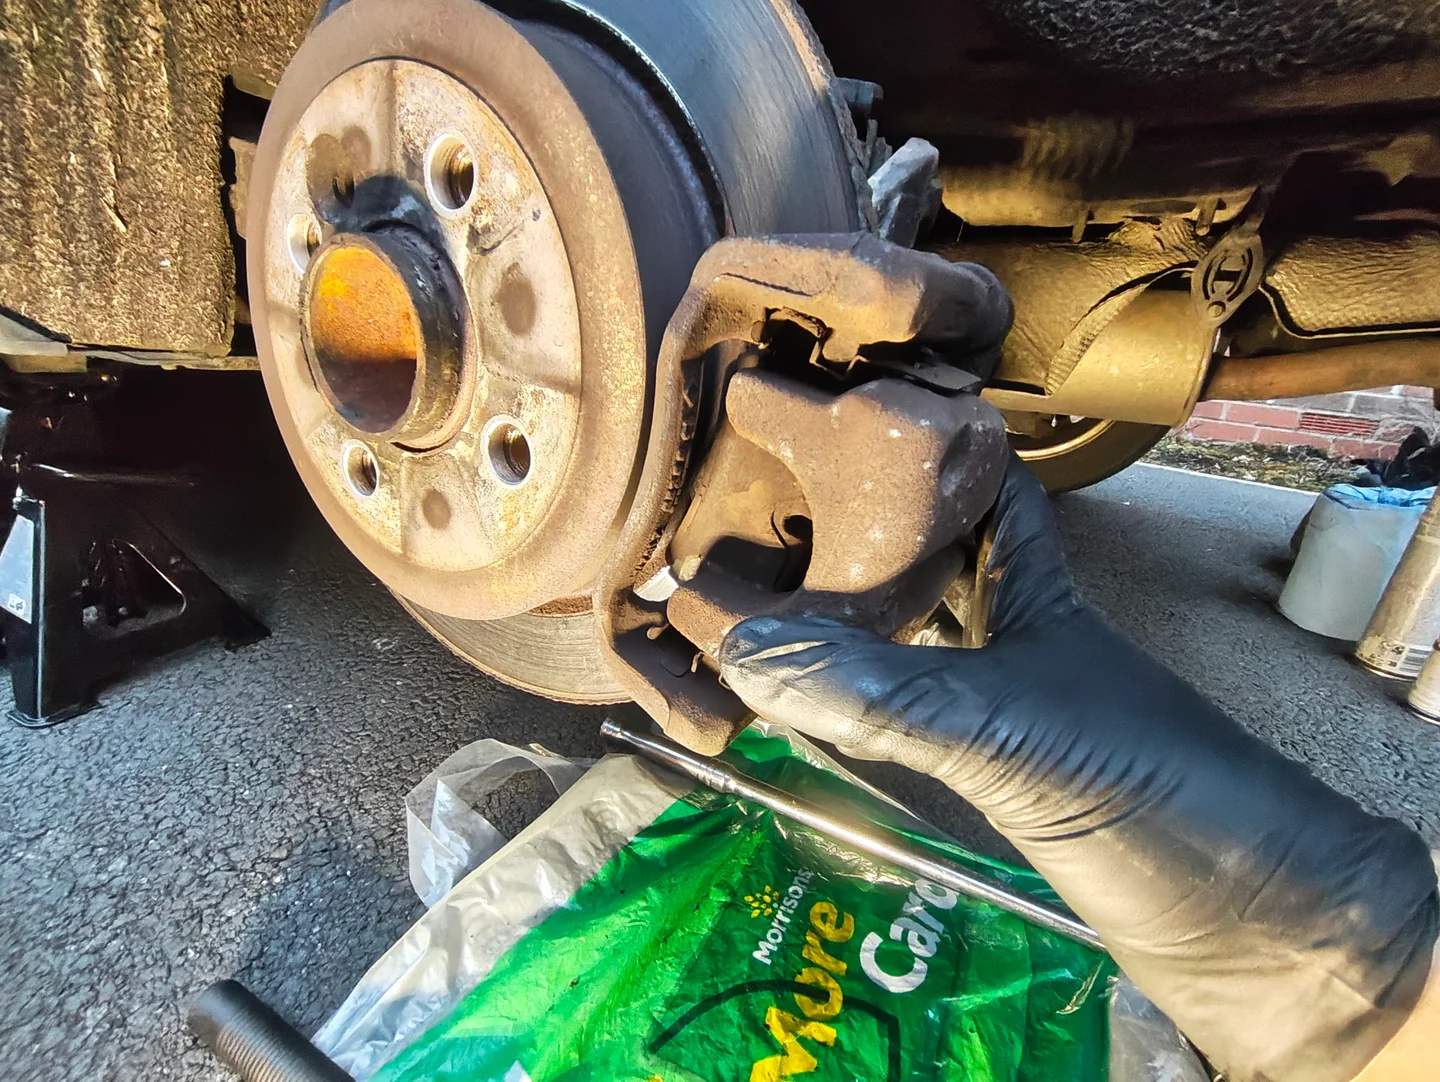
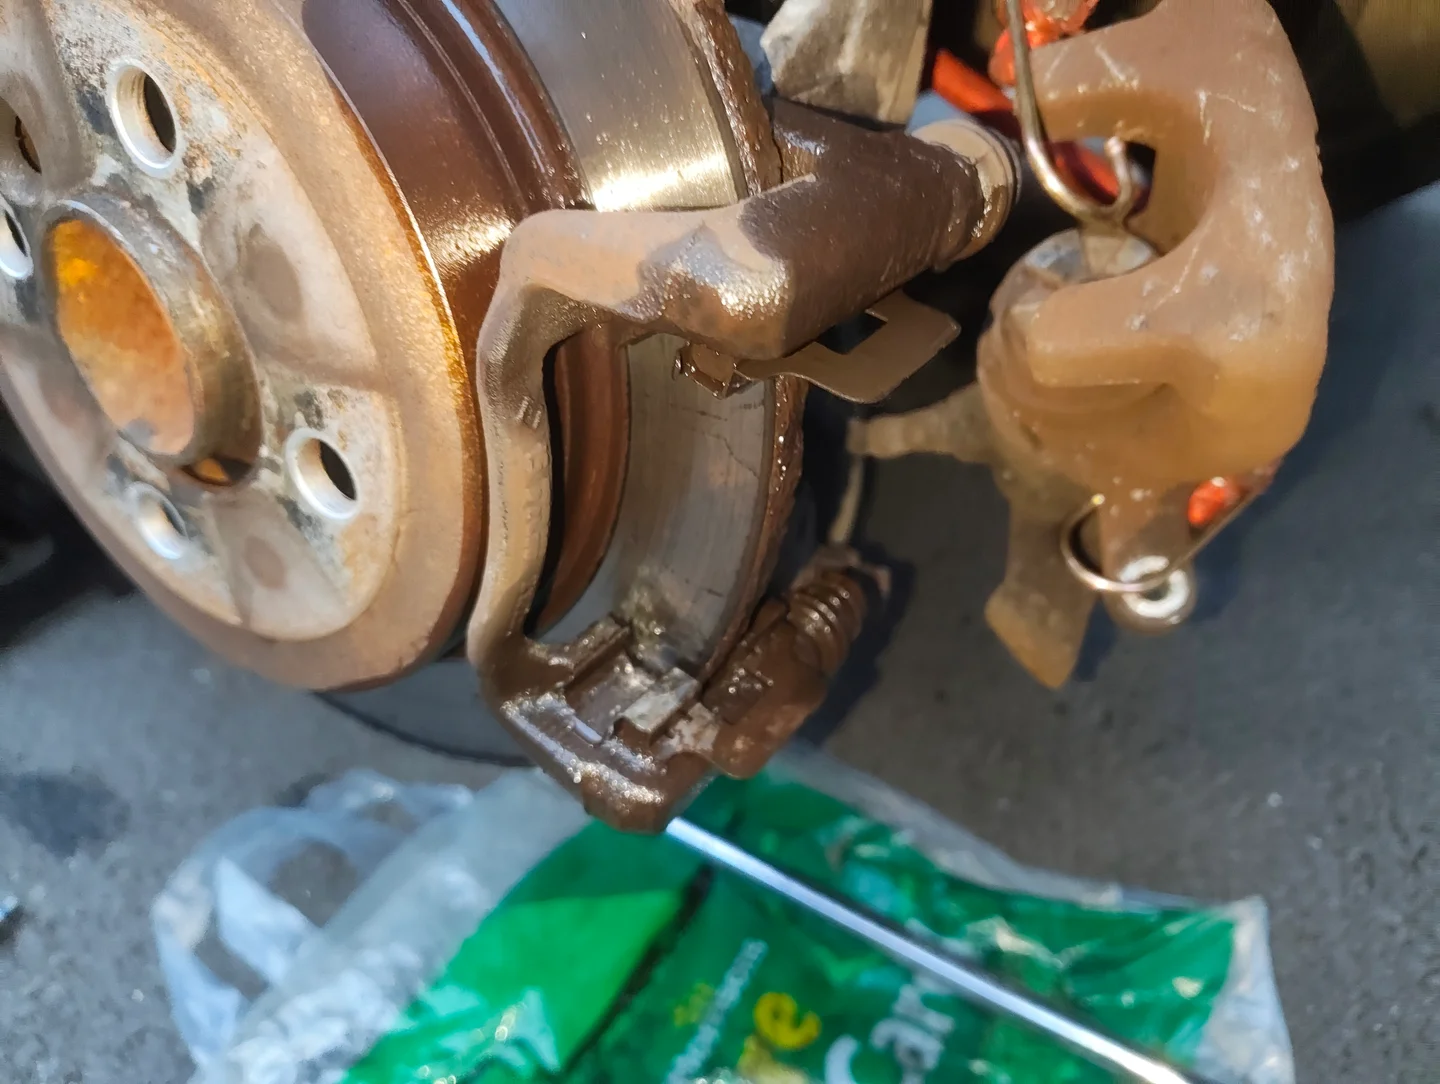
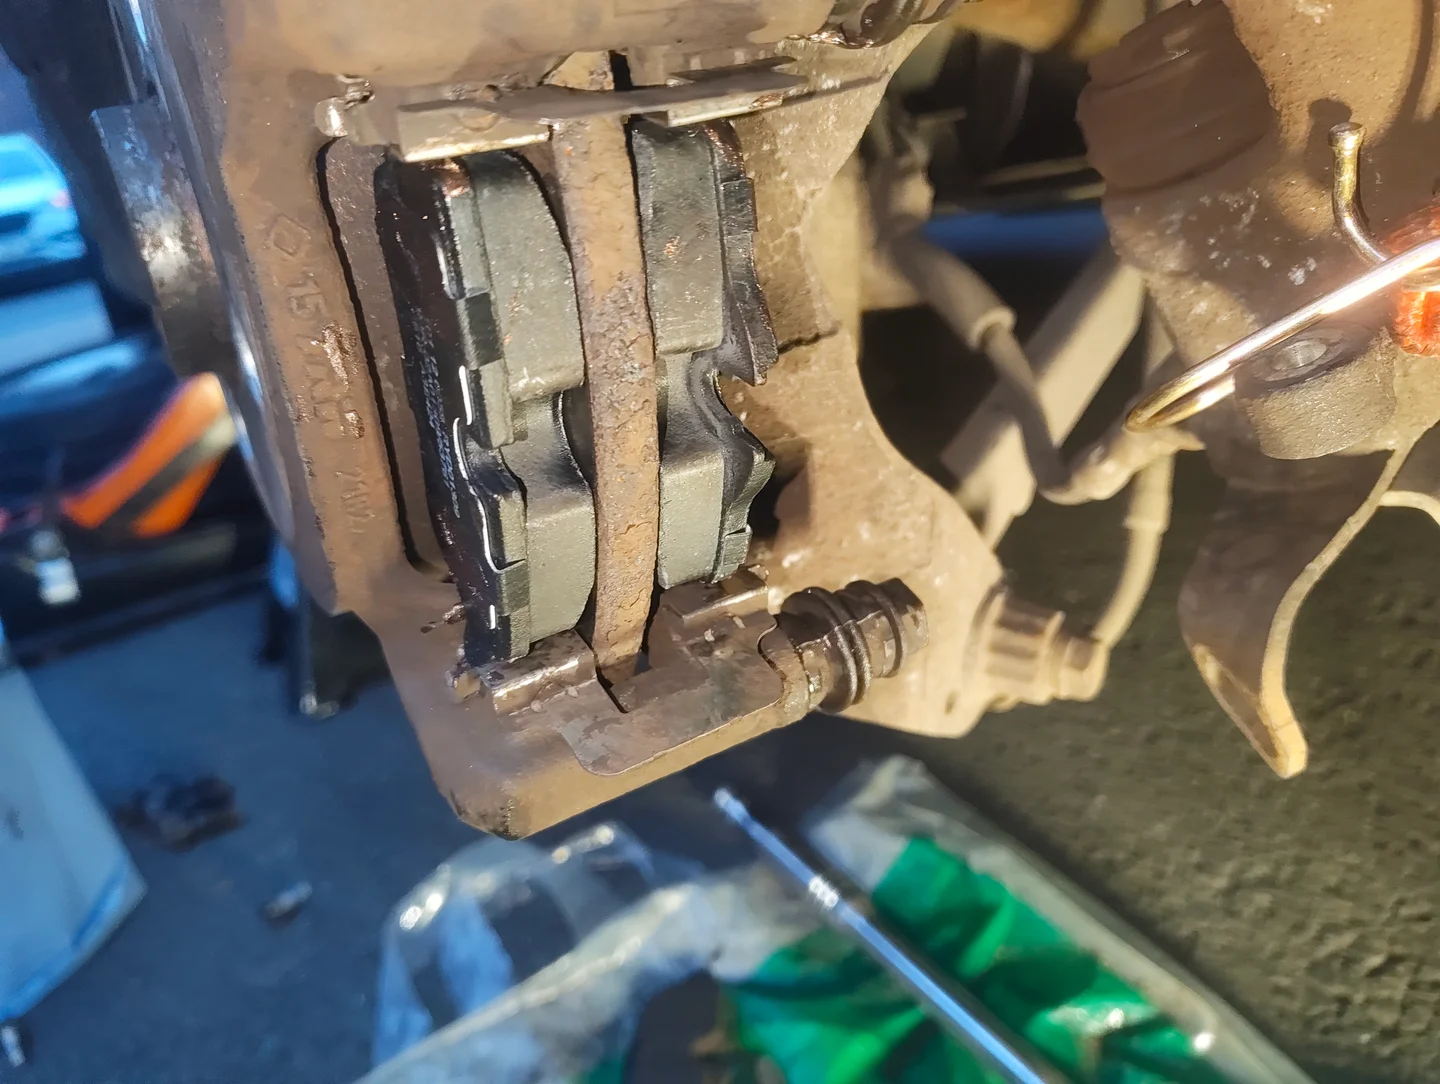
You should now have the rear brake caliper in full view, you'll notice on mine a previous owner sheered off the brake disc torx bolt head #wobble. Hopefully yours is intact and your brake disc is secured.
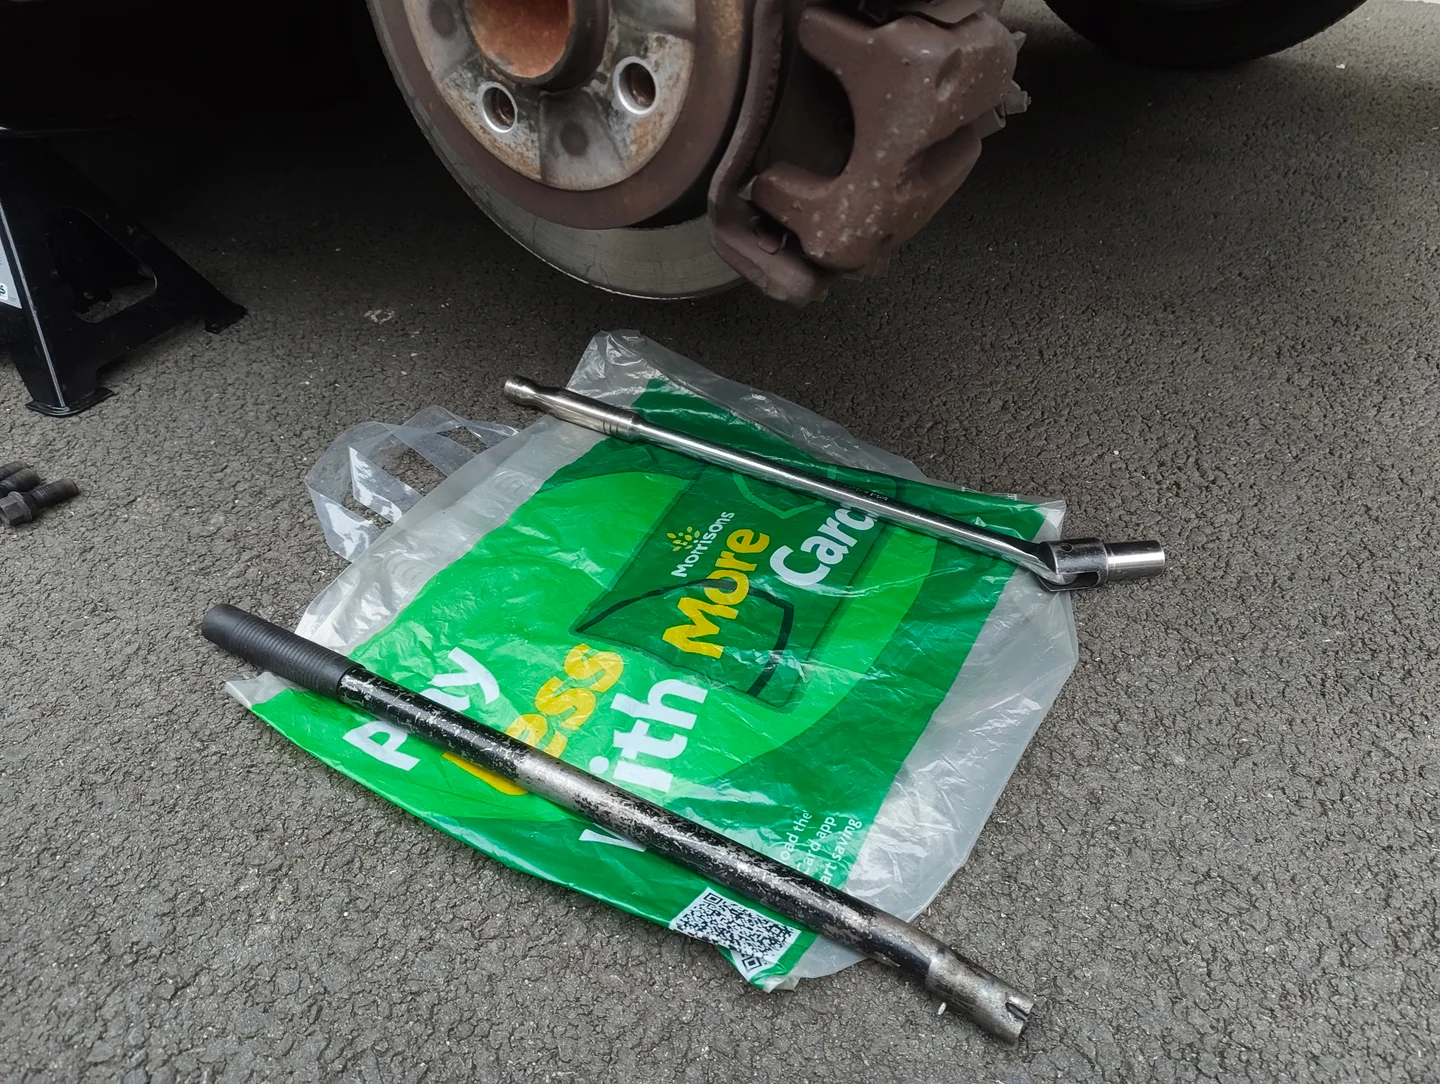
Place a plastic bag of some sort below, pinned by tools, to avoid staining the floor.
-
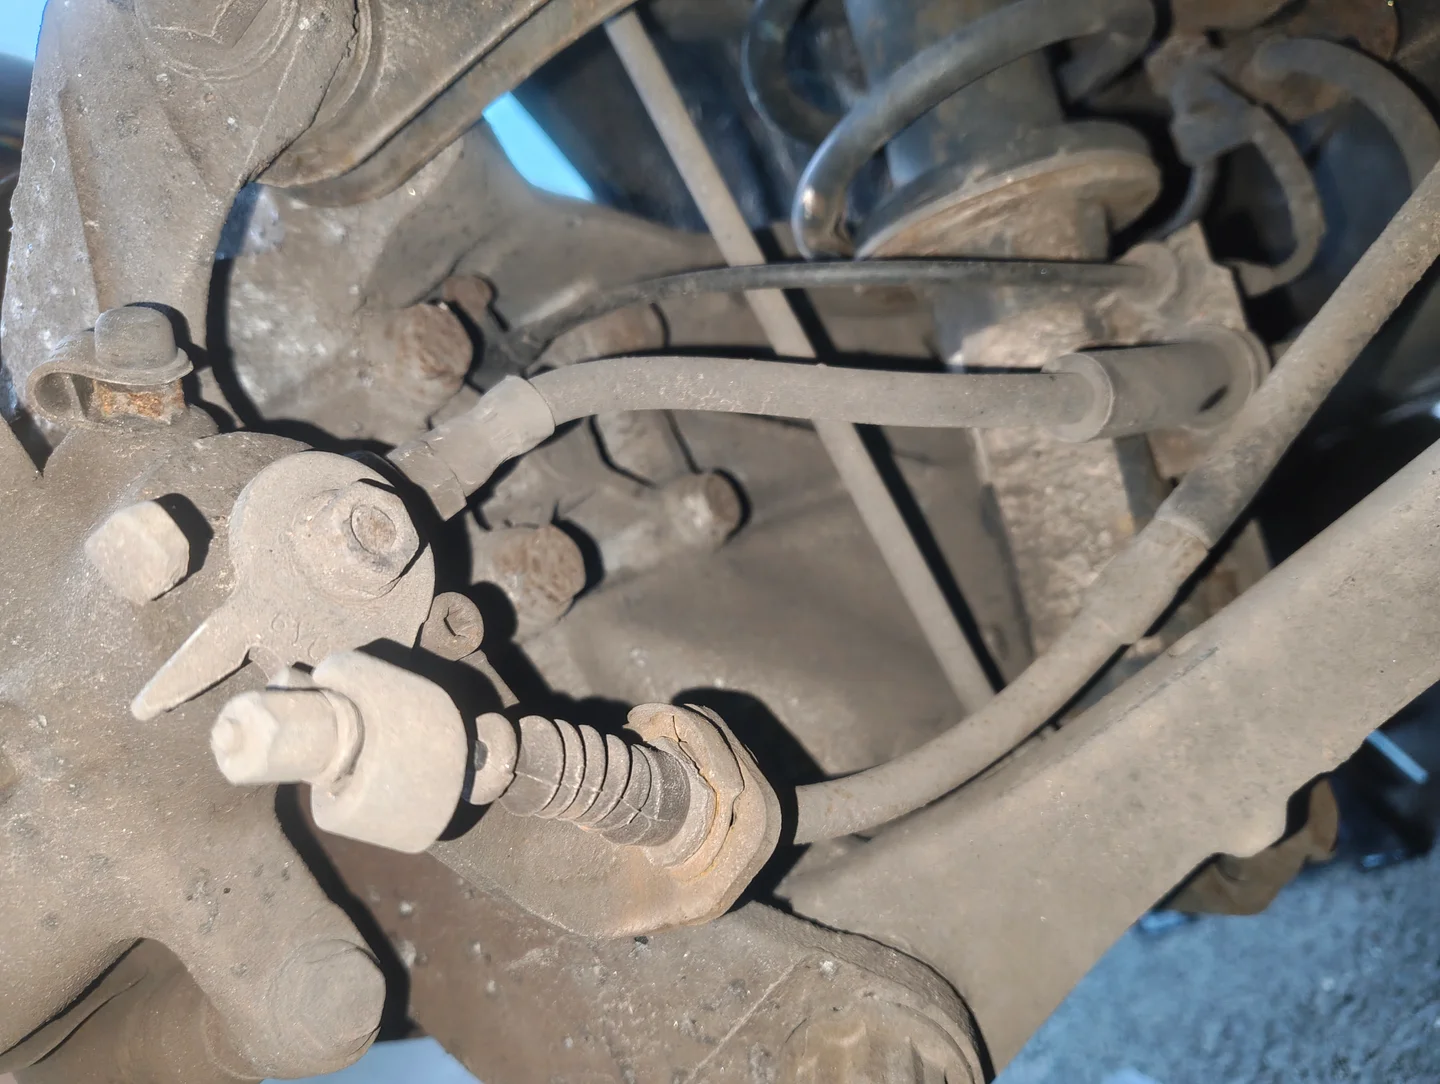
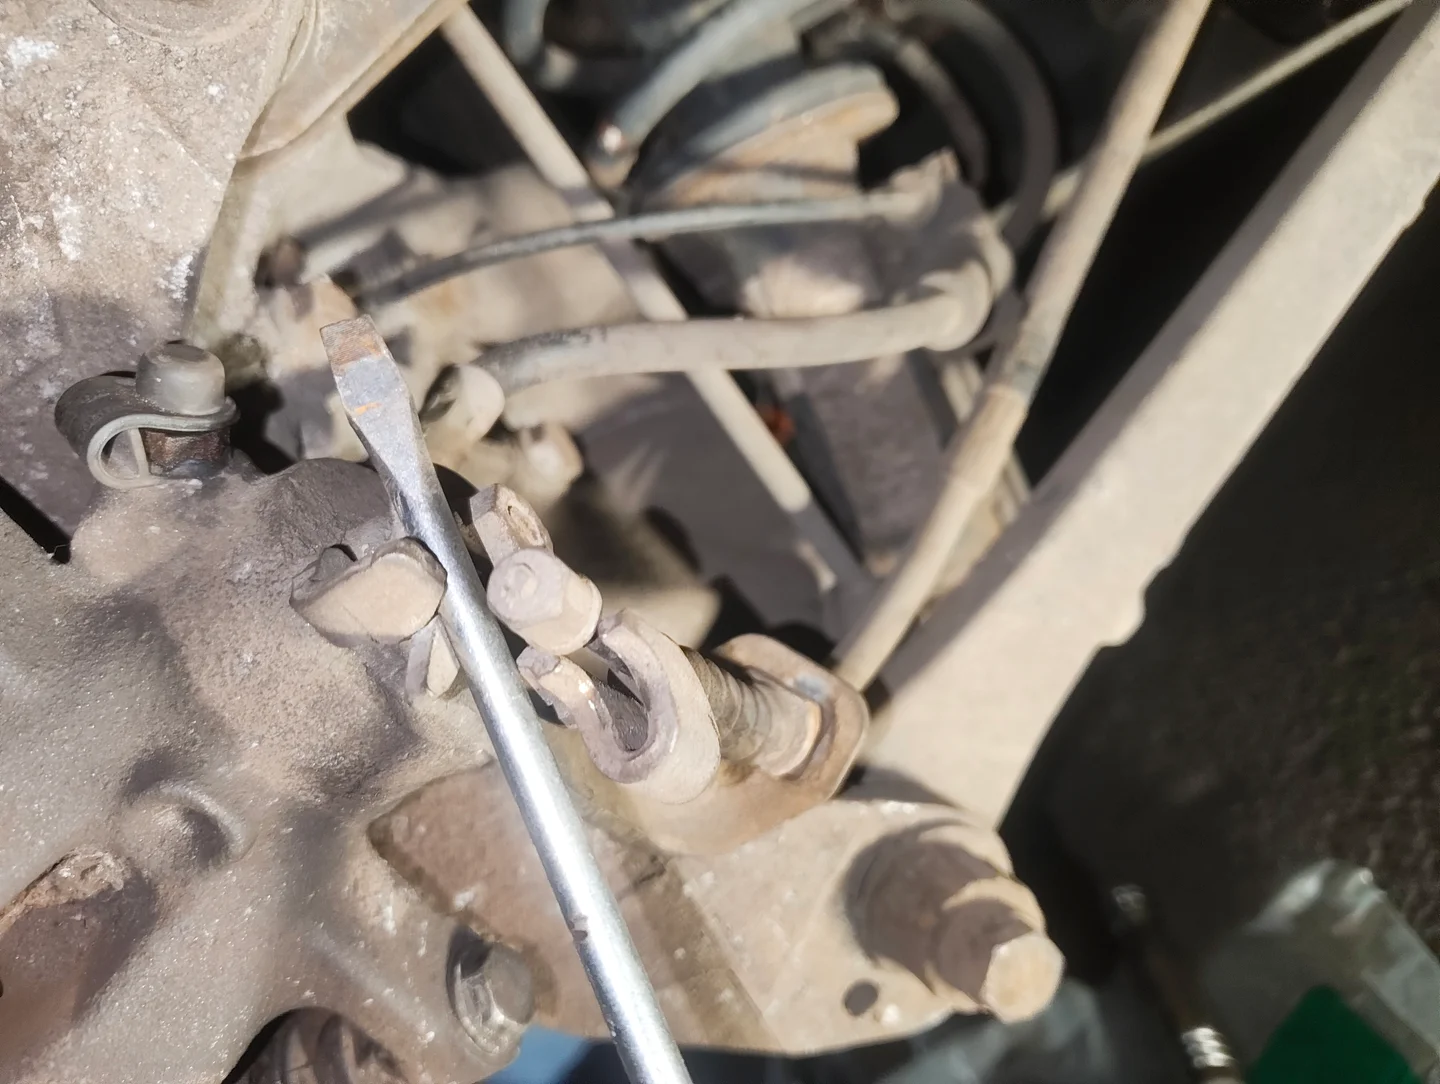
Grab your torch and flathead and lie down behind the caliper. Here you'll see the handbrake cable, remove the retaining clip with your flathead.
-
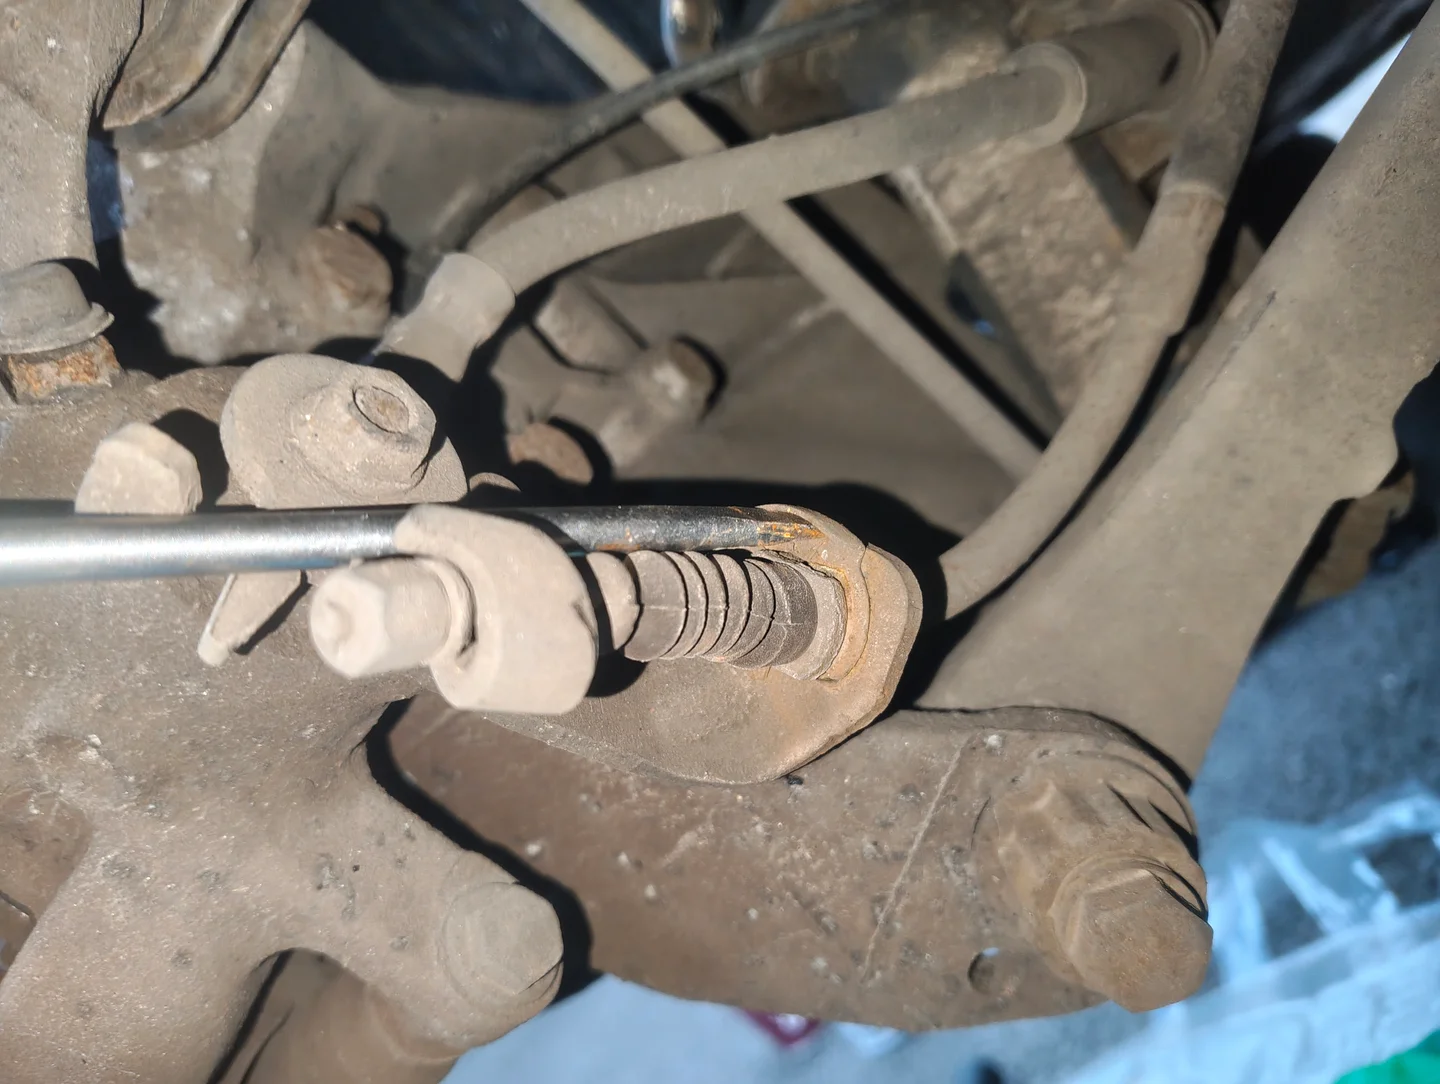
Next, pry down the parking brake cable lever with your flathead and the cable end stop should easily pop out.
-
Pull the parking cable through the slot and place it aside.
-
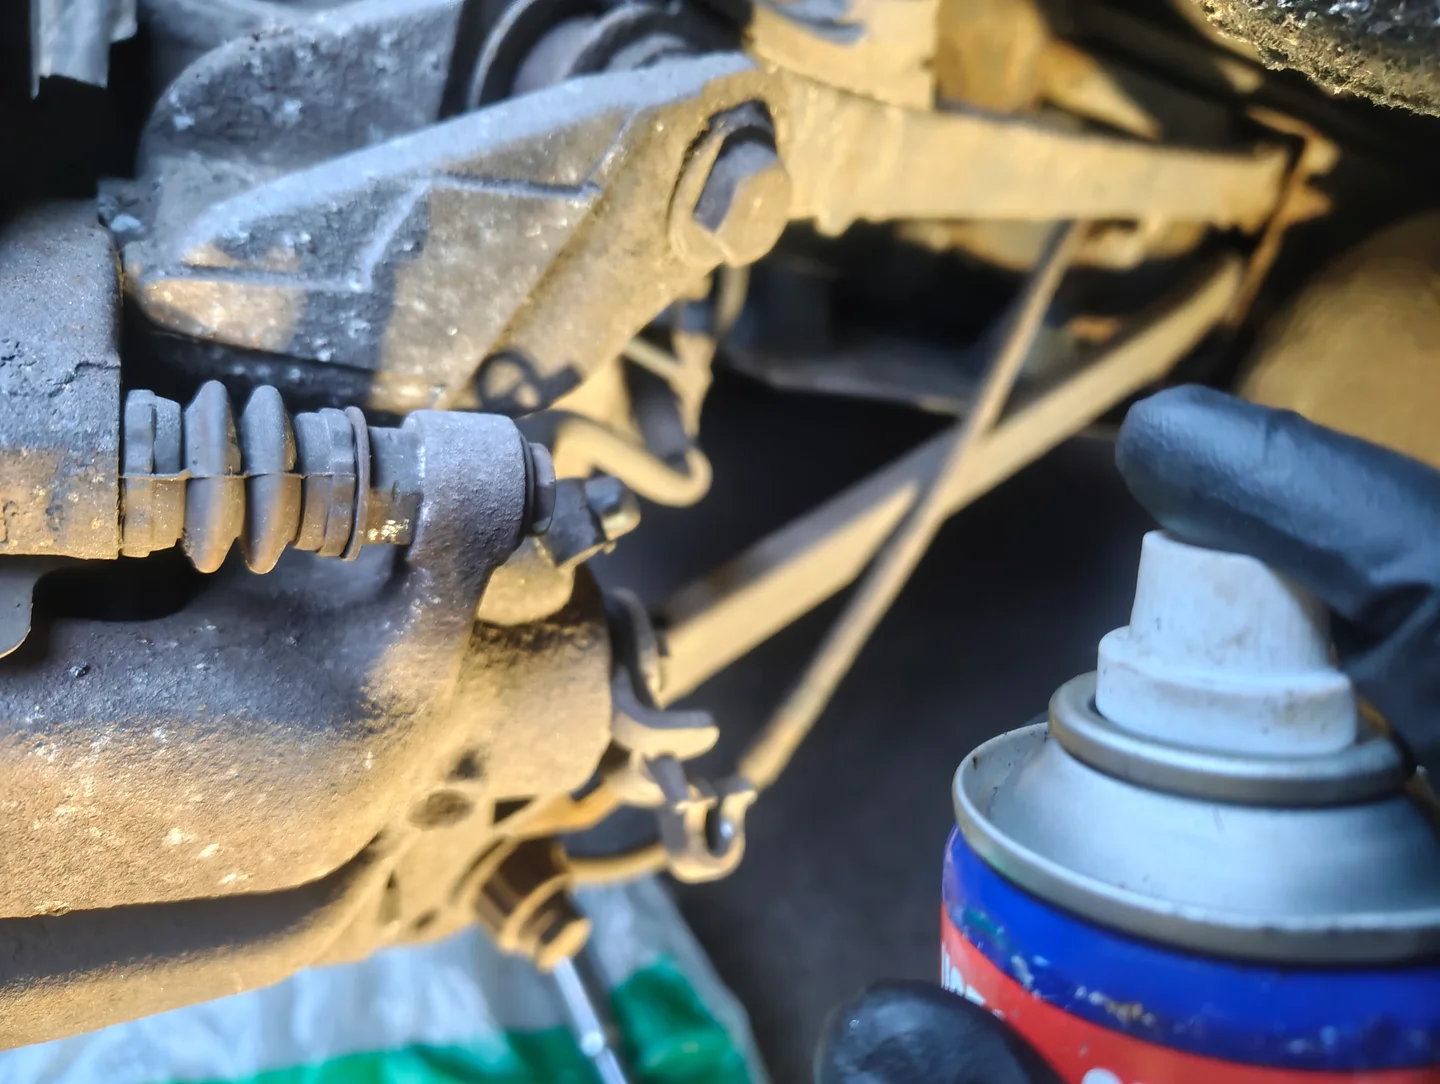
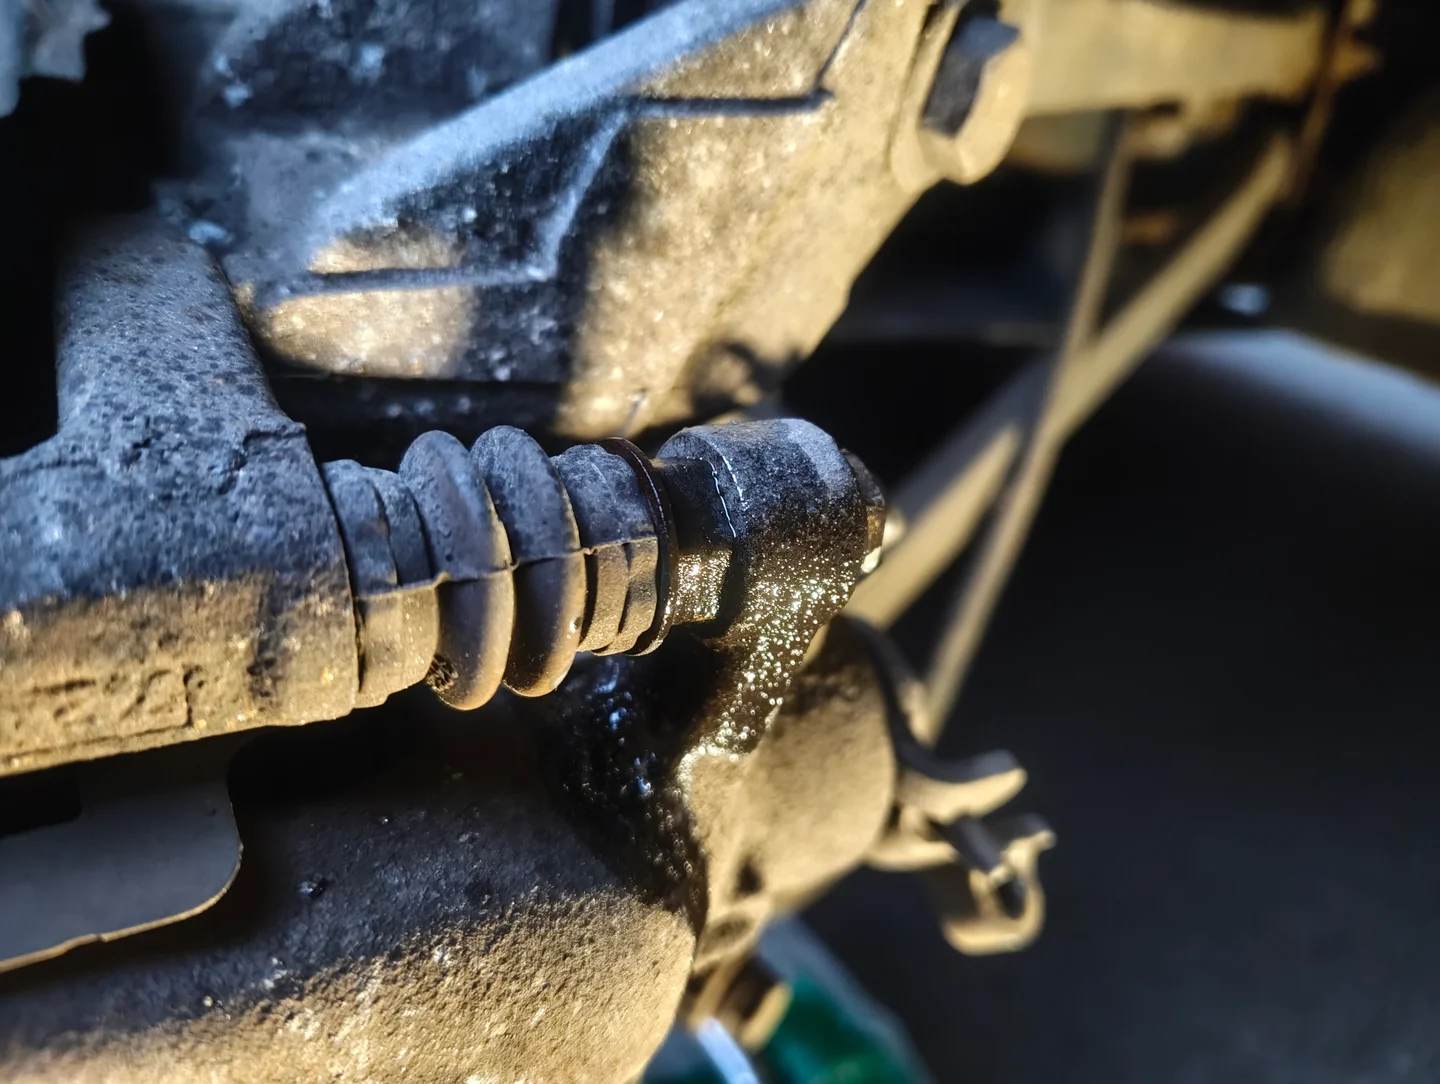
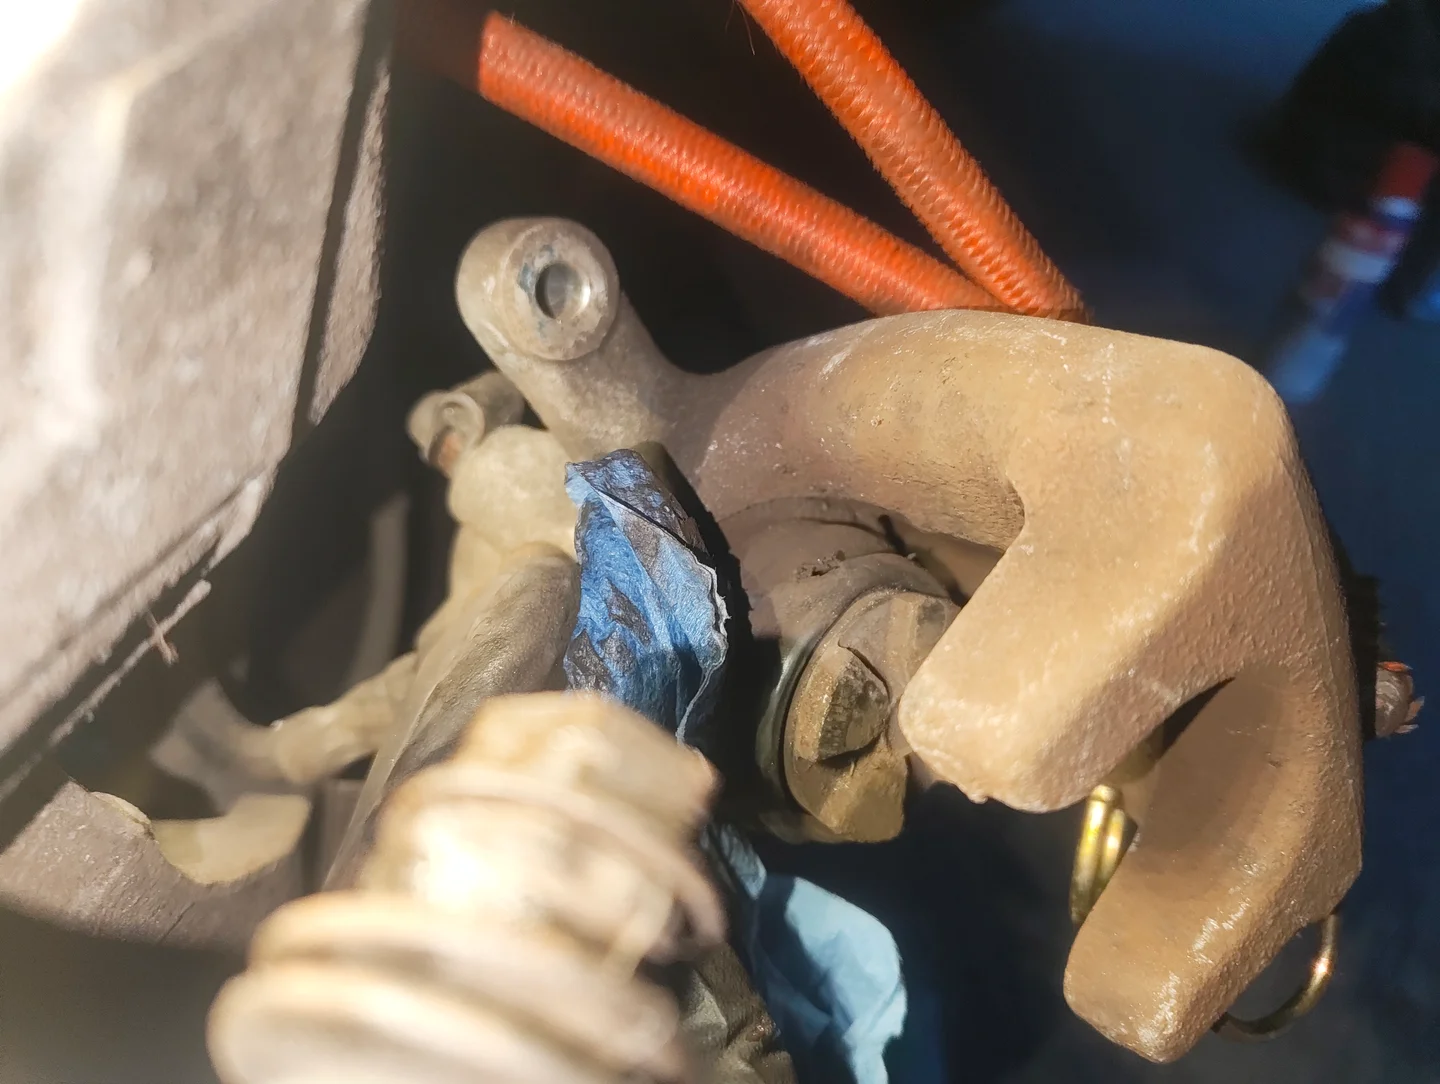
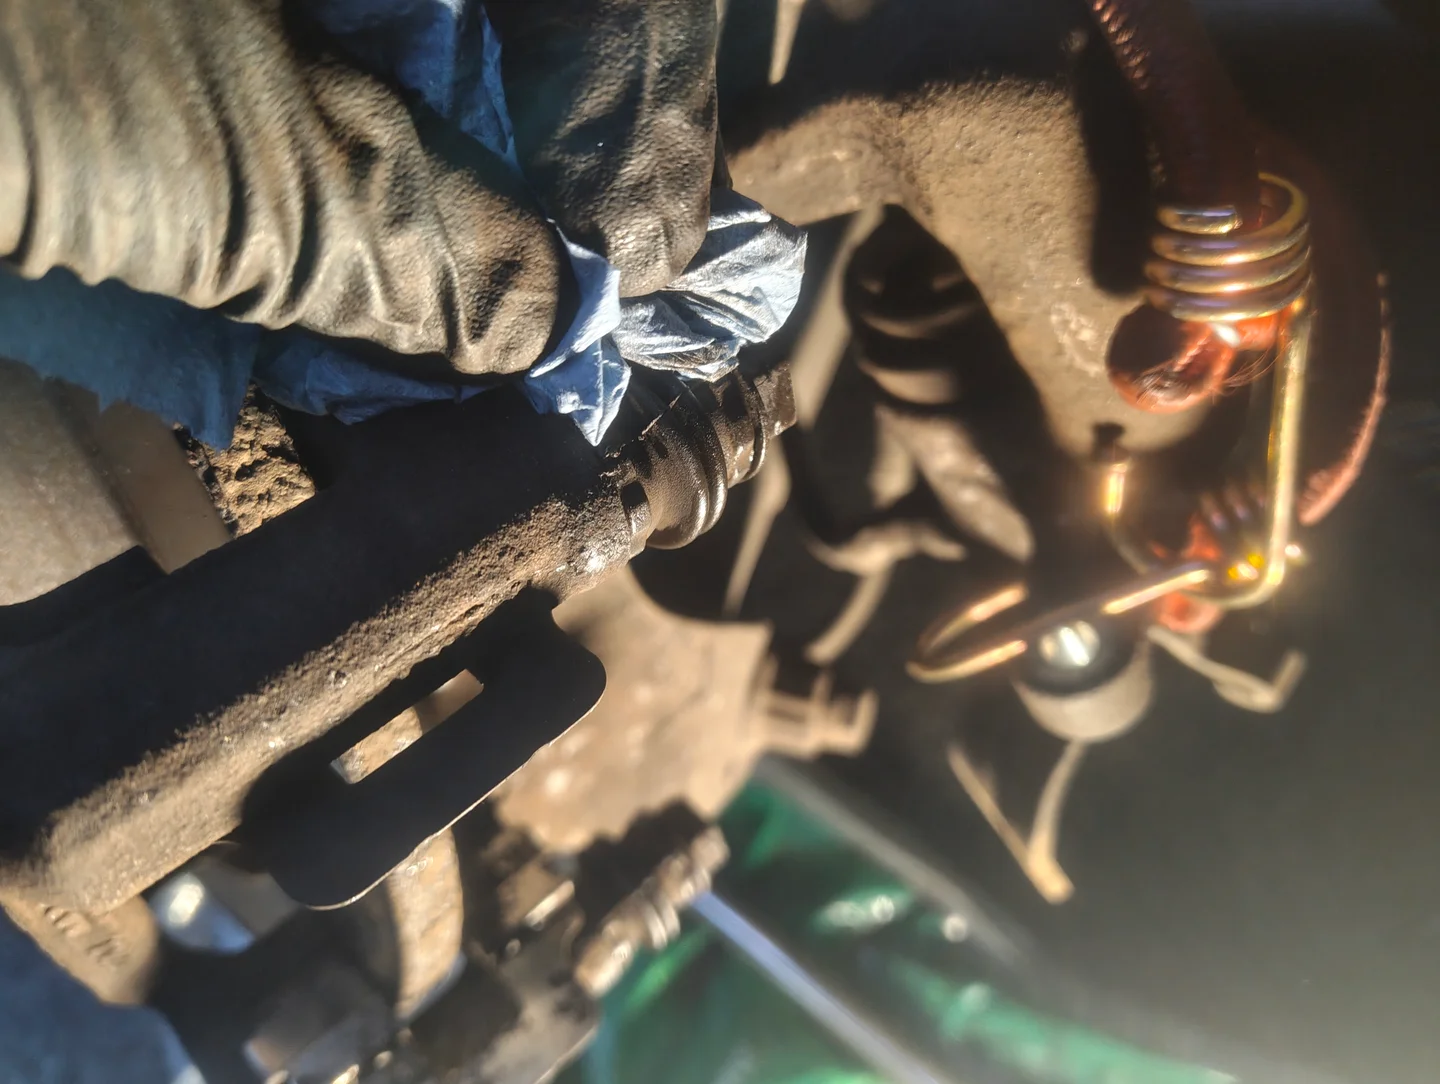
Grab your penetrant of choice and smother the top and bottom brake caliper slider pin fixing bolts then wait 5 minutes.
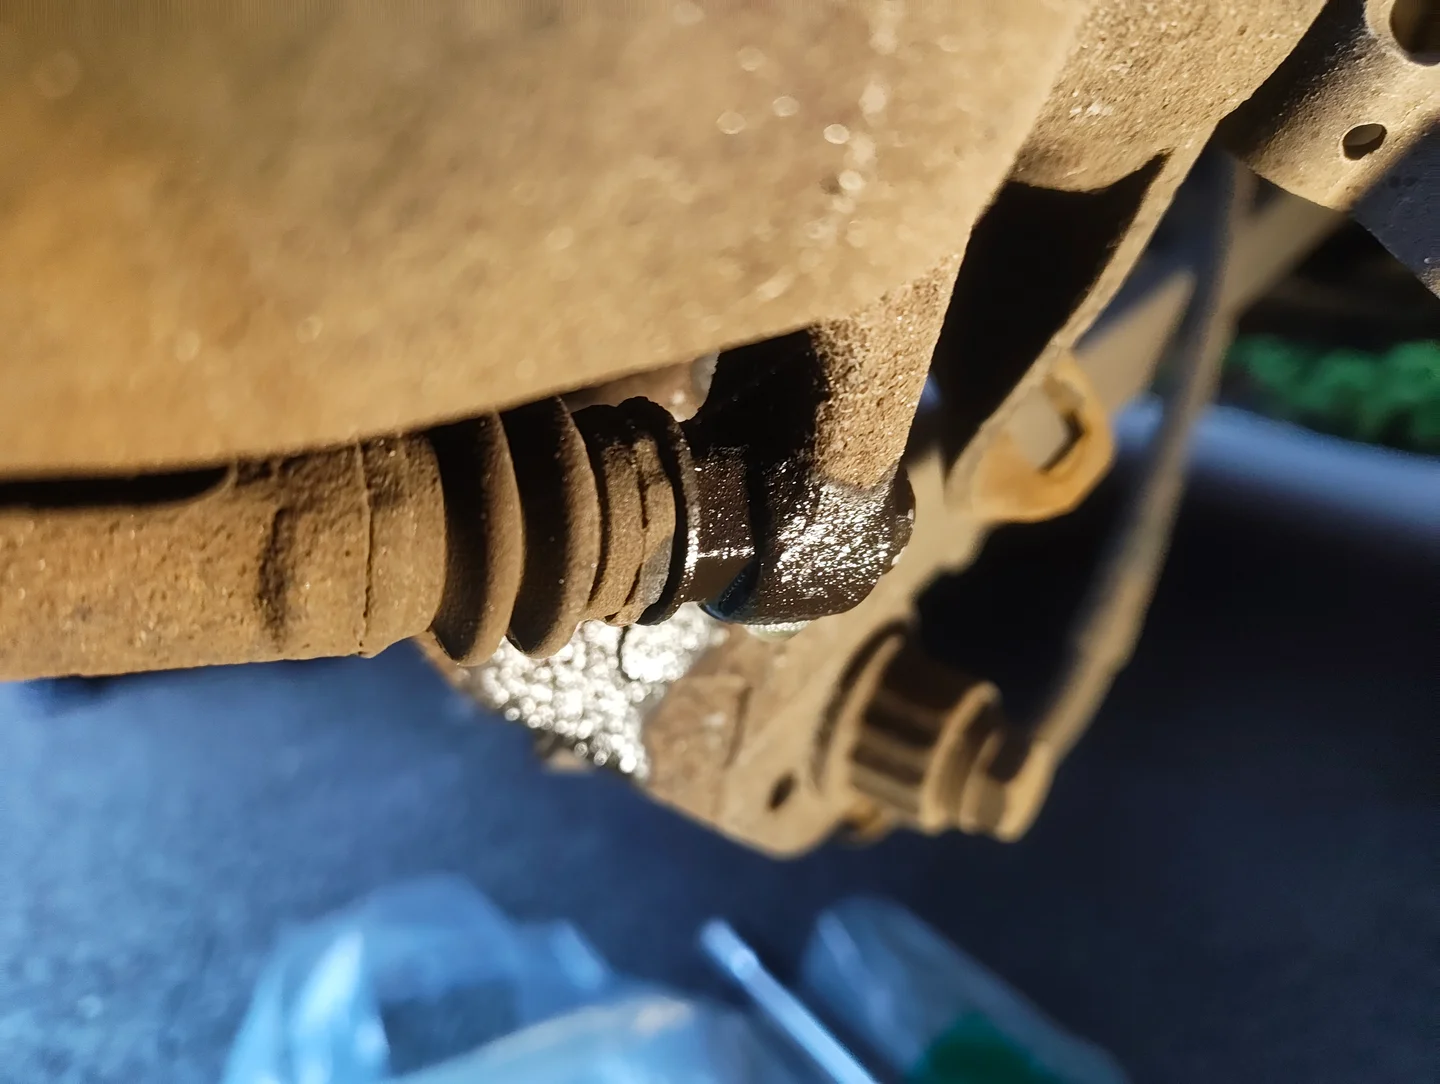
-
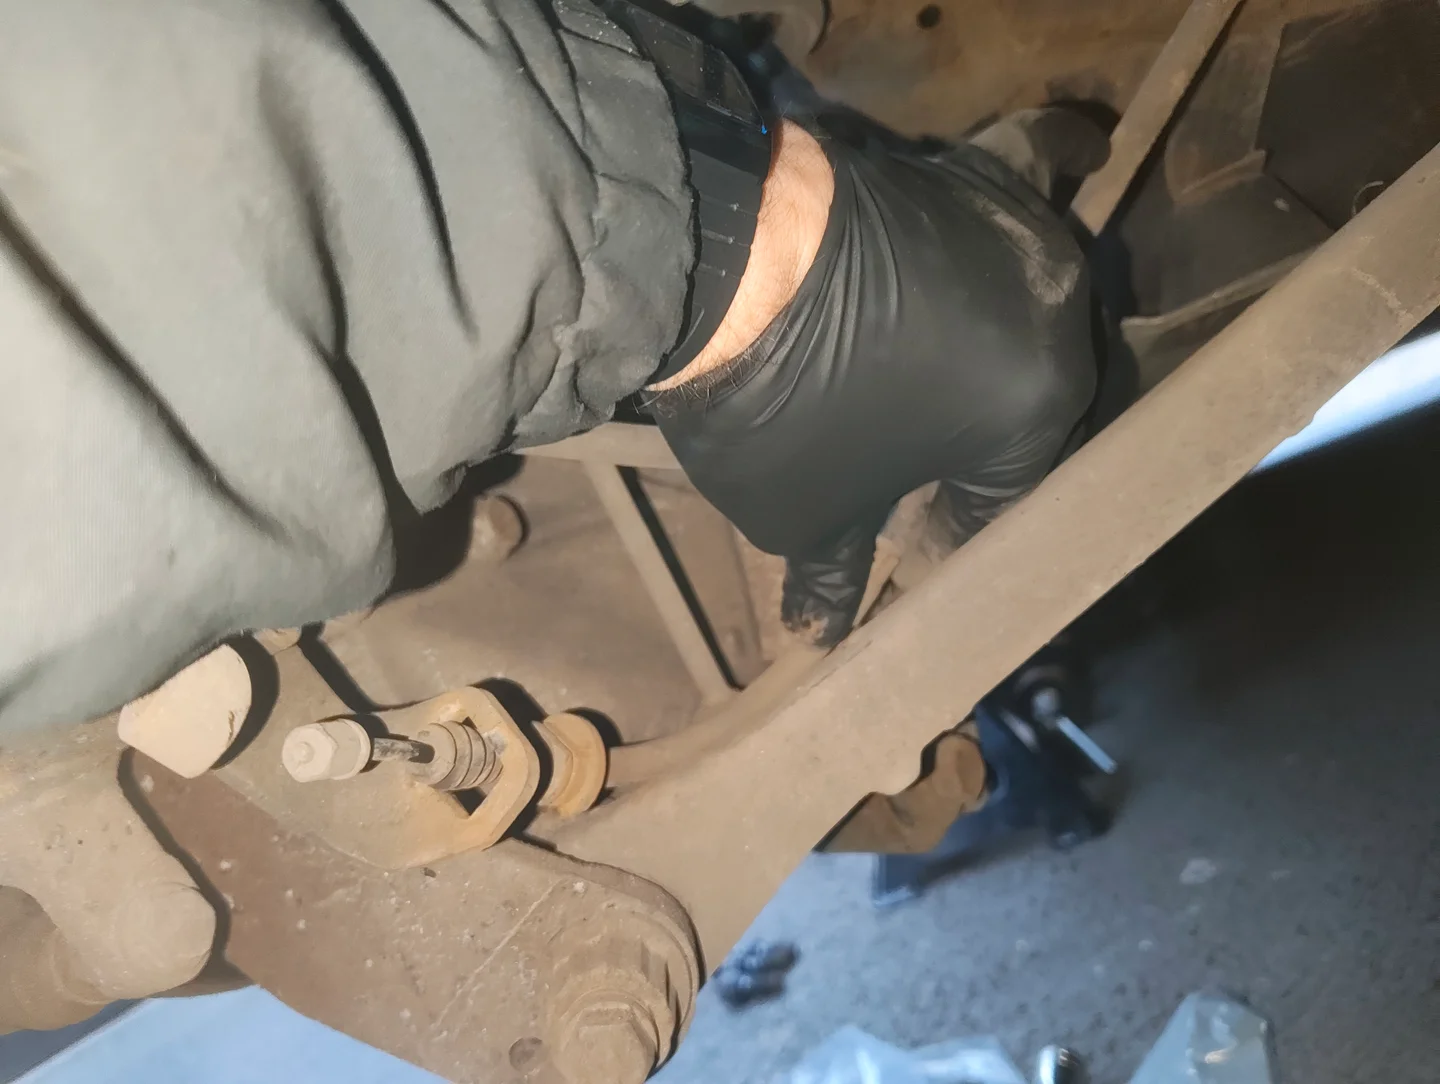
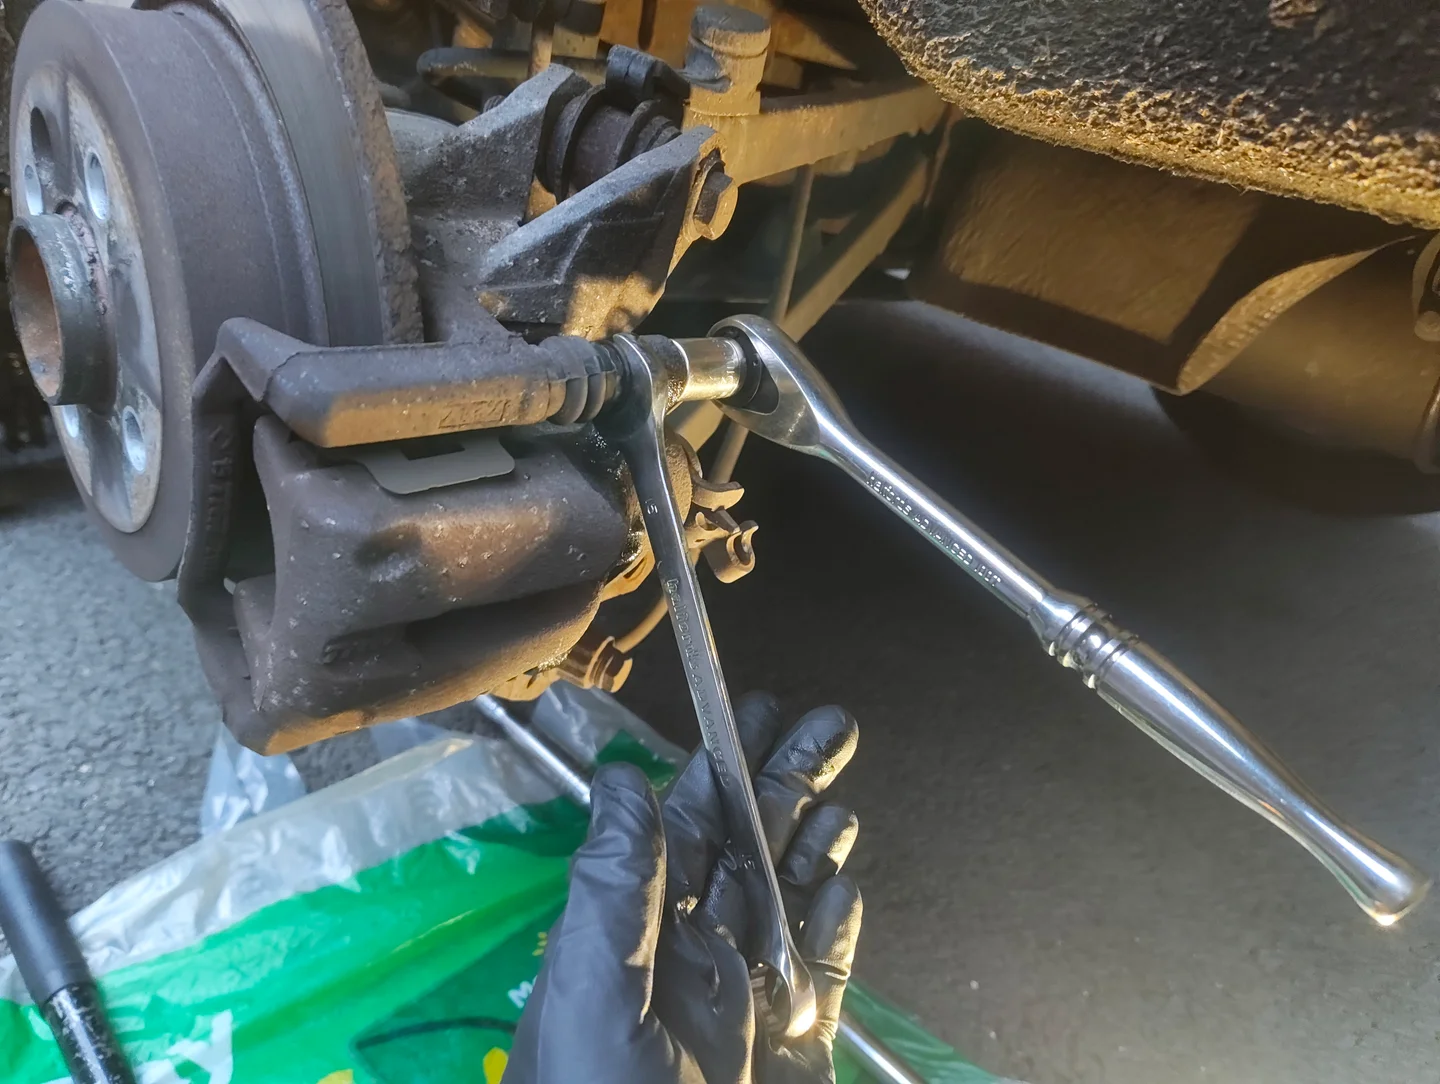
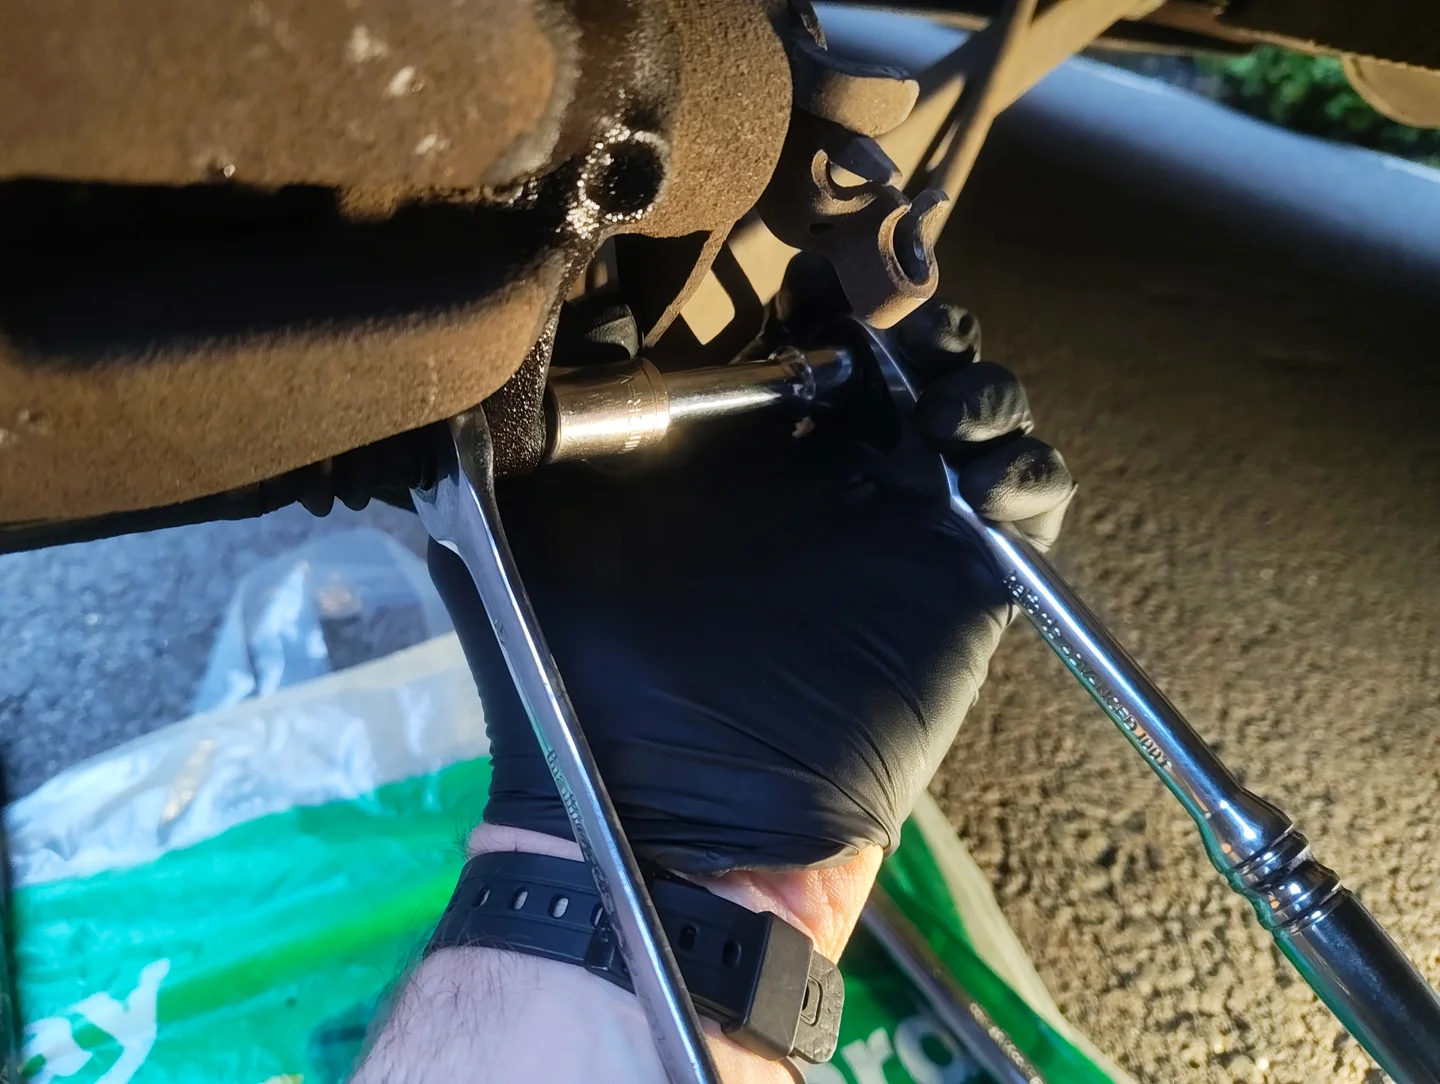
Grab your 15 mm spanner and pop your 13 mm 3/8" socket onto the 3/8" ratchet.
Place the 15 mm spanner on the hexagon head to counter hold it while you loosen and remove the fixing bolts with the ratchet.
You'll need an extention for the bottom bolt.
-
Next, remove the caliper by pulling and wiggling, use a flathead to pry if needed.
-
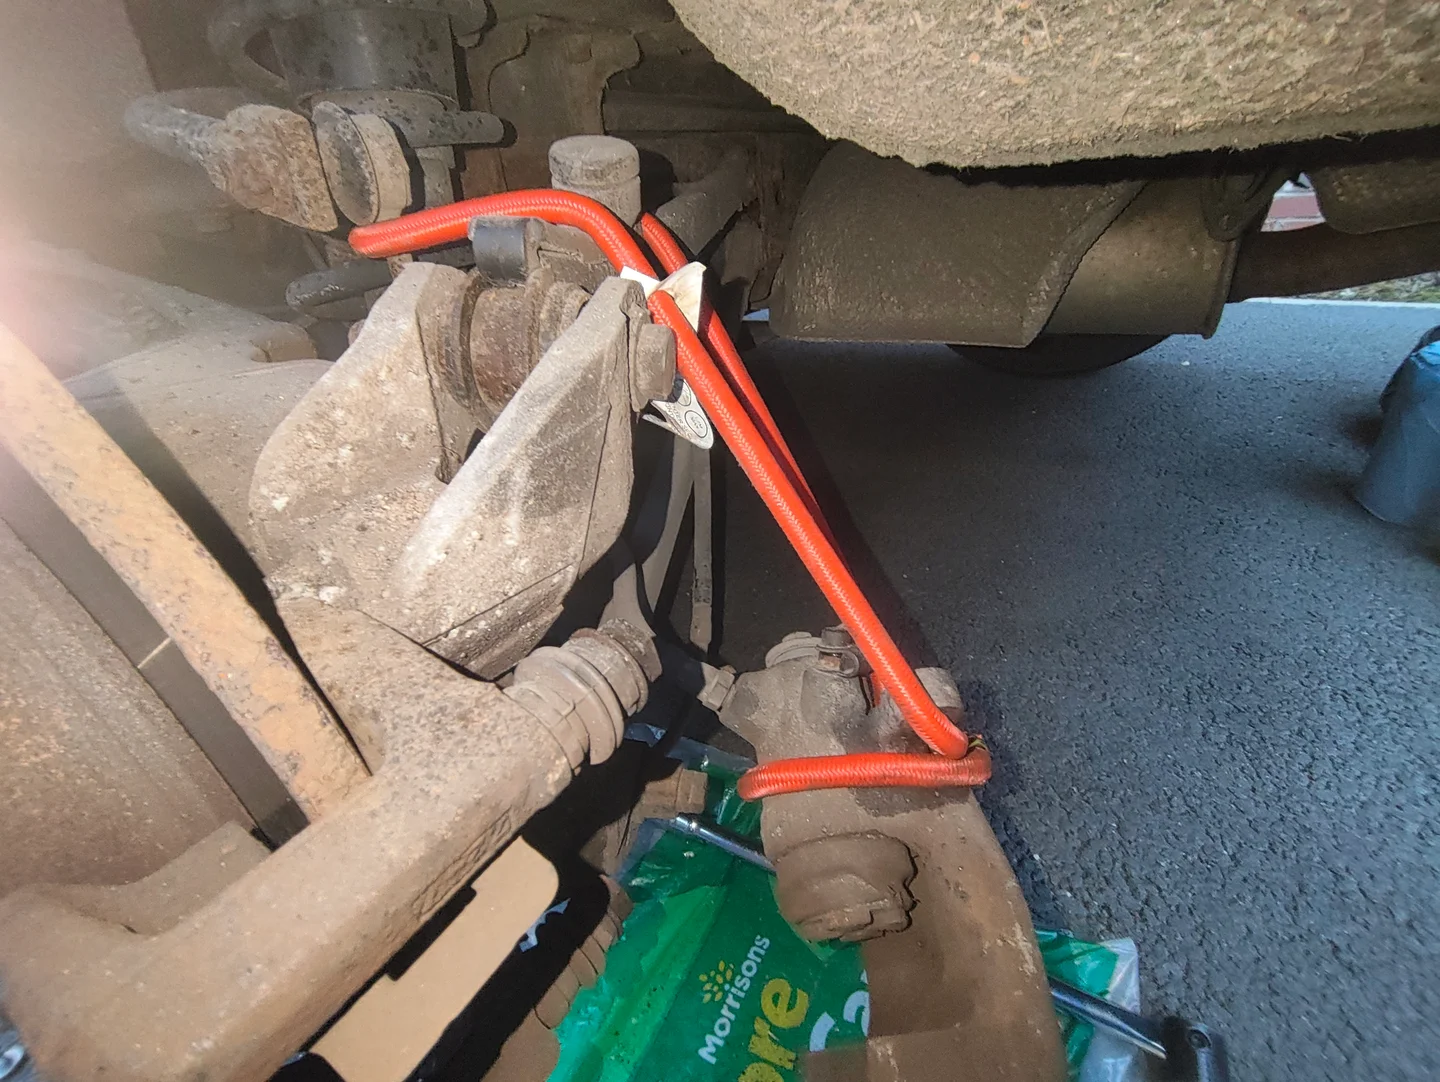
Suspend the caliper to avoid stressing the brake line, here I've used a bungee cord.
-
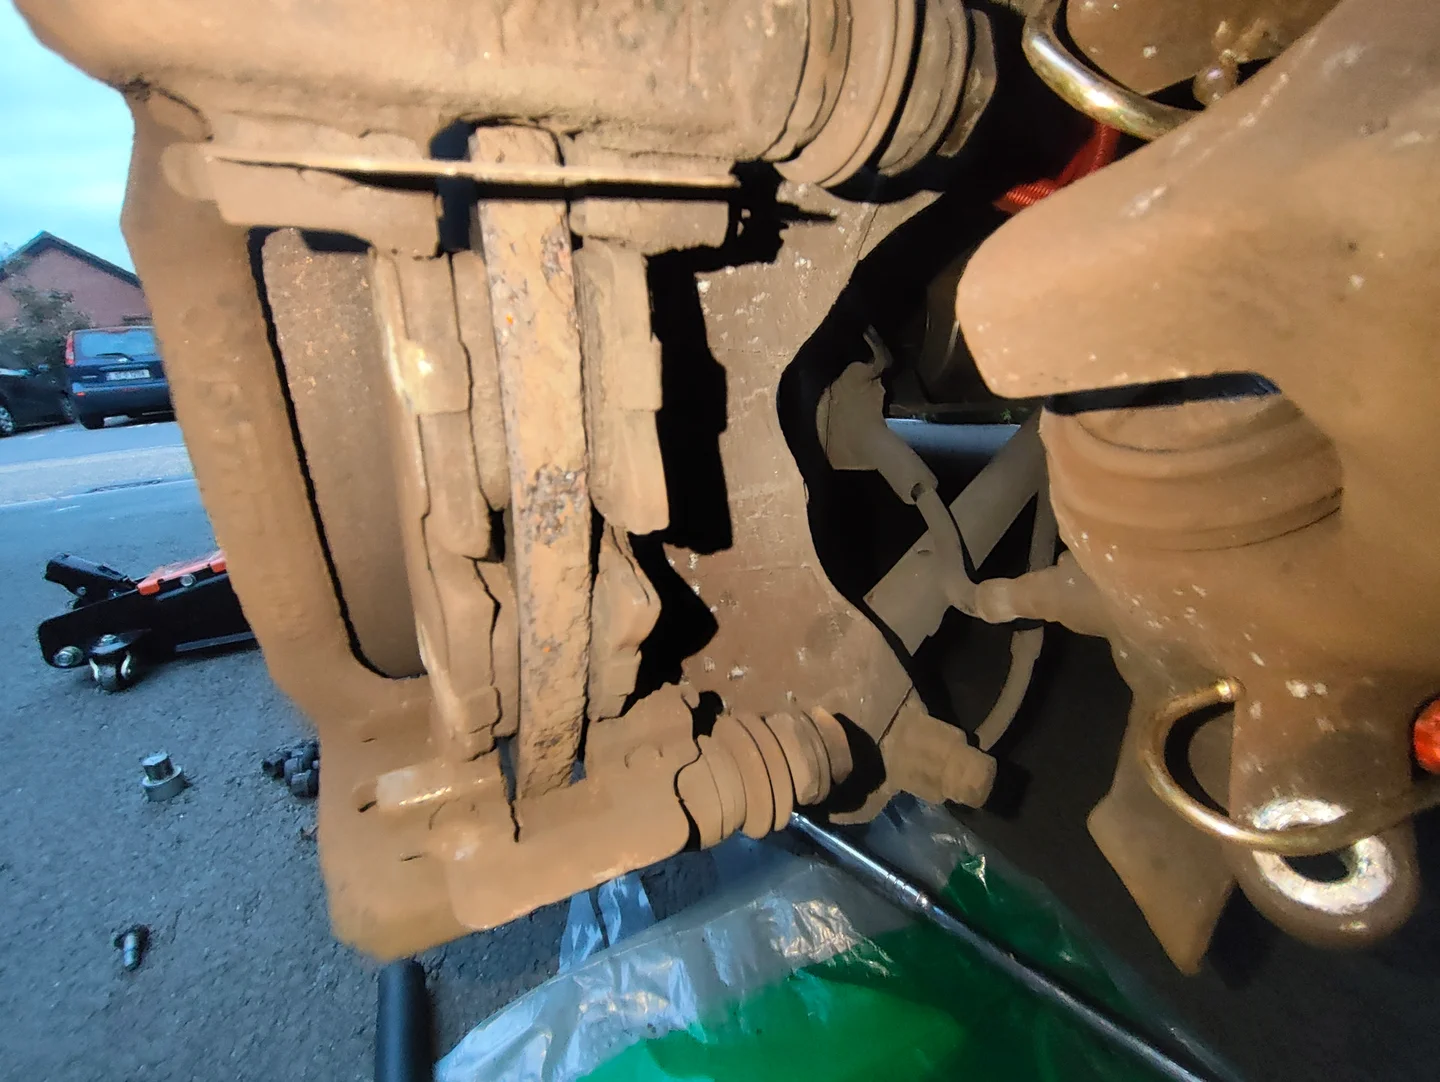
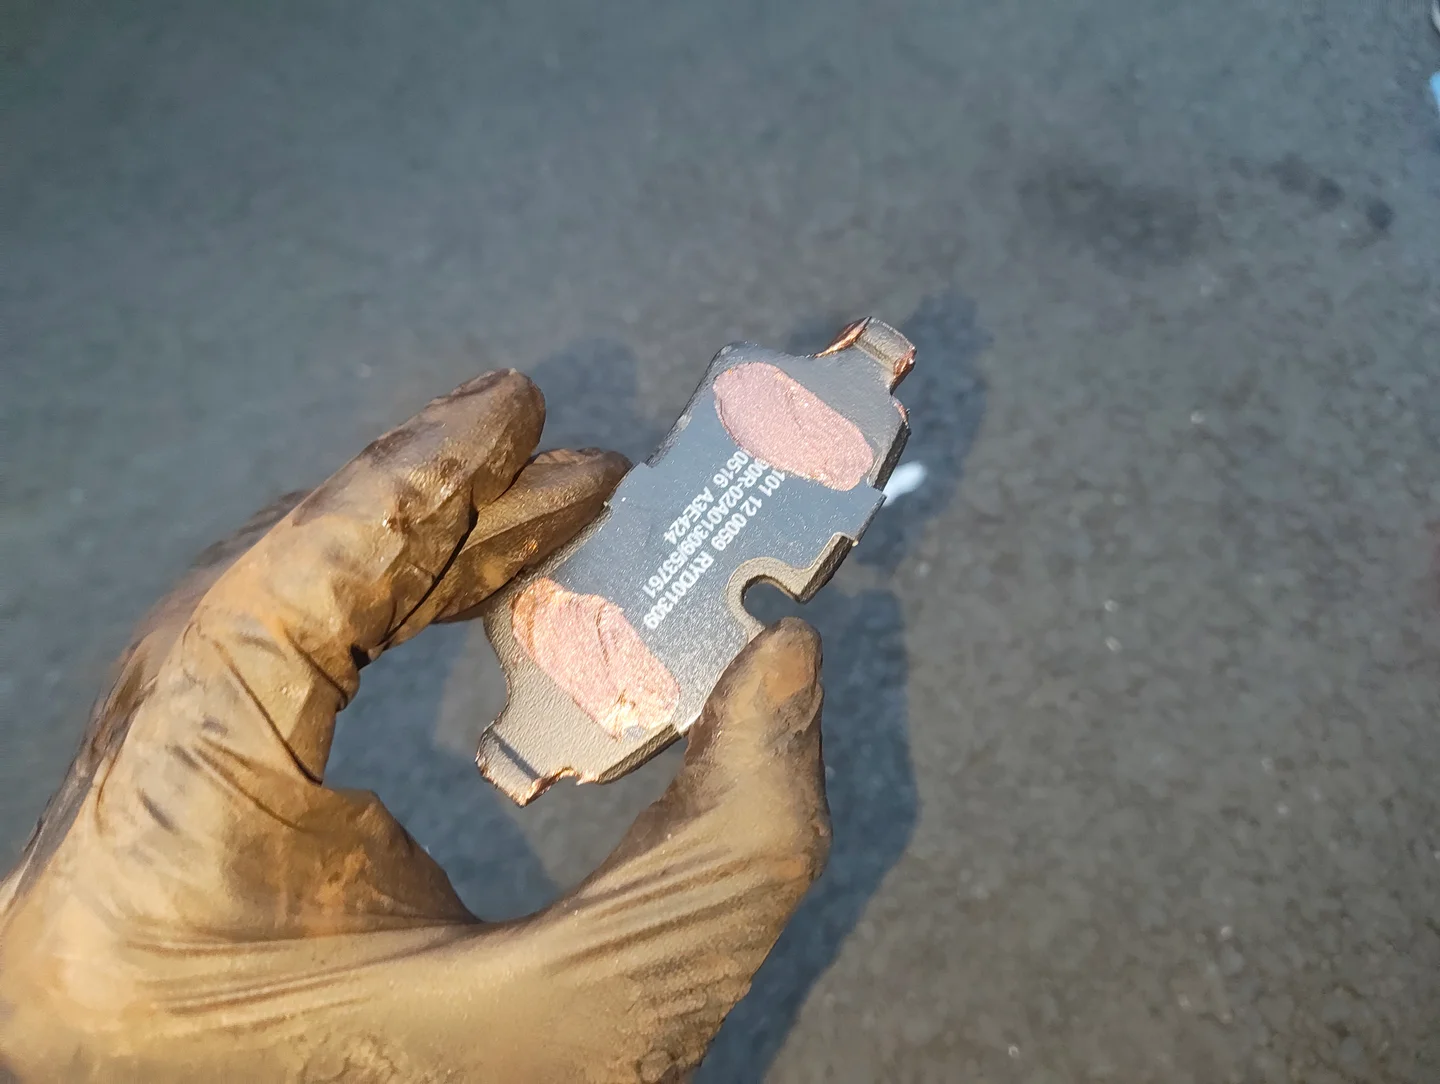
Observe the brake pads to identify which one is the inner and outer then remove by pulling and wiggling them left to right.

-
Remove both top and bottom slider pins.
-
Remove both top and bottom shims.
2. Cleaning
-
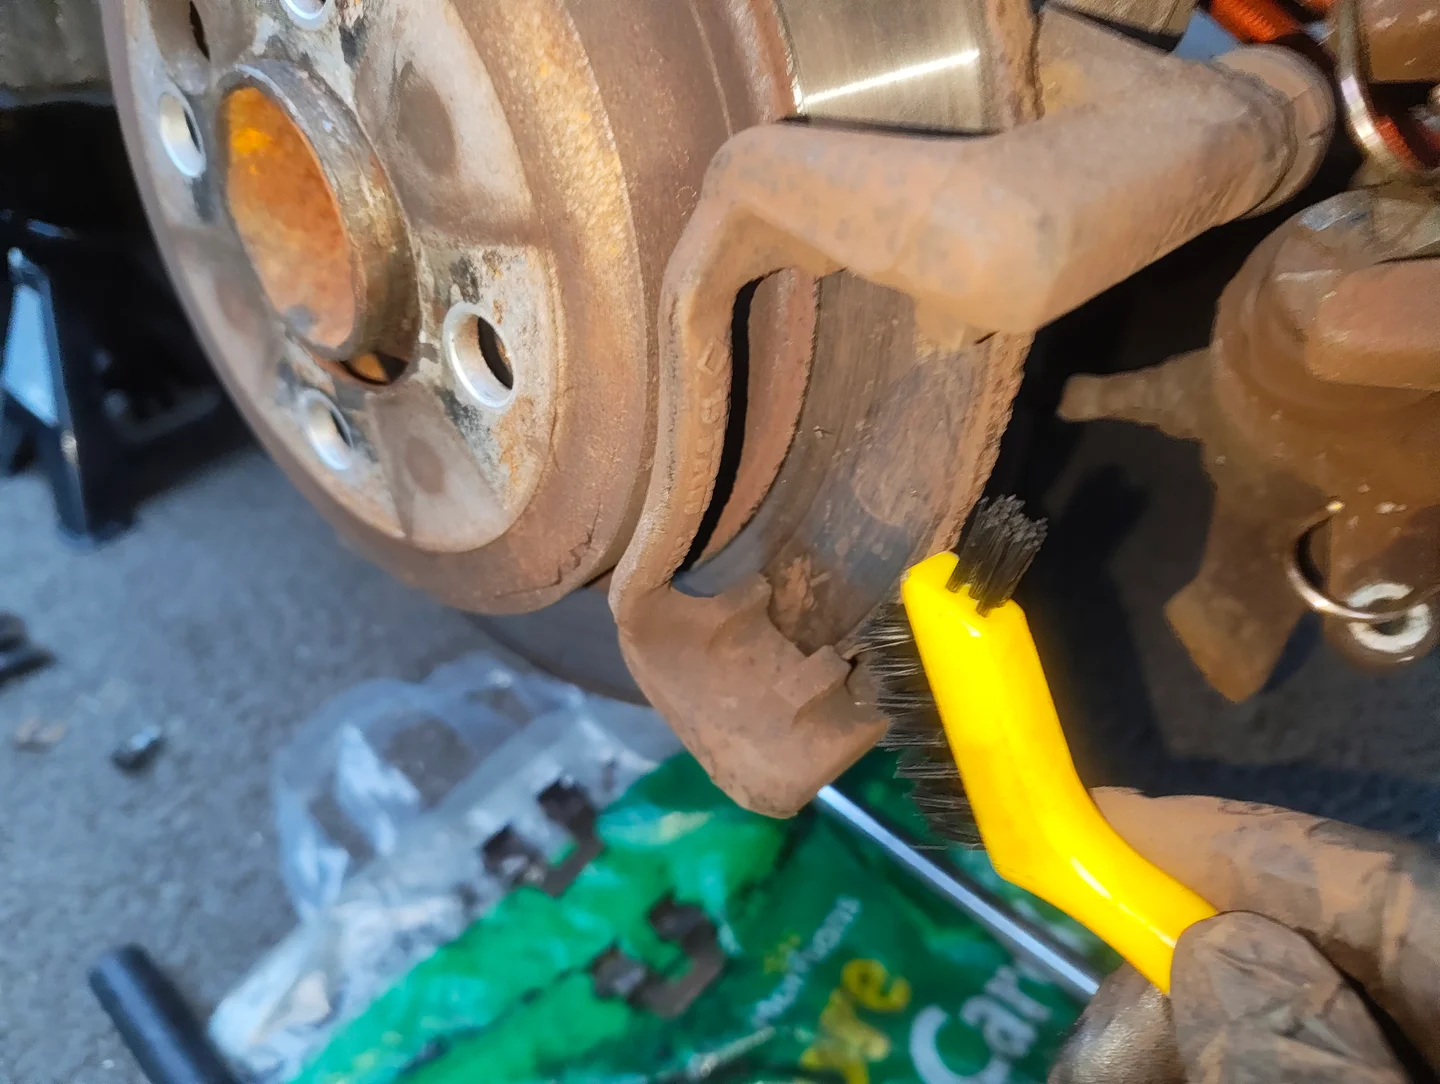
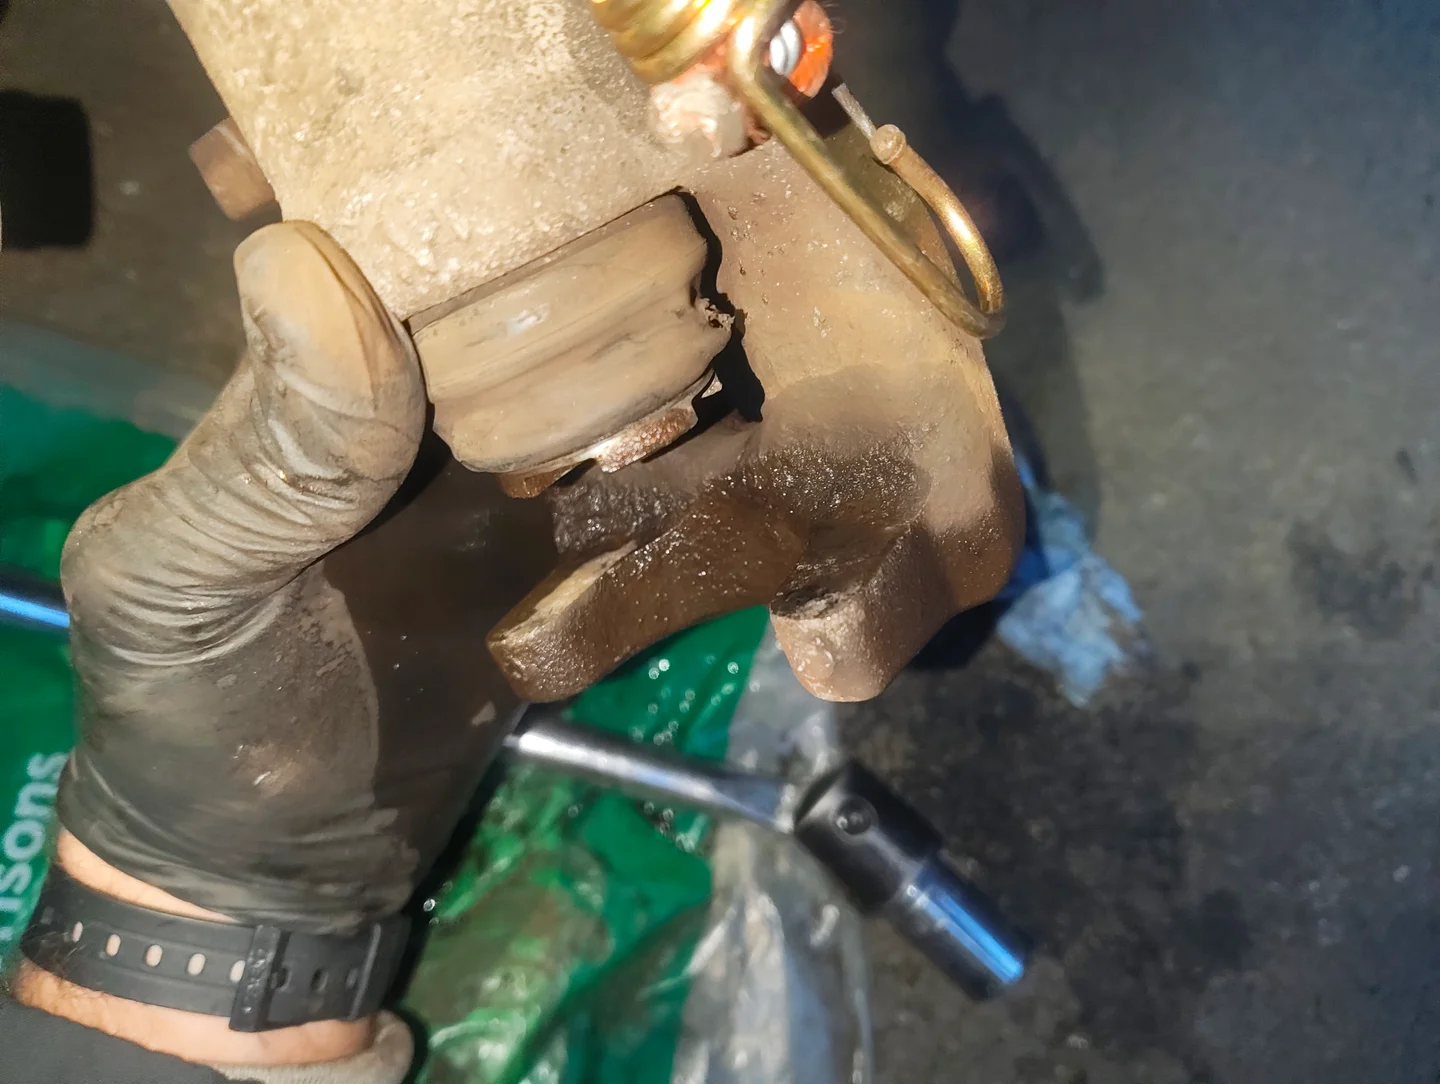
Spray some brake cleaner all over where the shims sit.
While still wet, grab your hard nylon brush and scrub where the shims sit. Imagine the shims are removed in the below image.
-
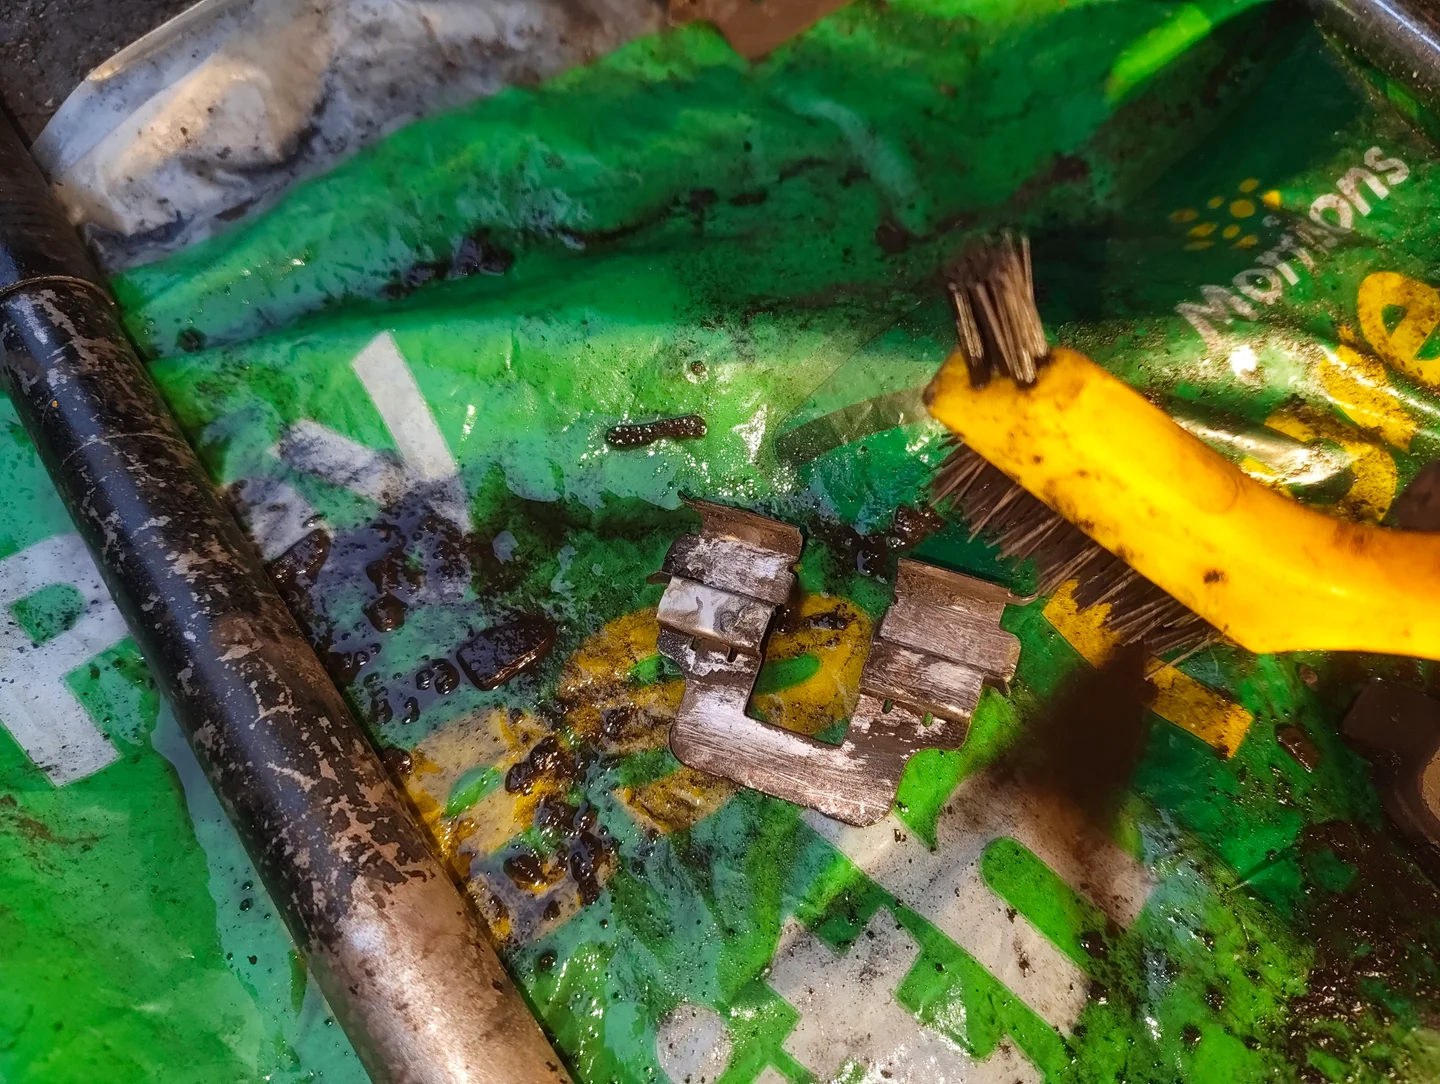
Skip this step if new shims are provided with your brake pads.
Spray a little brake cleaner on the recess of the shims (where the brake pad ears sit), then use a nylon brush to clean off any dirt.
-
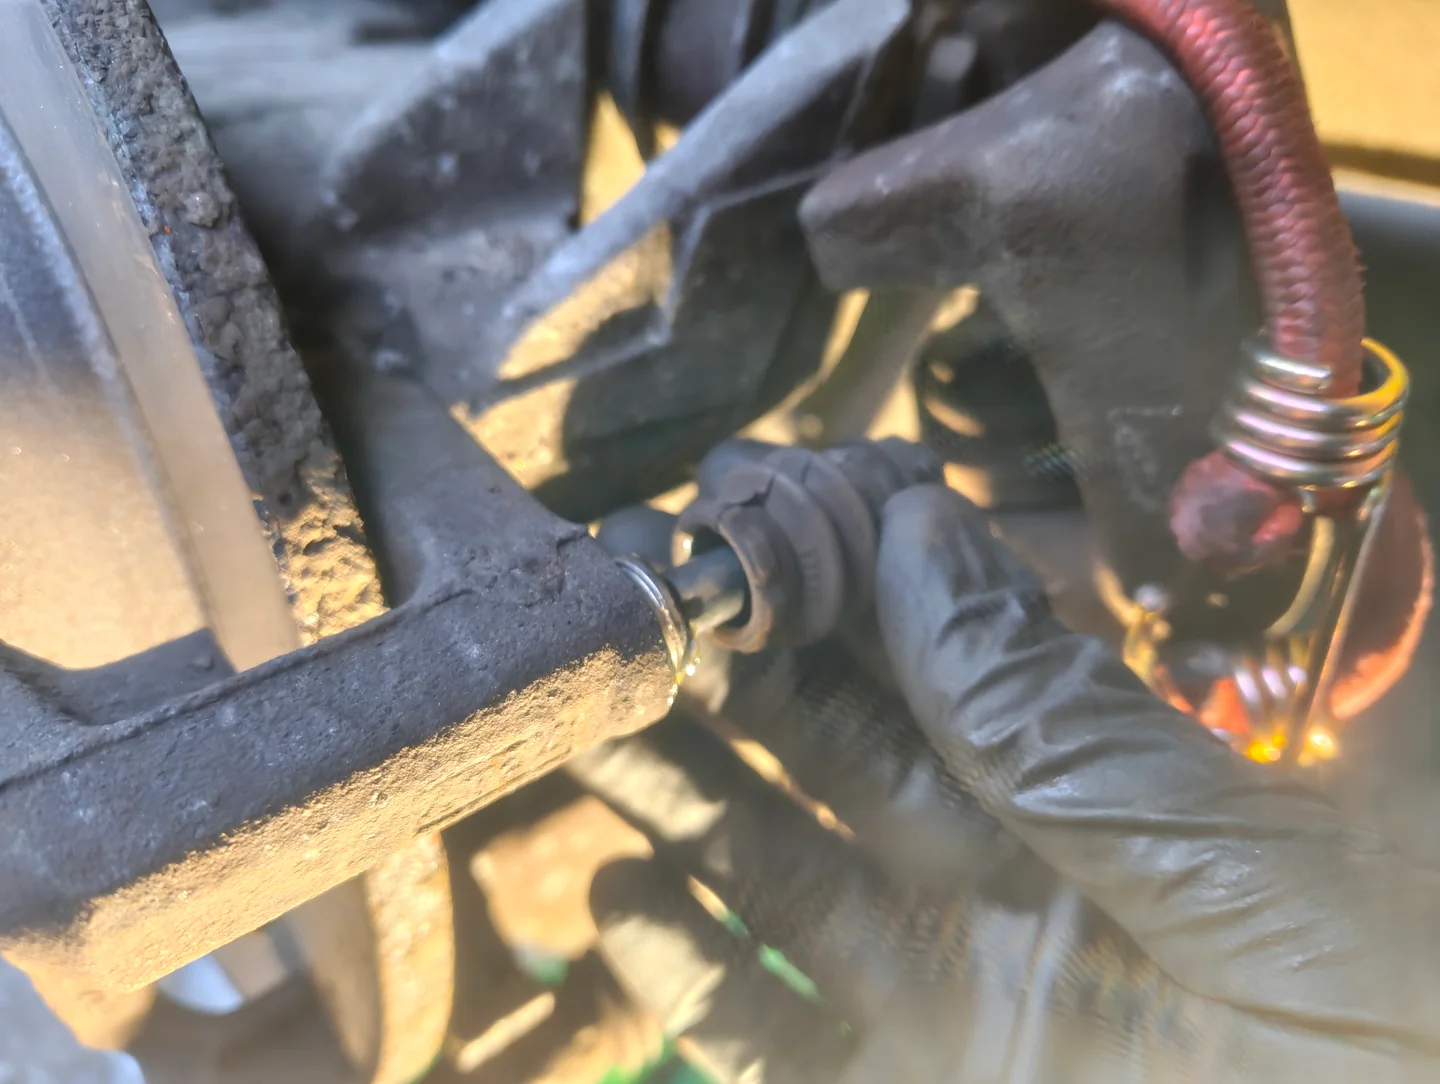
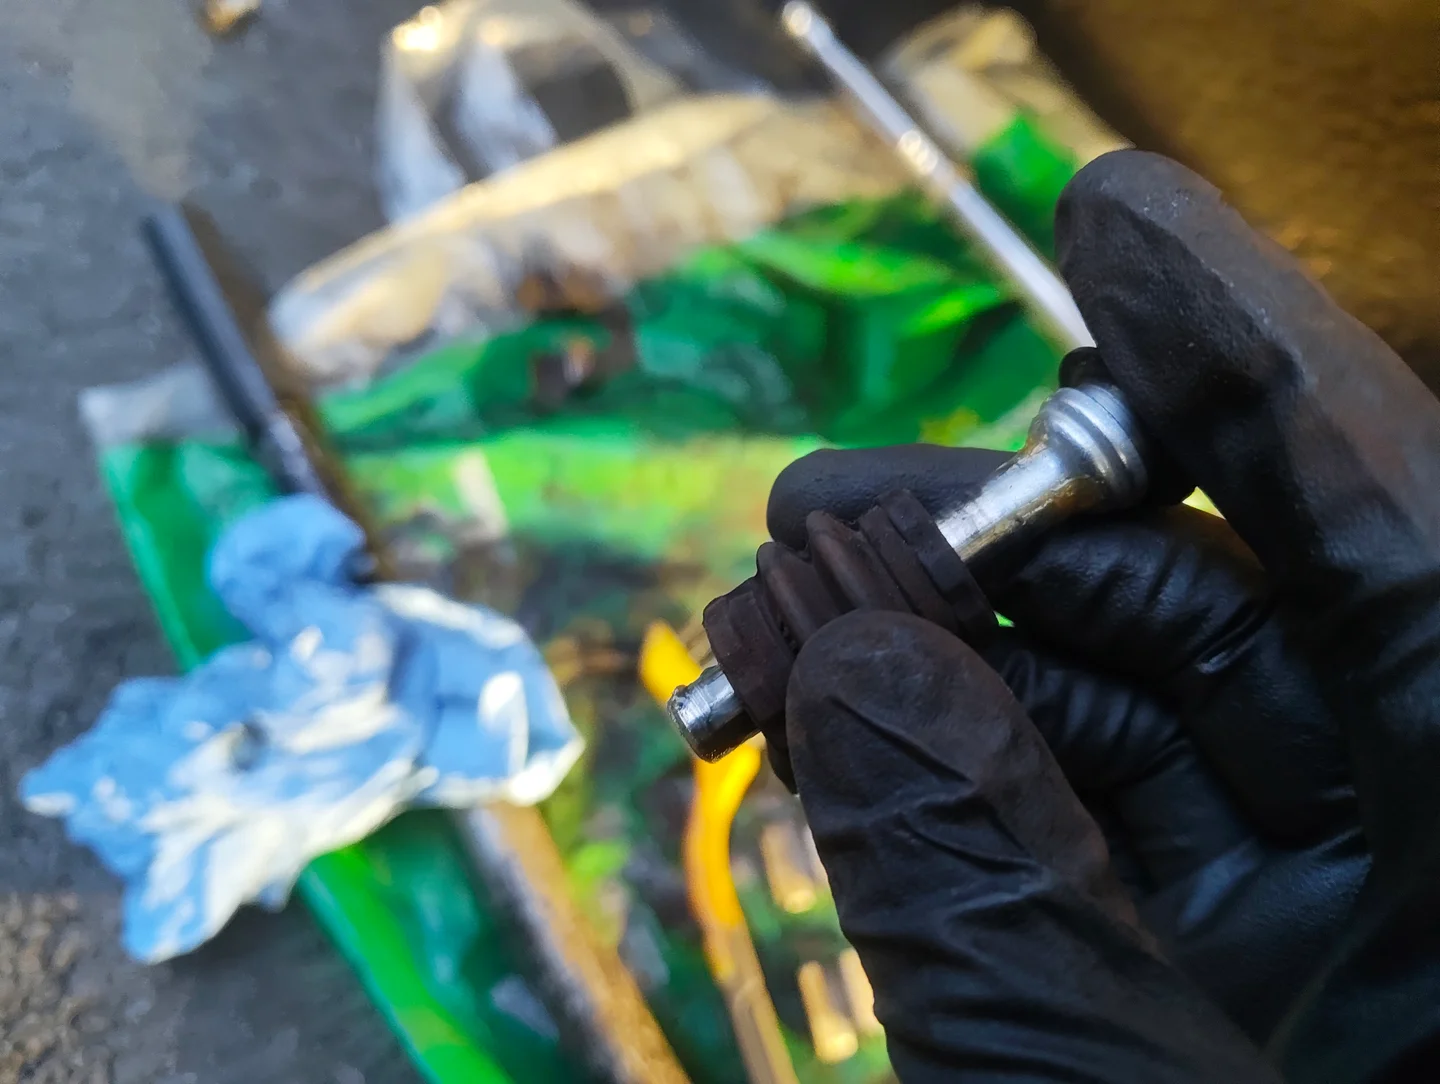
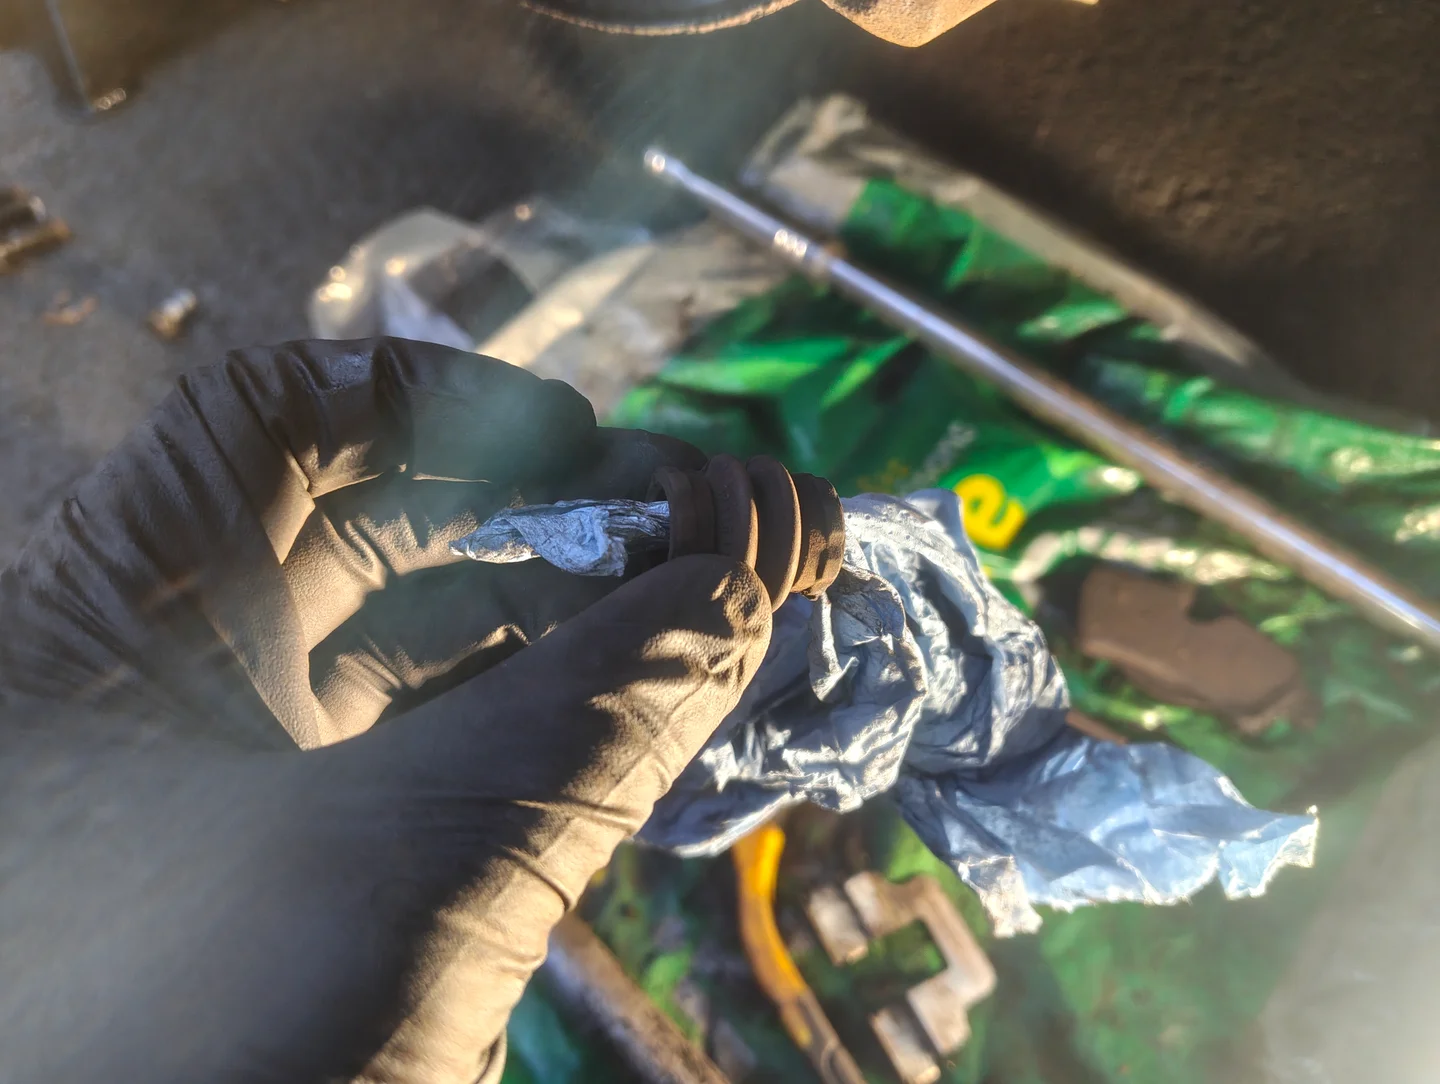
Remove the boots from the slider pins and wipe down the pins with a little brake cleaner.
Spray a drop of brake cleaner inside the boots and thread some blue paper roll inside. Squeeze and roll the boot on the paper roll to remove dirt.
-
Clean the inside of the caliper prongs that cradle the brake pad with a little brake cleaner and scrubbing.
This avoids build up of dust when we apply copper grease to the back plate of the pads later.
-
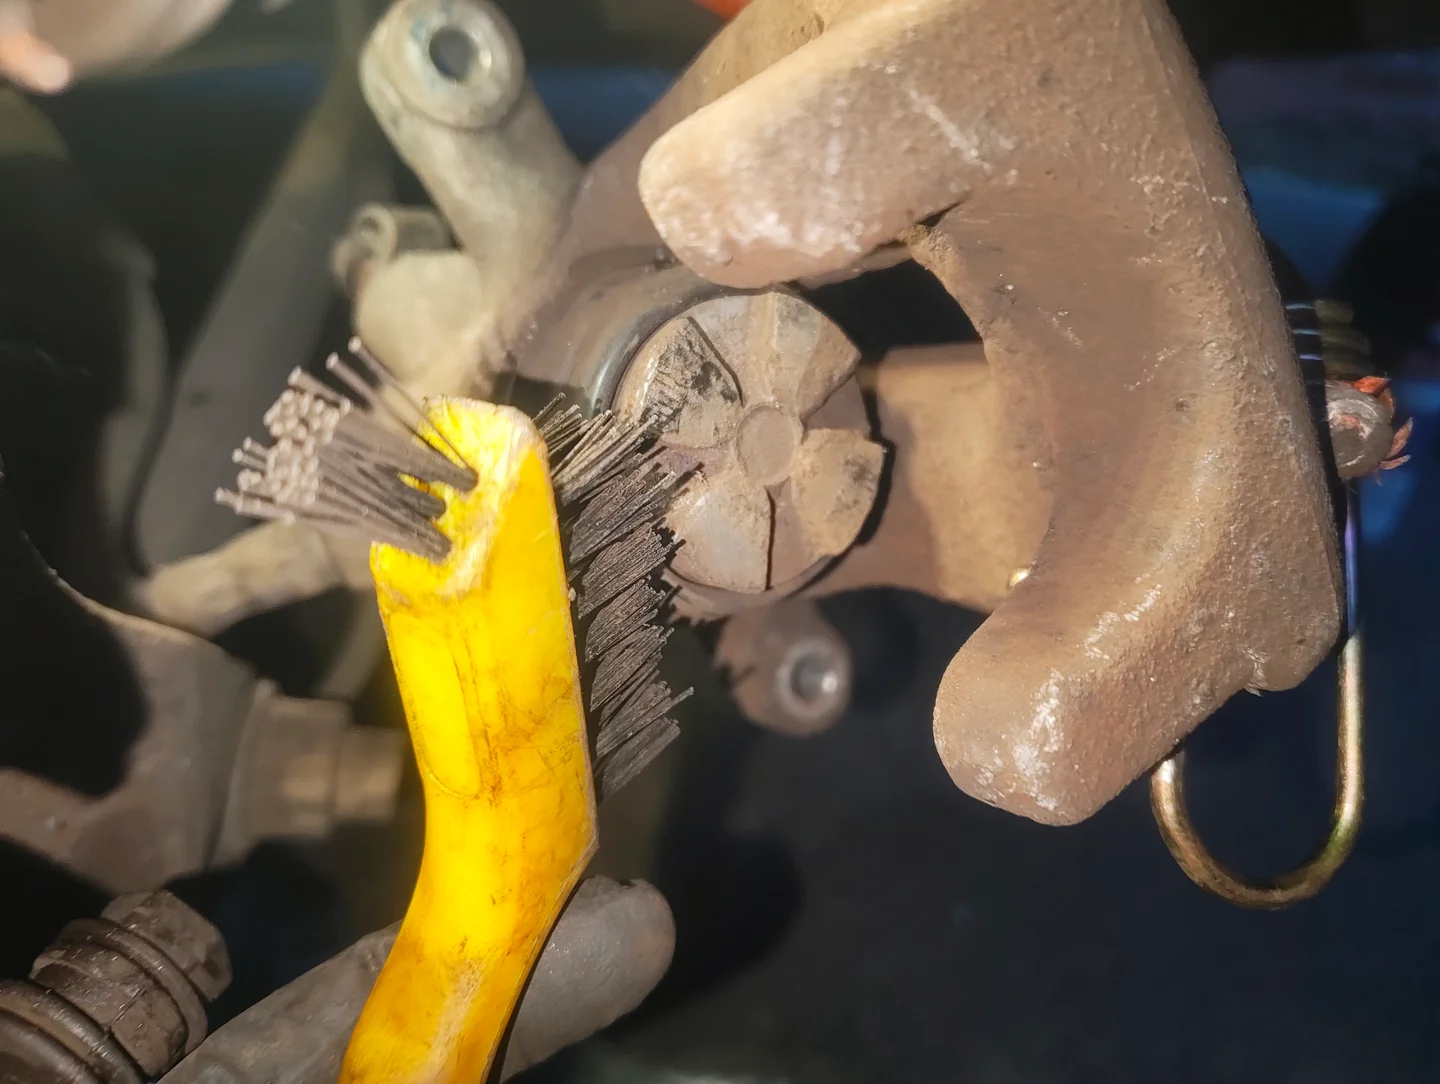
Clean a little around the piston boot by spraying a little brake cleaner on some paper roll and slowly wiping around.
-
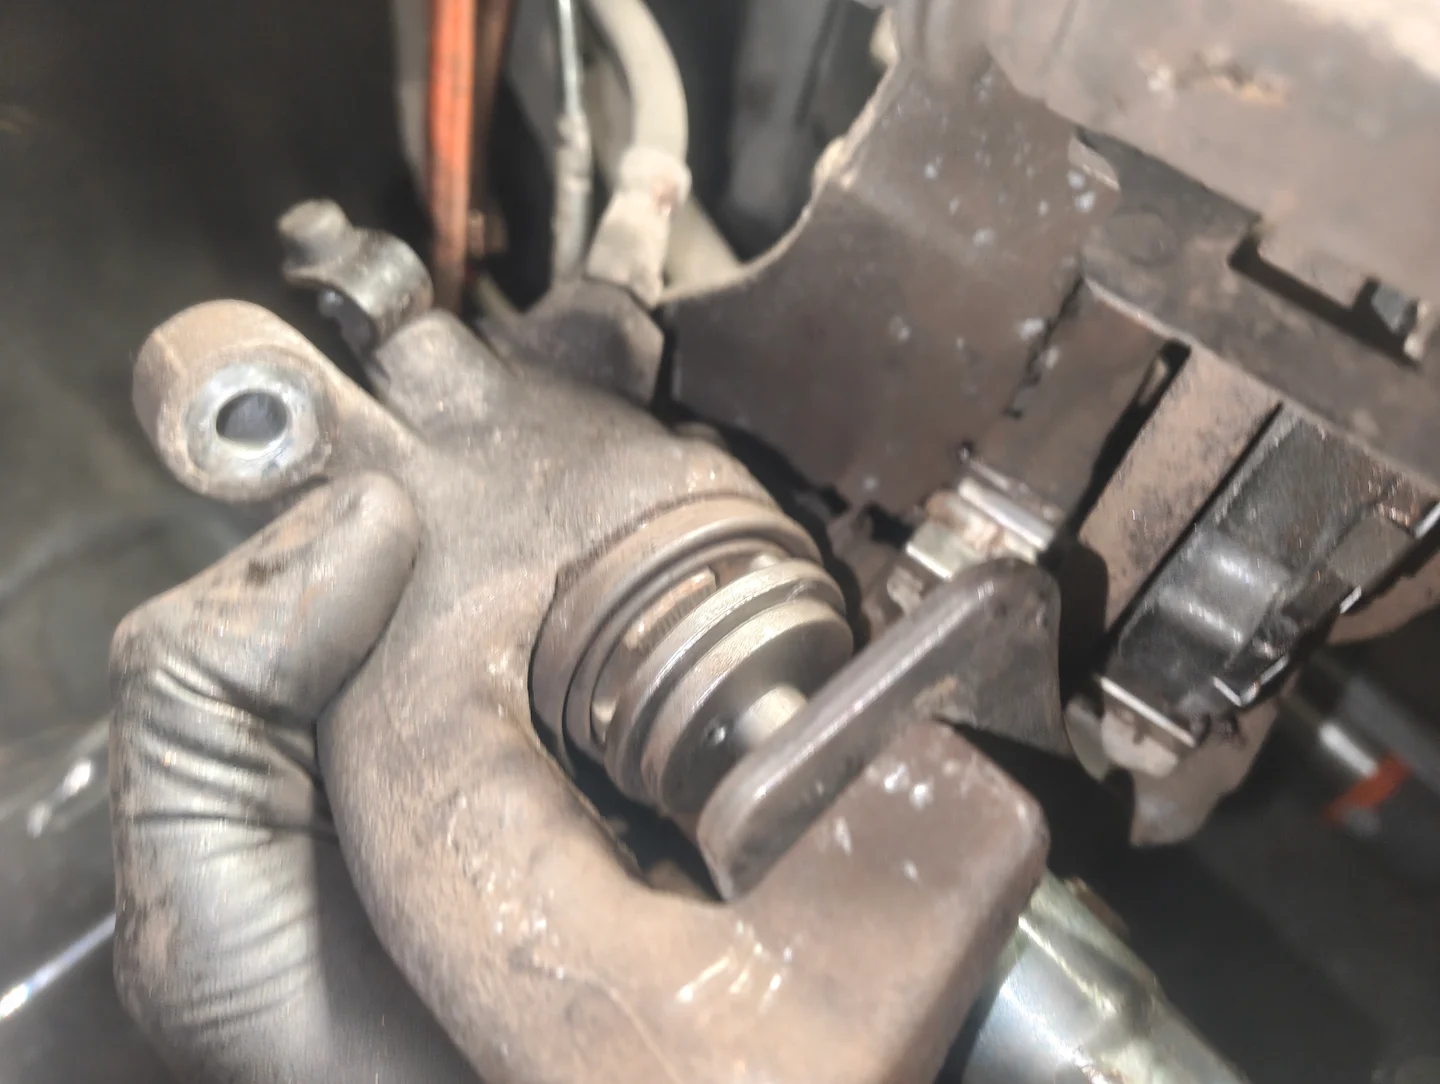
Finally, clean the surface of the piston surface with a little brake cleaner and a gentle scrub.
4. Installation
-
Now, let's put it all back together.
First, apply a little silicone grease to the slider pins
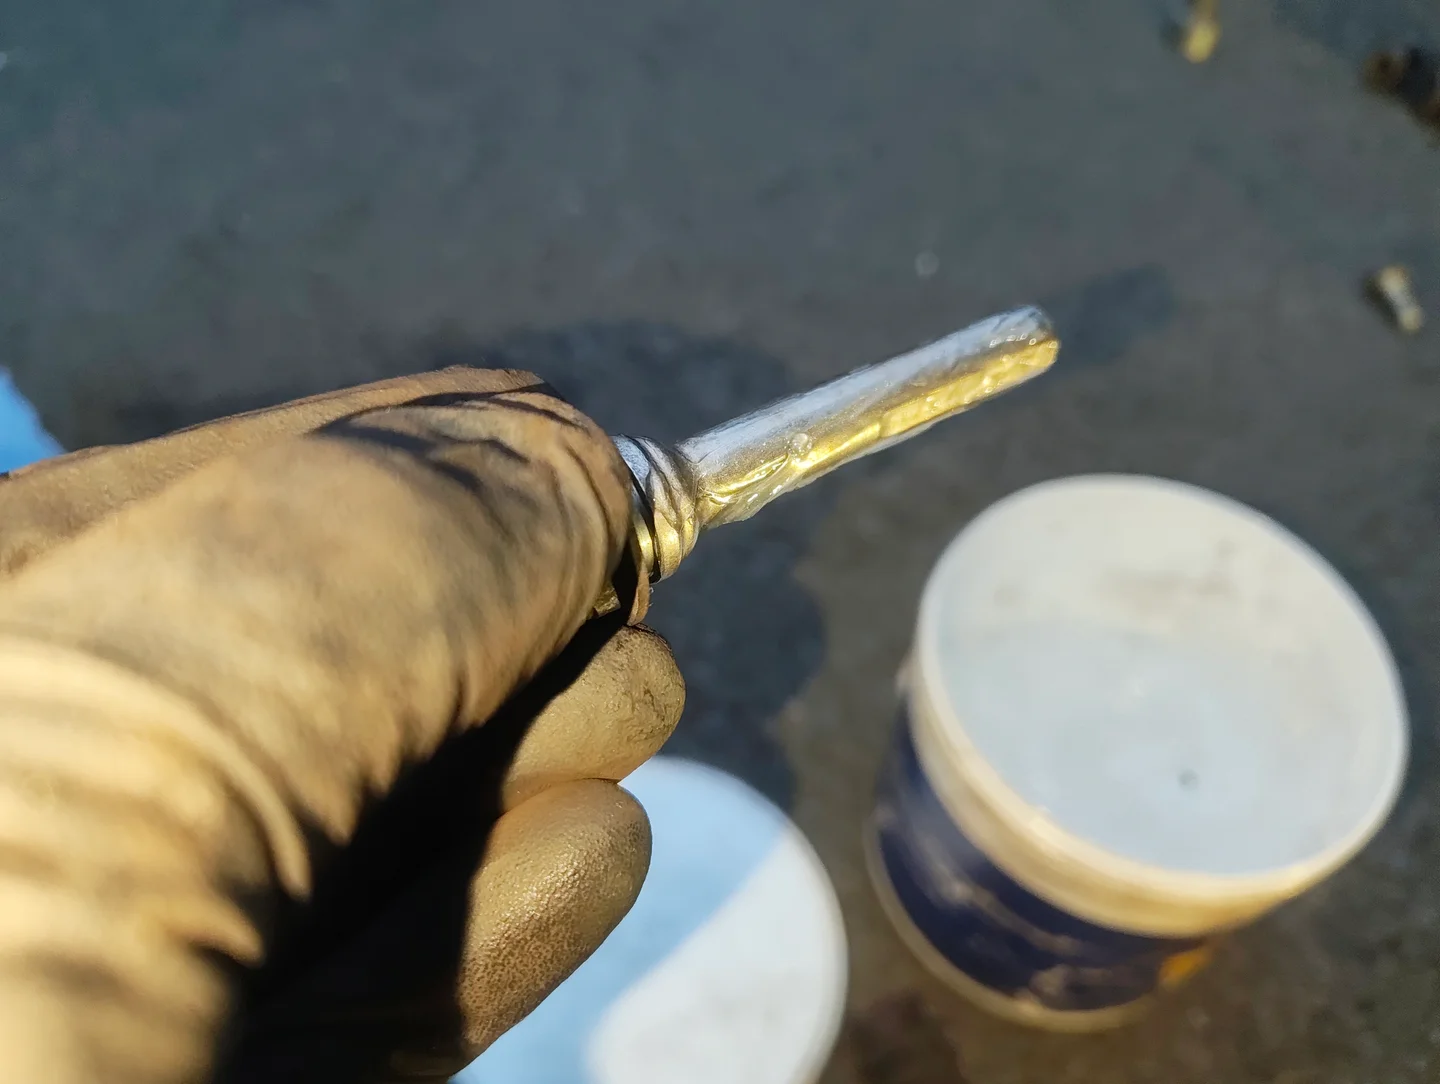
-
Pop the boots back on and slide them back into the caliper bracket. Ensure to wipe off any excess silicone grease on the outside of the boot to avoid attracting brake dust.
-
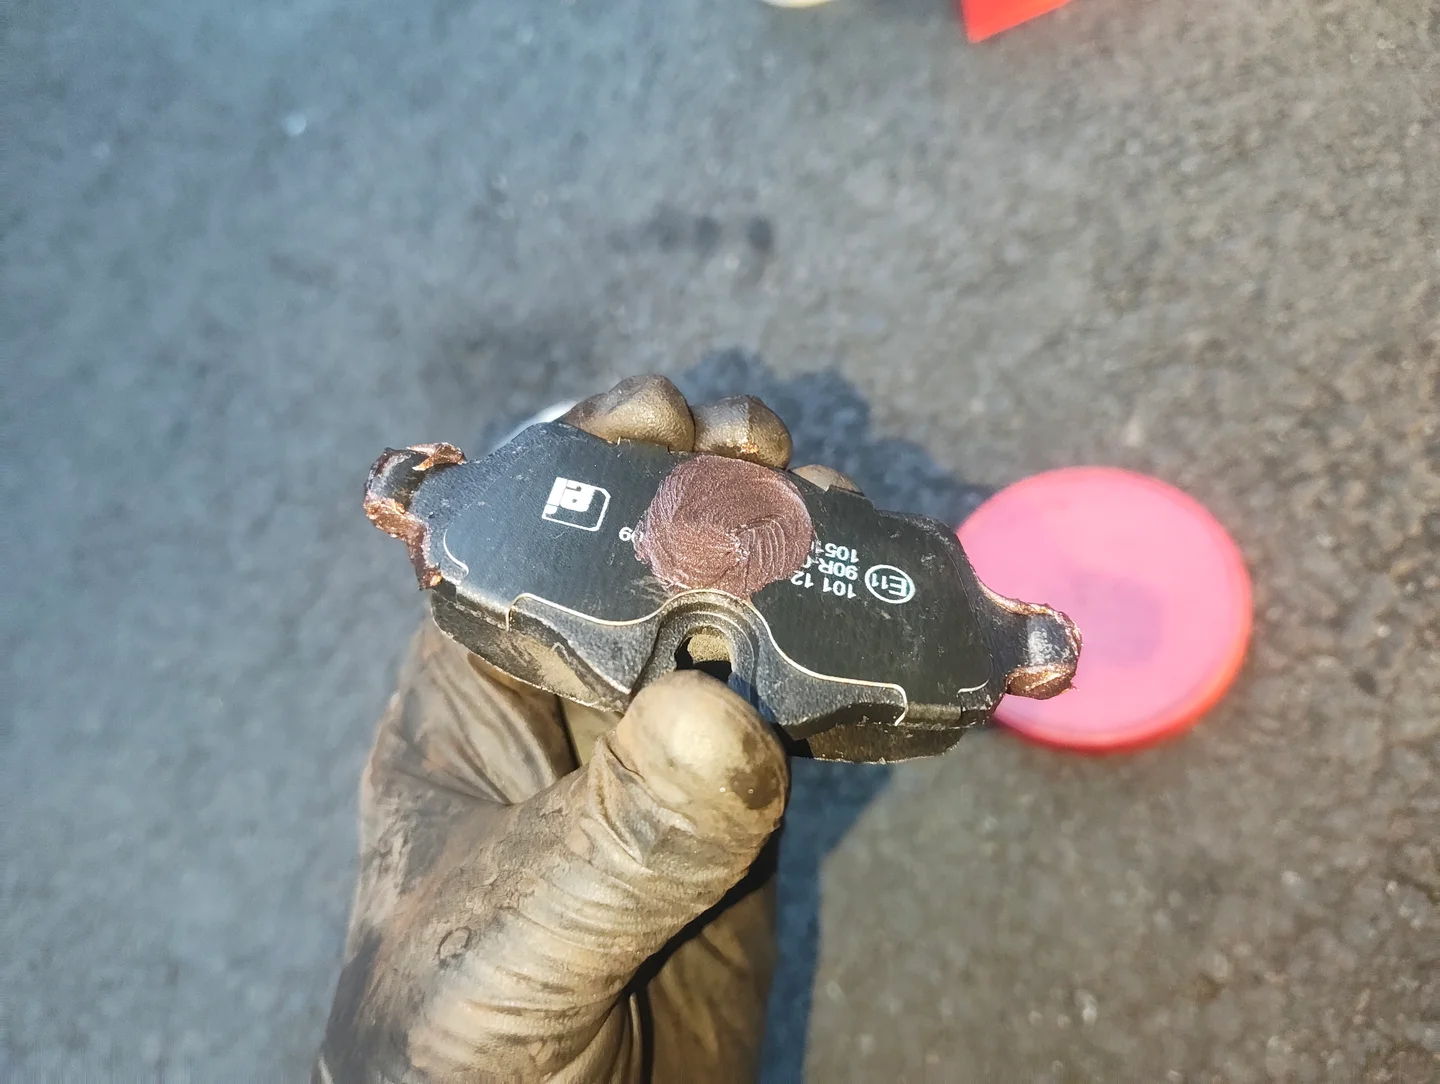
Apply a little copper grease to the ears and center of the inner brake pad and set aside.
This'll prevent brake pad squeal and seizing, especailly around the ears where they're prone to rust.
-
Do the same for the outer brake pad but this time apply grease to the top and bottom, about where the caliper prongs hold the pad.
-
Install the shims, new or old cleaned ones, then insert your freshly greased new brake pads and push them all the way home until they're butt up against the brake disc.
-
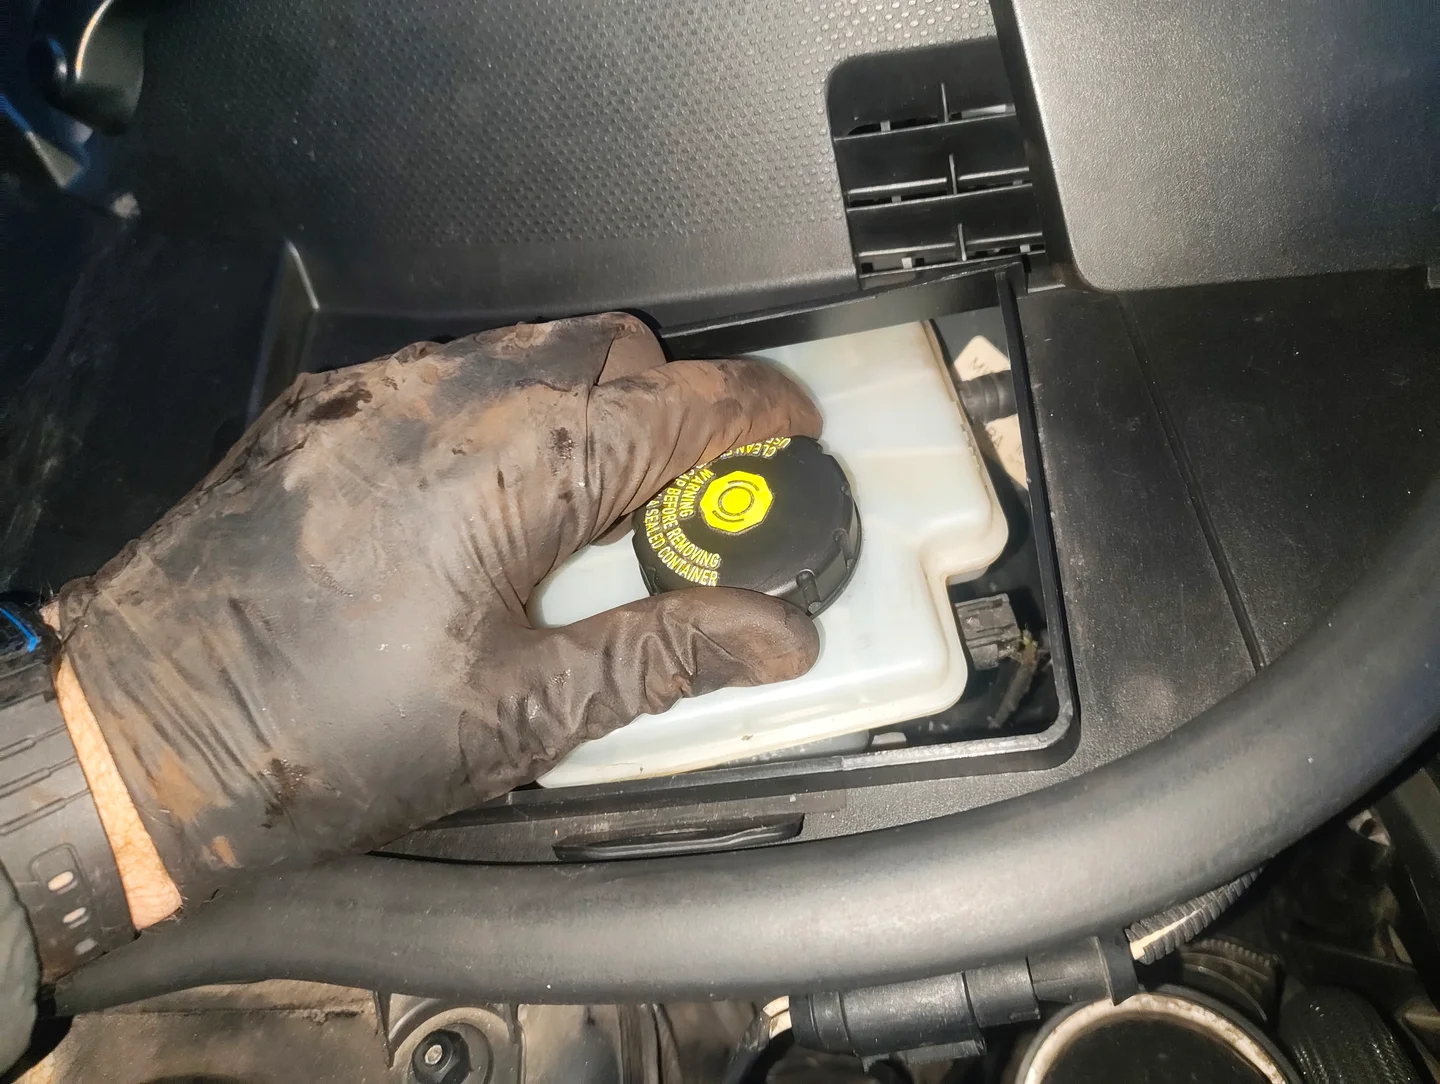
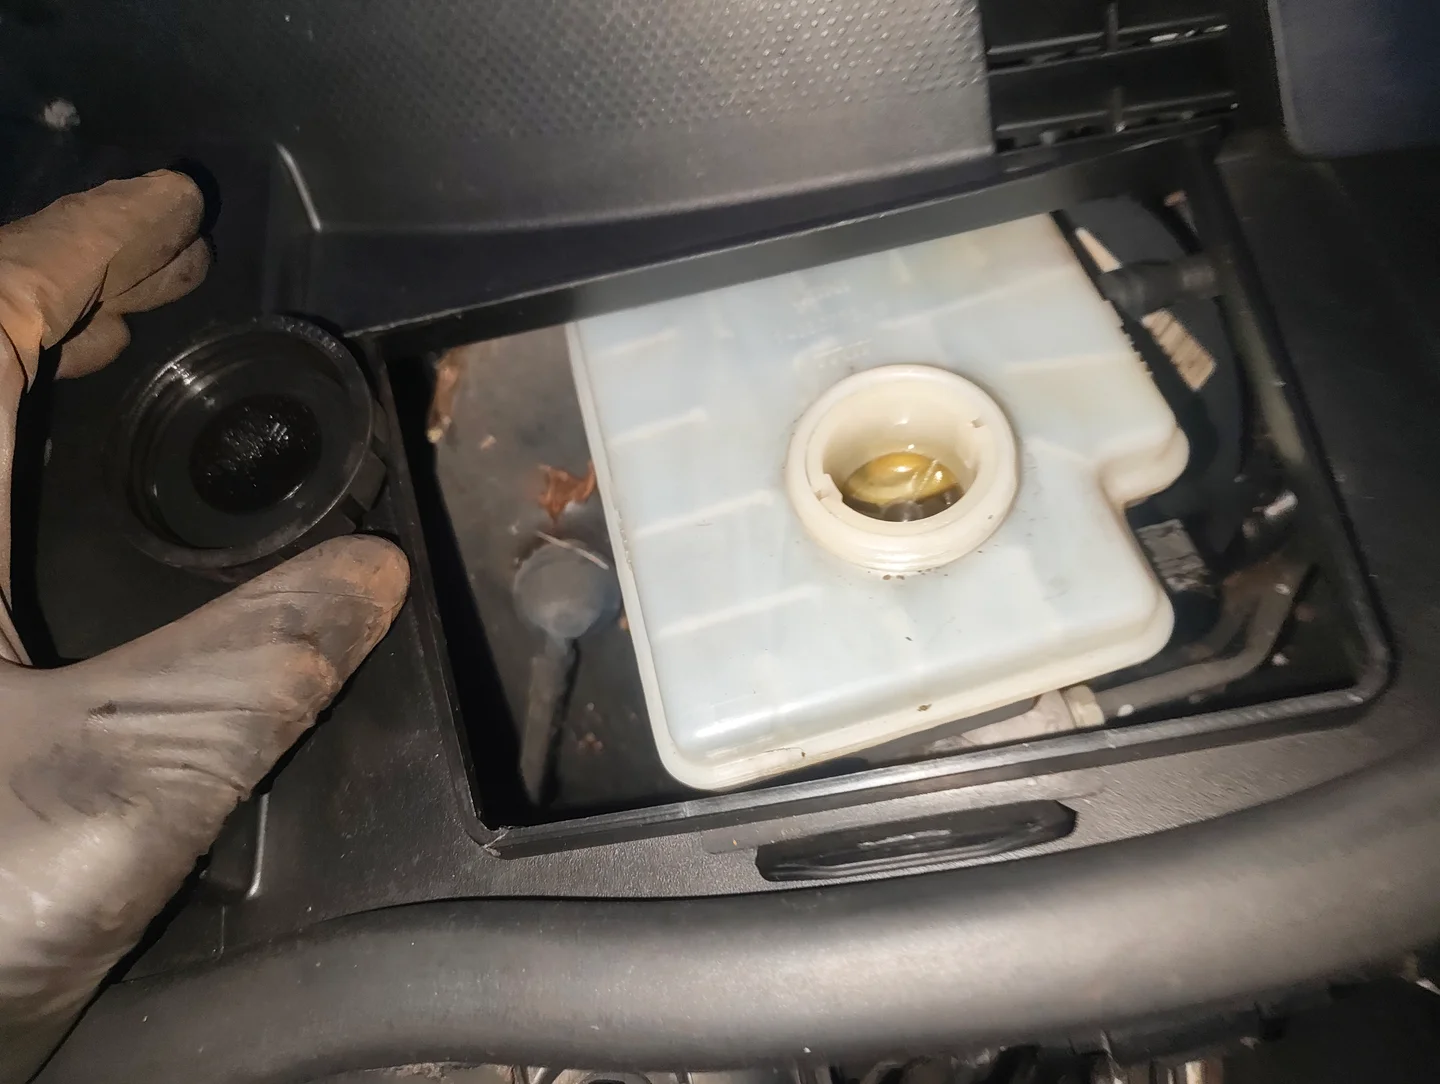
Next is retraction time, open the bonnet, unscrew the brake fluid reservoir cap and set aside. This eliminates pressure when retracting the brake pistons.
-
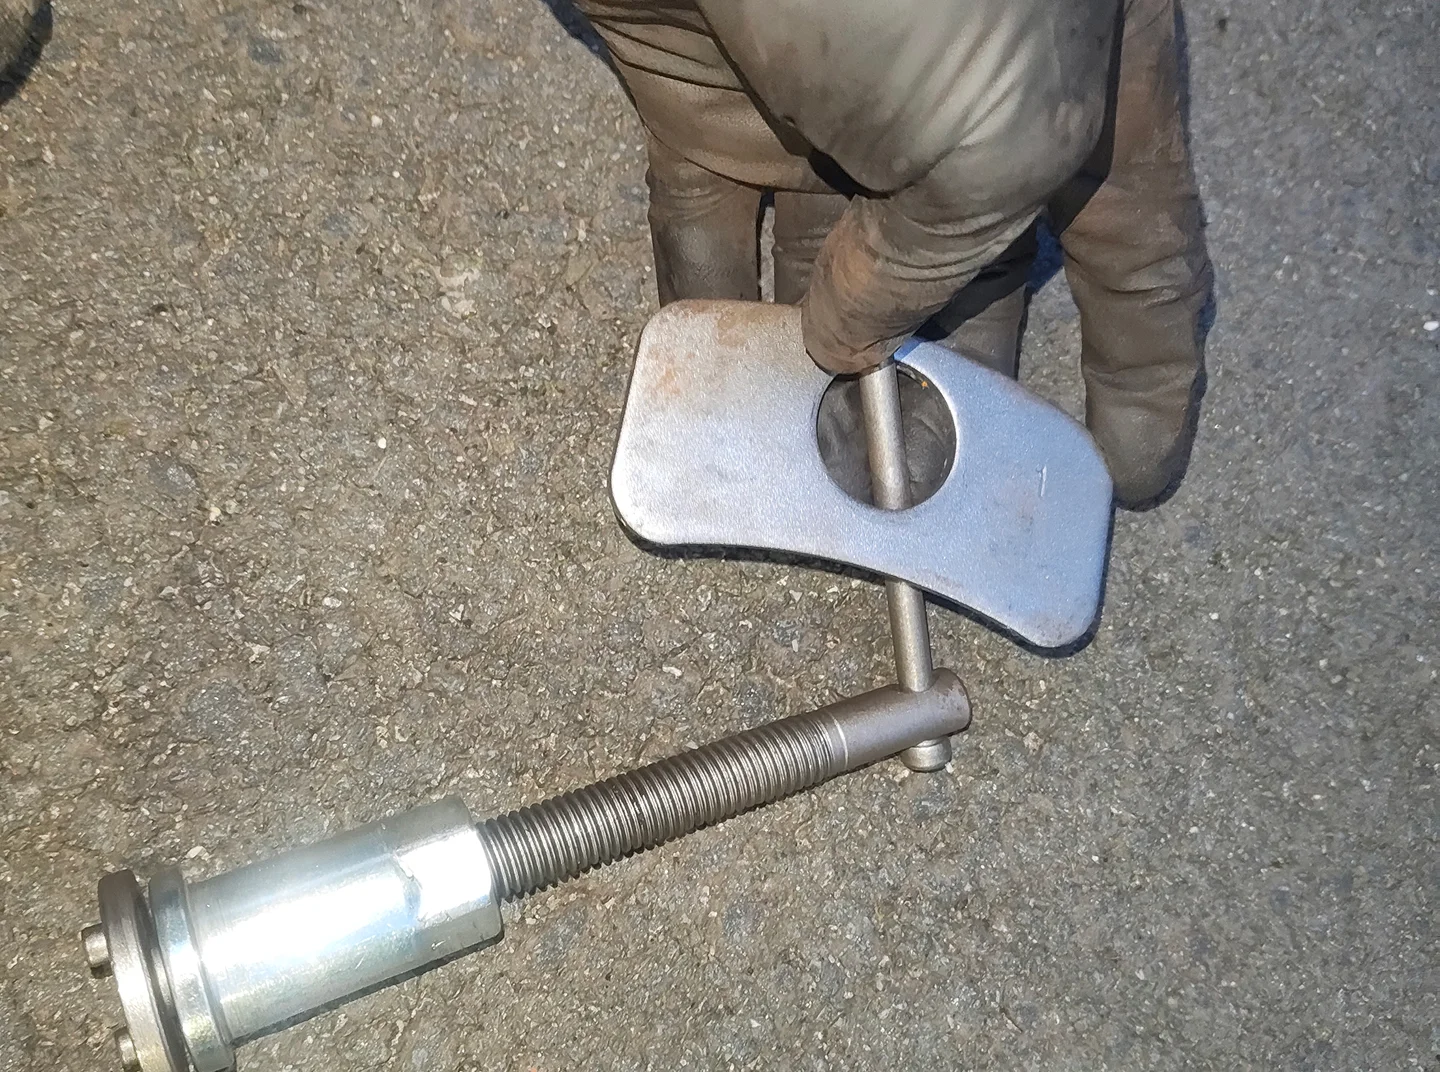
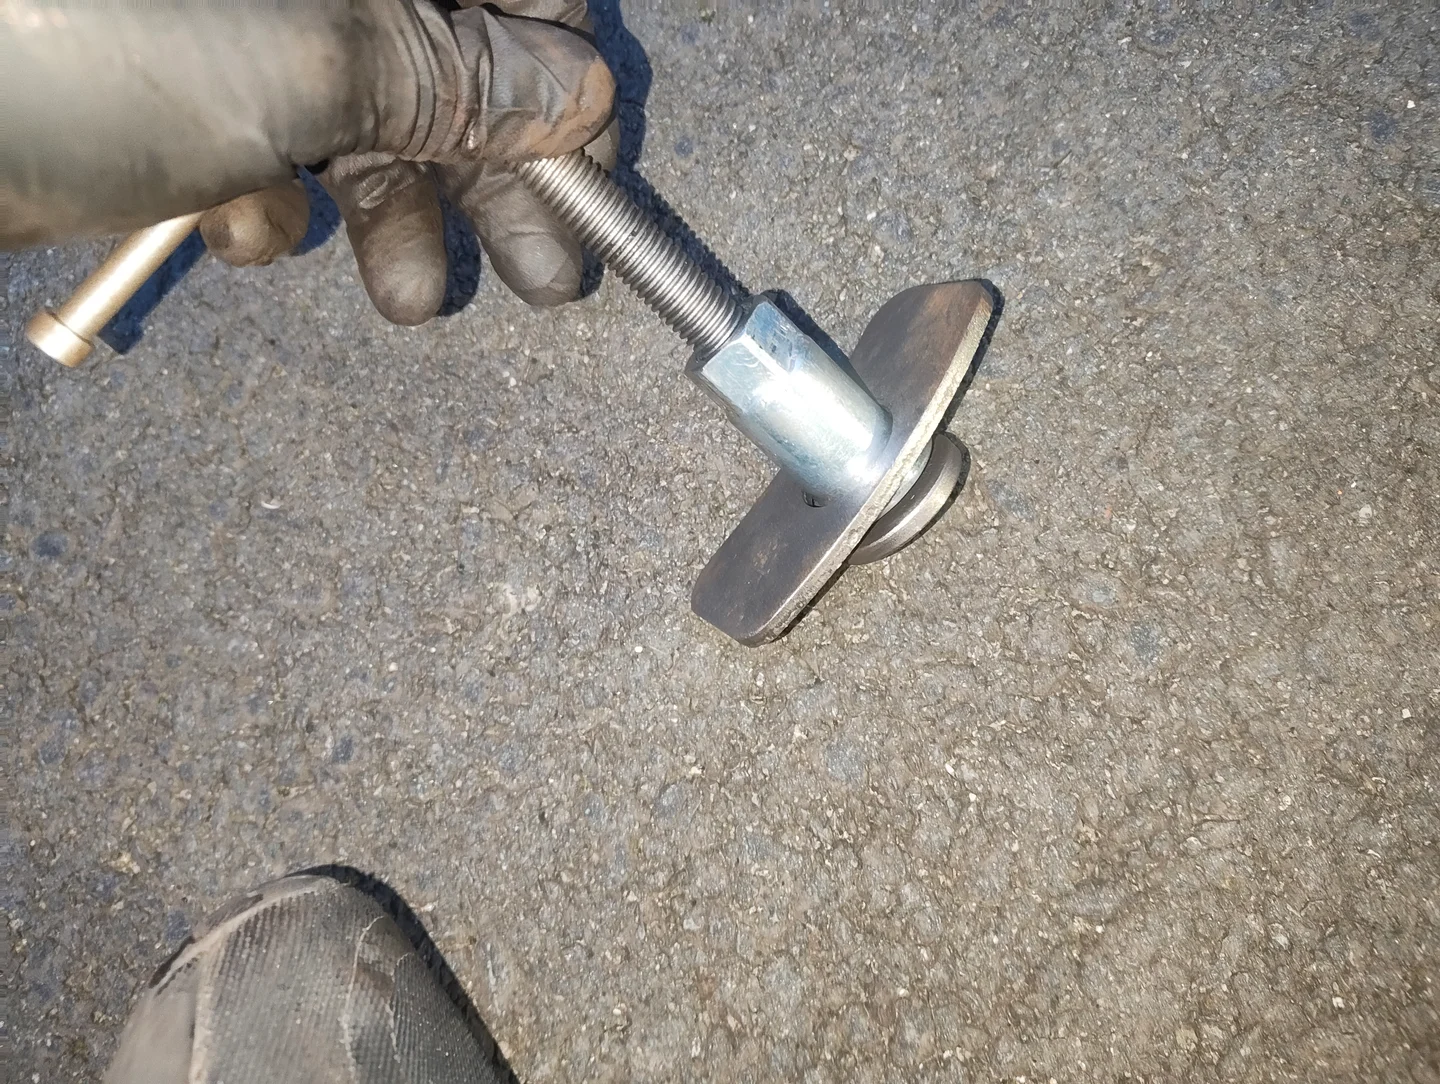
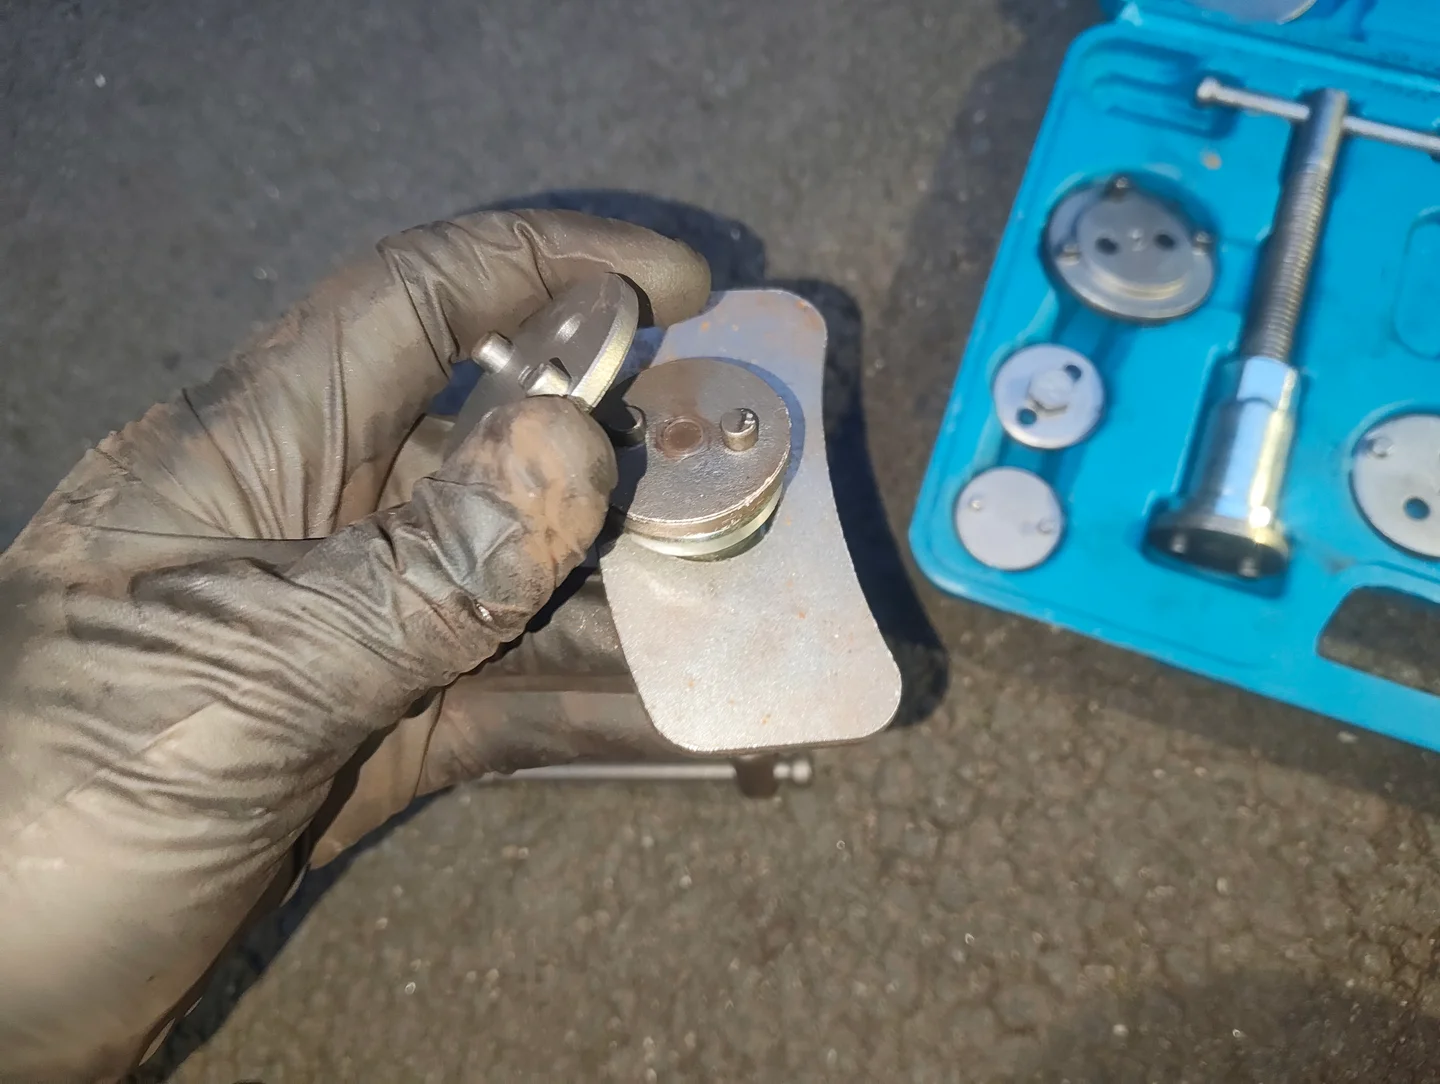
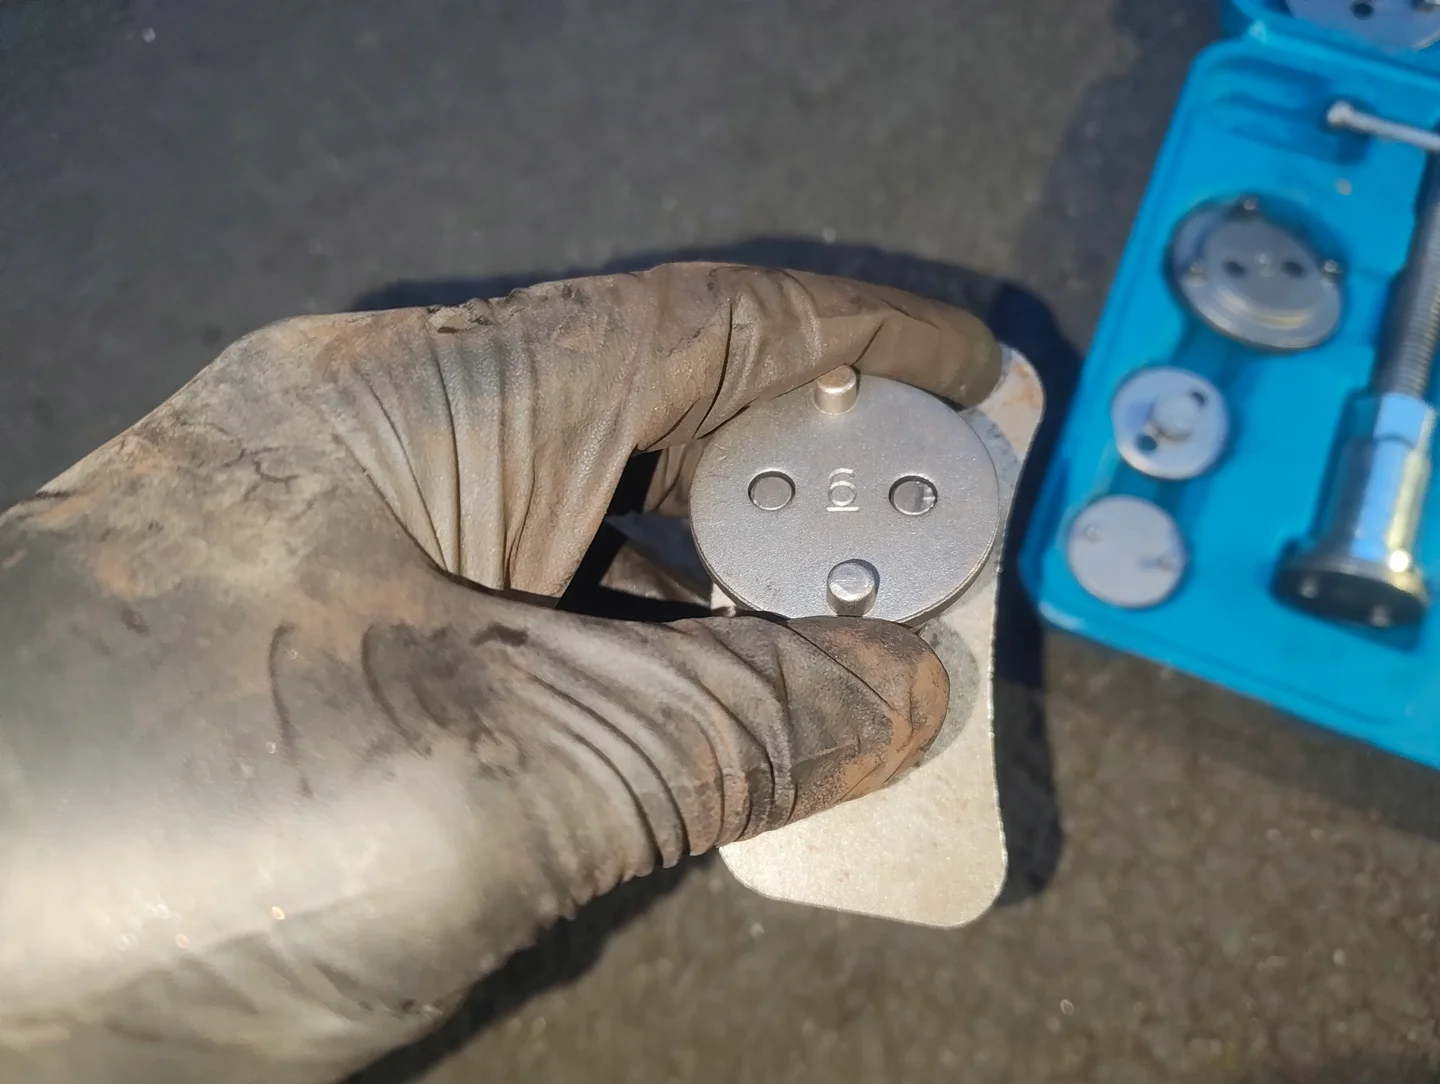
Next, grab your retraction tool, thread the plate on and slap the adapter on that fits your piston surface. Here number 6 works for me, not snug, but works.
-
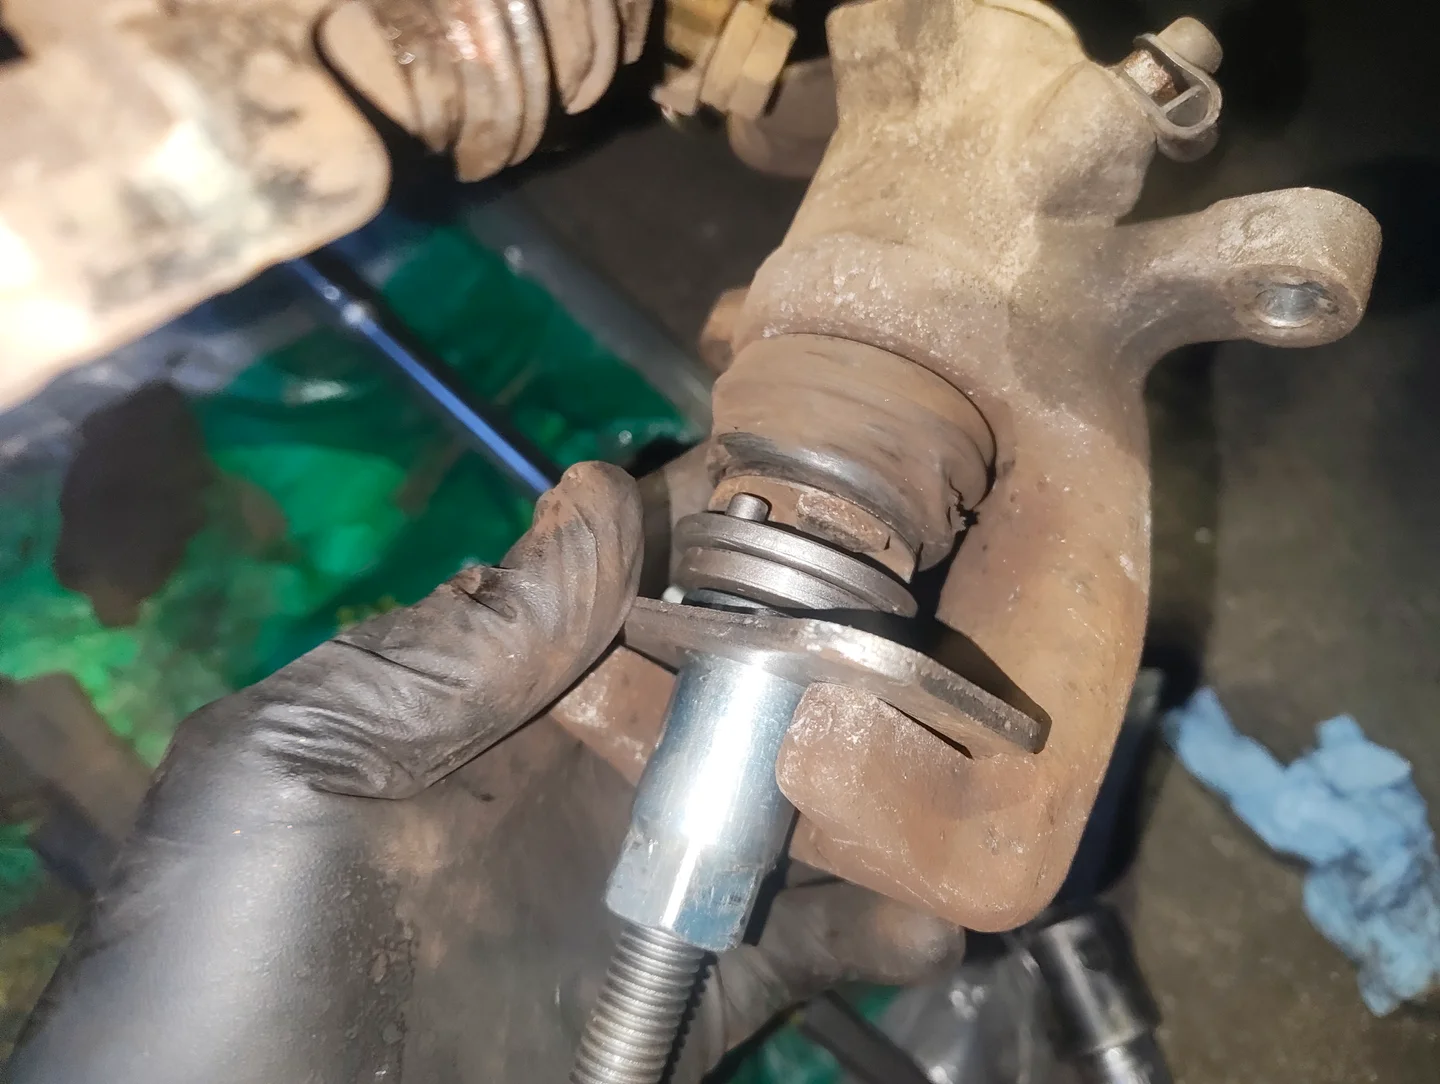
Place the tool inside the caliper, line up the adapter studs to fit into the grooves of the piston surface.
-
Turn the tools nut anti-clockwise until there's no slack at either the plate or adapter end but not too tight.
-
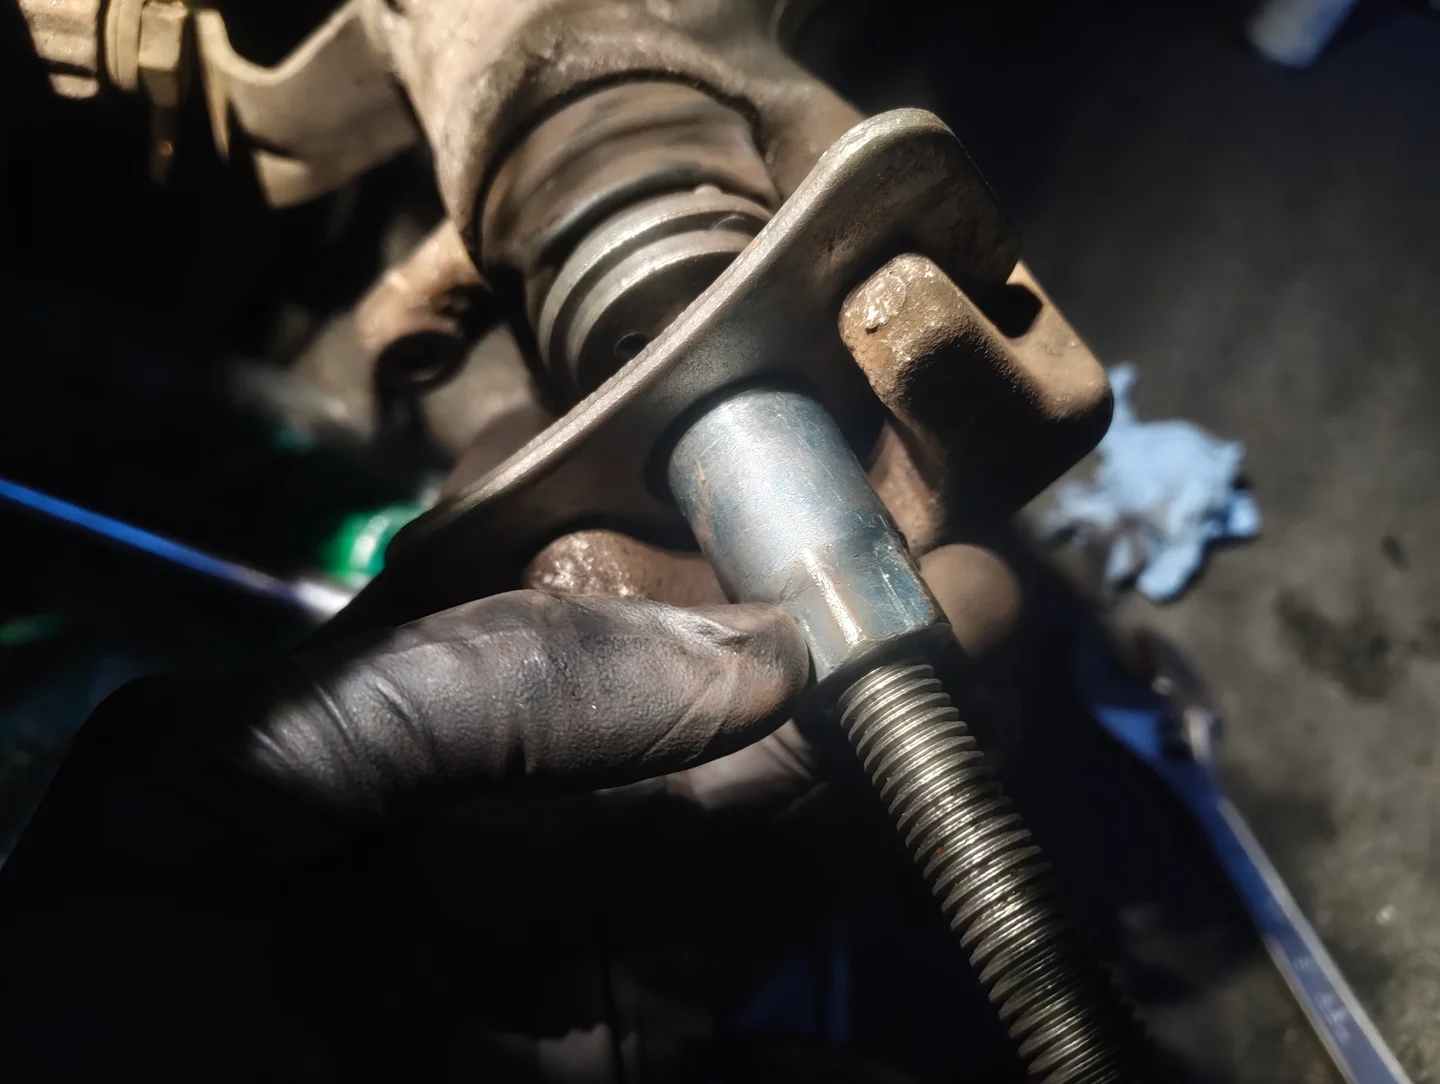
Now turn the handle clockwise to retract the piston.
The first few turns can be extremely stiff so please be patient.
If you're really struggling to retract, temporarily refit the caliper back to the bracket then try.
Once you piston starts retracting, the tool should become loose again.
-
Repeat steps 9 and 10 until the piston is fully retracted.
🏁 Conclusion
Reassembly is the reversal of removal. starting from step 7 and working backwards.
If no fixing bolts were included with your new brake pads, add a little threadlocker to the old ones and reuse them.
Also, after completion, pump the brakes a few times until they feel firm. This'll seat the new pads, re-position the caliper pistons and restore hydraulic pressure.