Rear brake pad sensor removal
Introduction
Use this guide to remove the rear brake pad sensor.
1. Equipment
Gather the following equipment in order to complete this guide. The links below direct you to the exact products I used.
- Jack
- Jack stand
- Piece of oak wood (optional)
- Needle nose pliers
- Torx 20 key
- Breaker bar
- 17 mm socket
- Locking wheel nut (if needed)
1. Removal
-
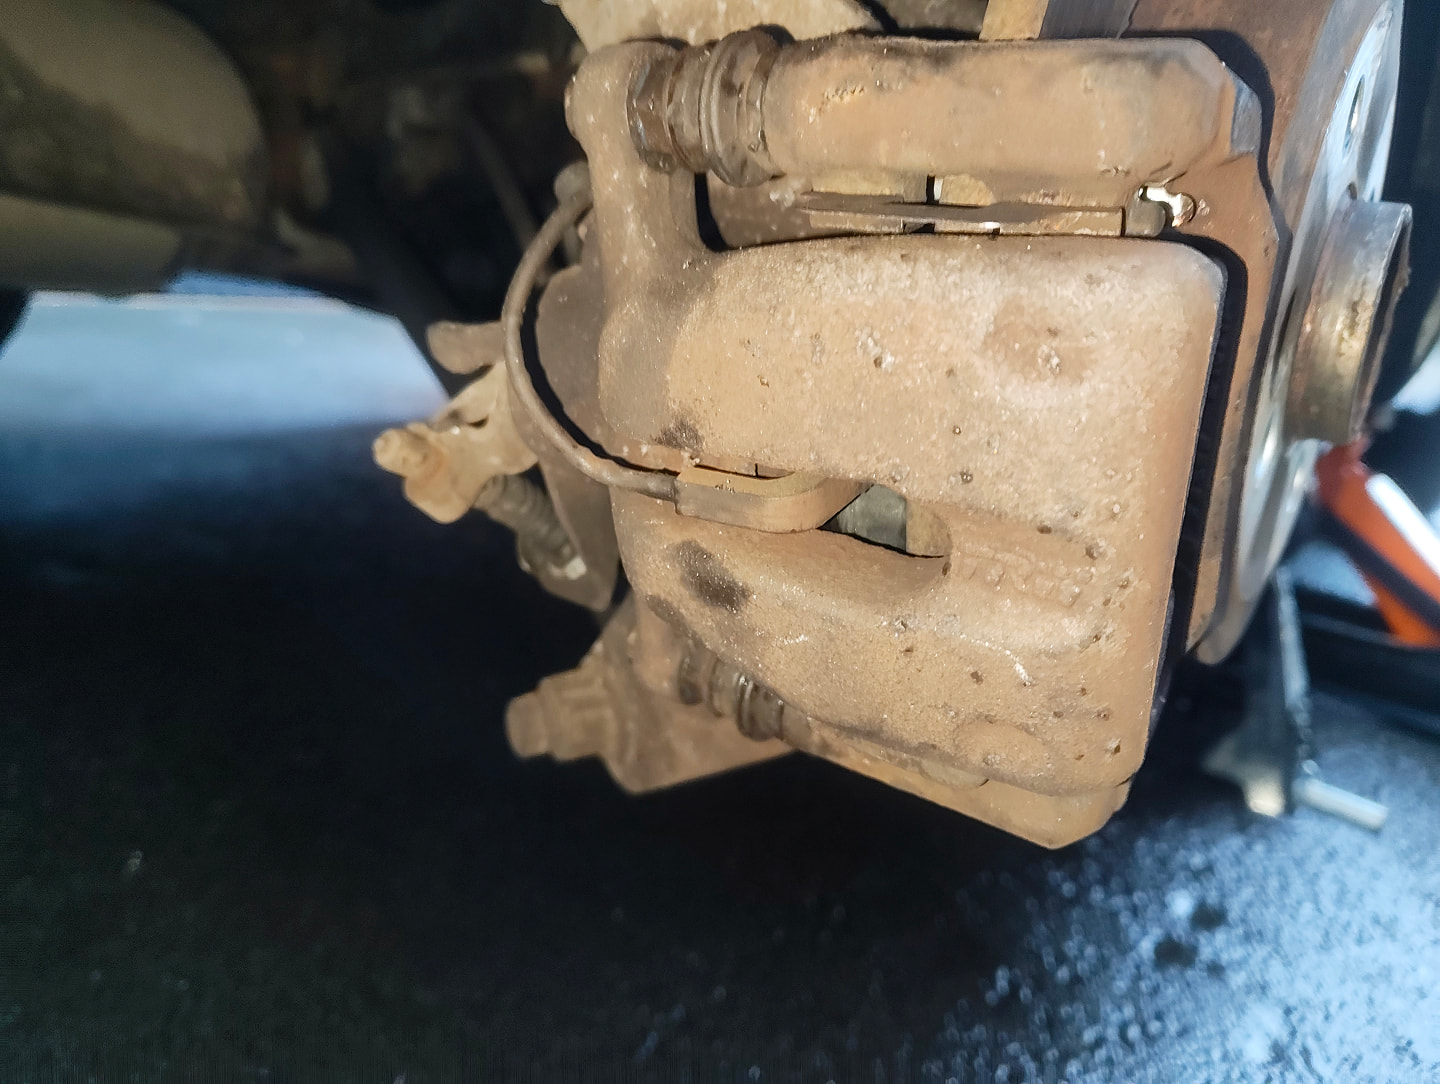
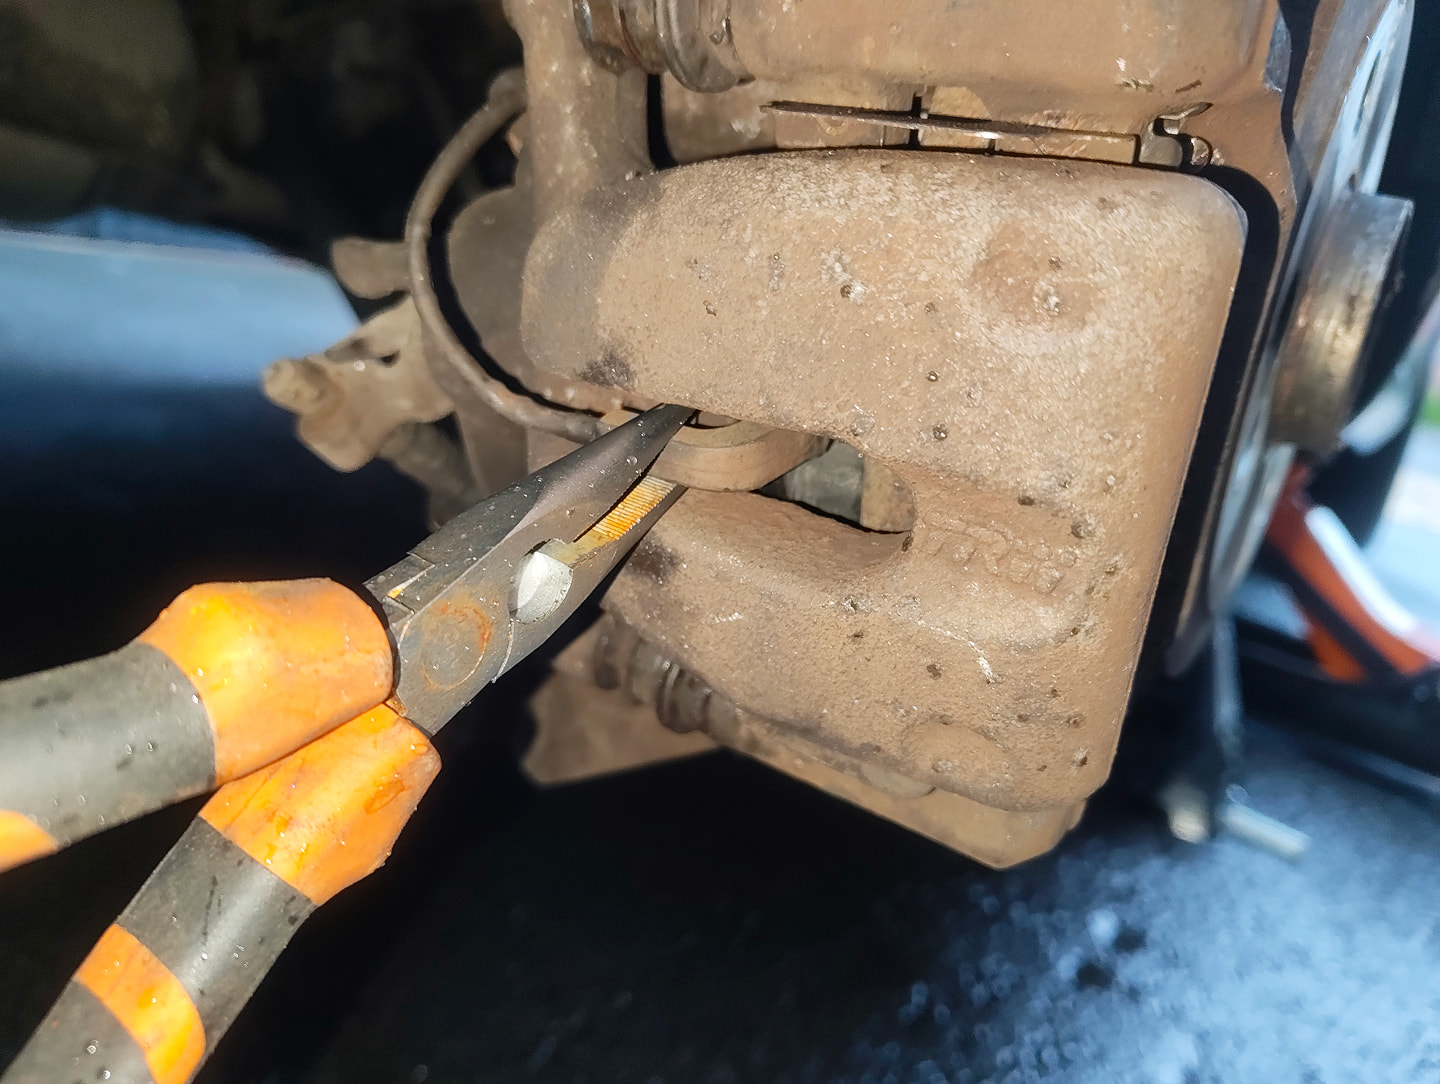
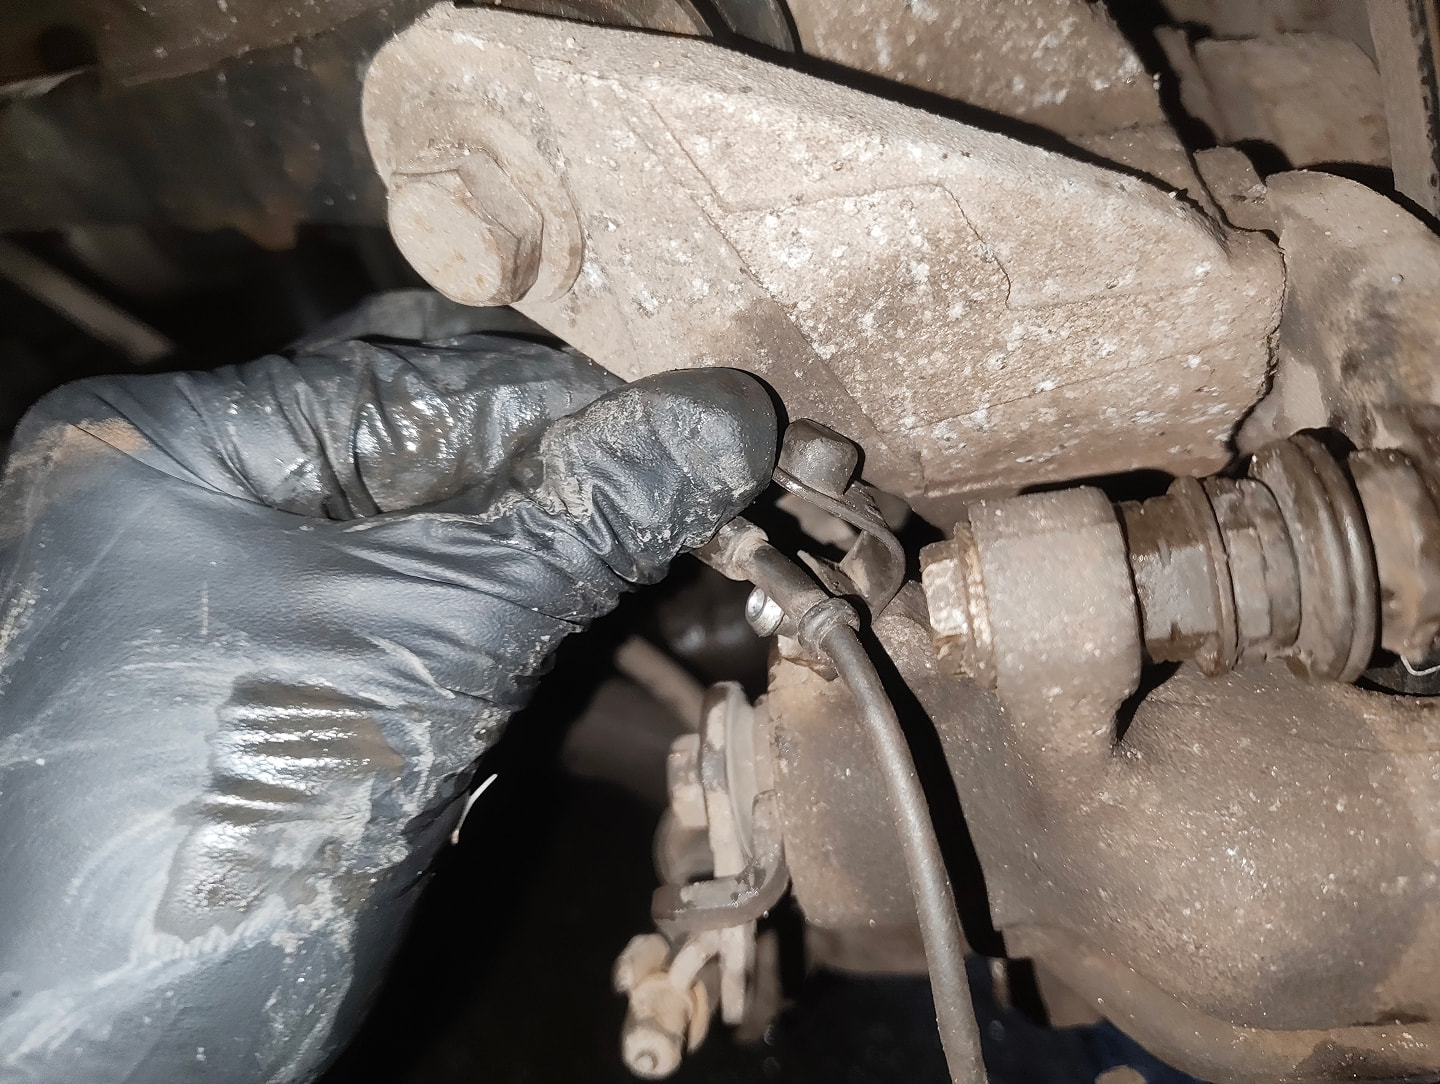
Grab your needle nose pliers and pull out the connected sensor from the middle gap of the offside rear brake caliper.
-
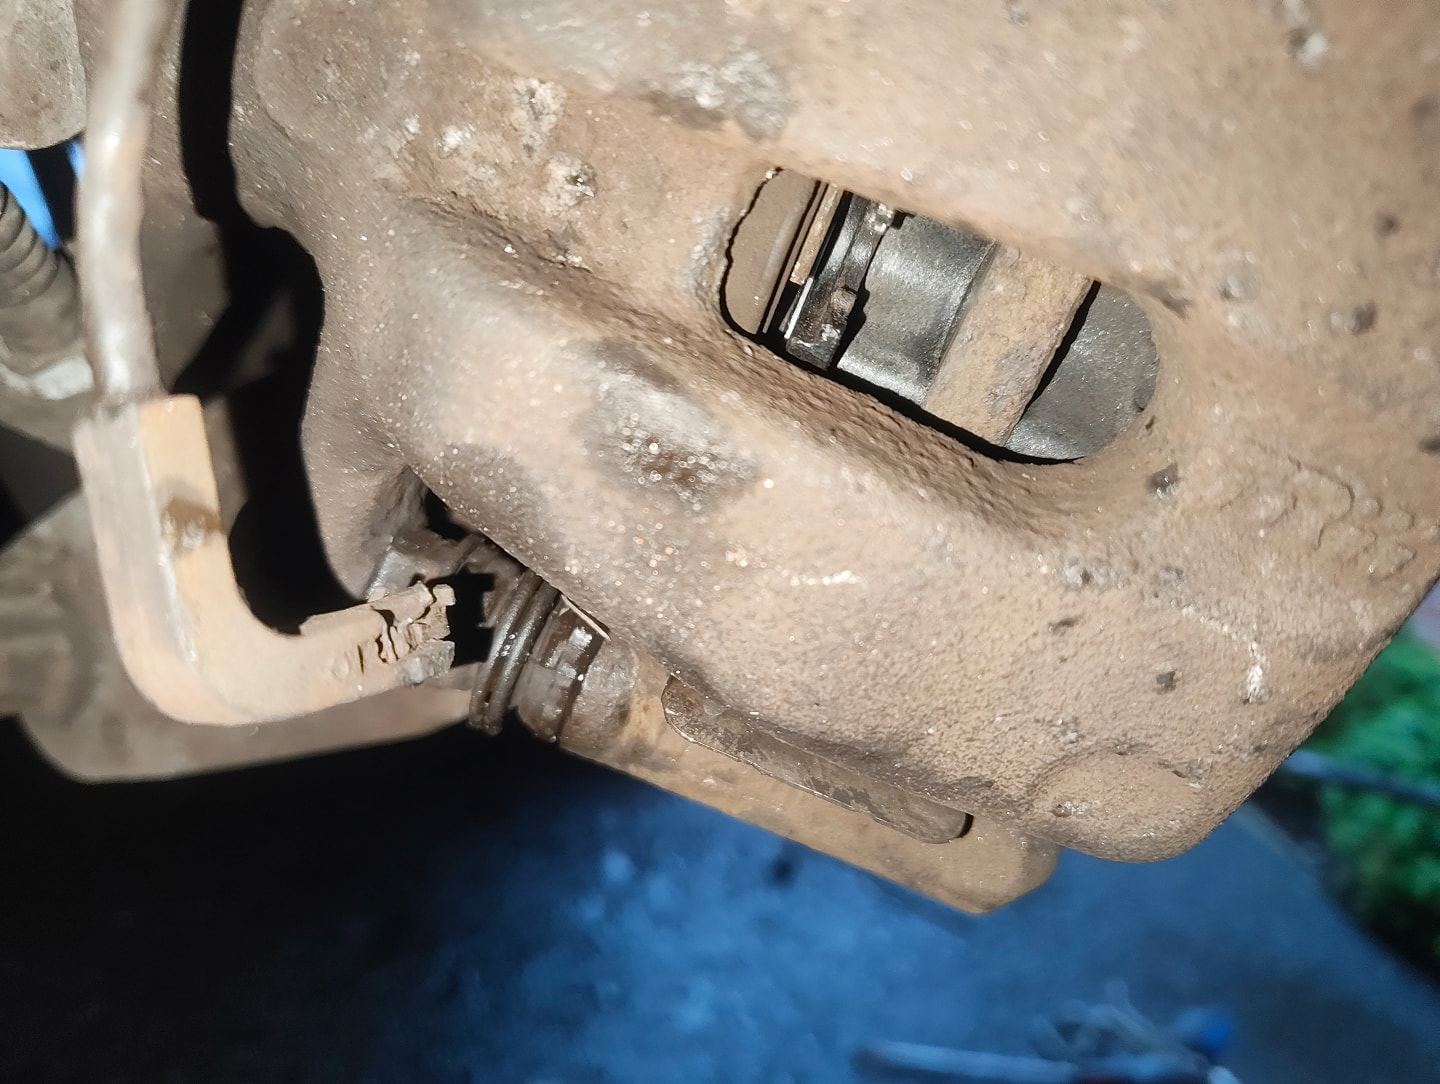
Following the sensor cable, detach it from the caliper by removing rubber cap on the brake bleeder nipple.
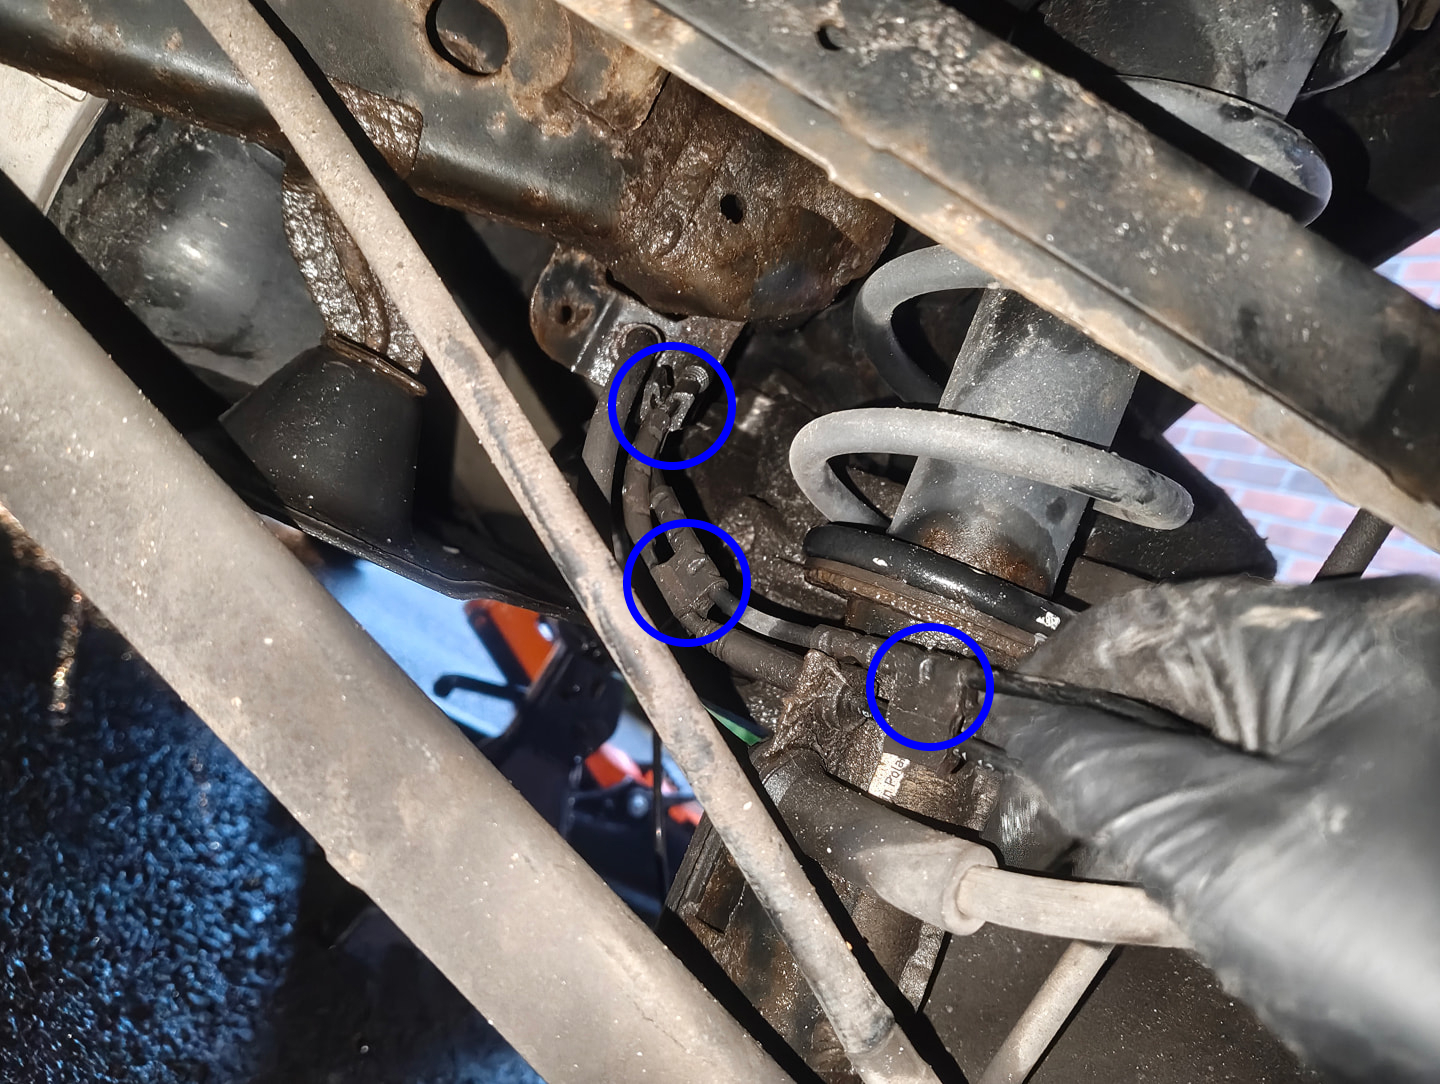
-
Next, following the cable further, detach the sensor cables three rubber clips with a gentle pull.
Once all rubber clips are detached, let the cable hang, dont pull at this stage as it's still connected.
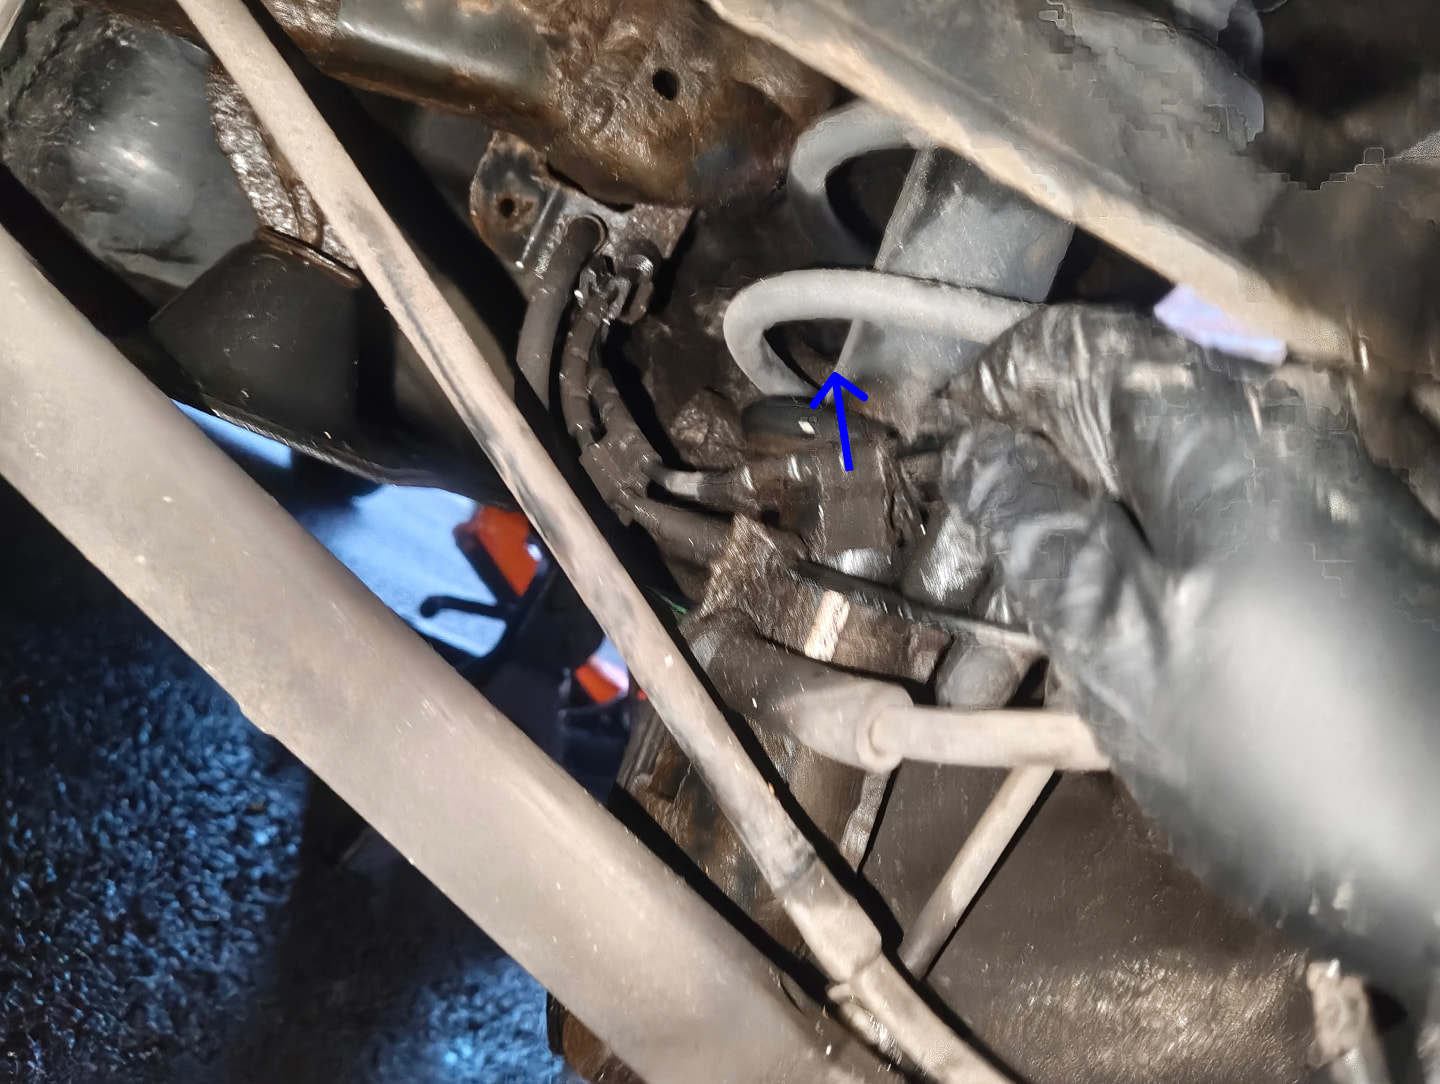
-
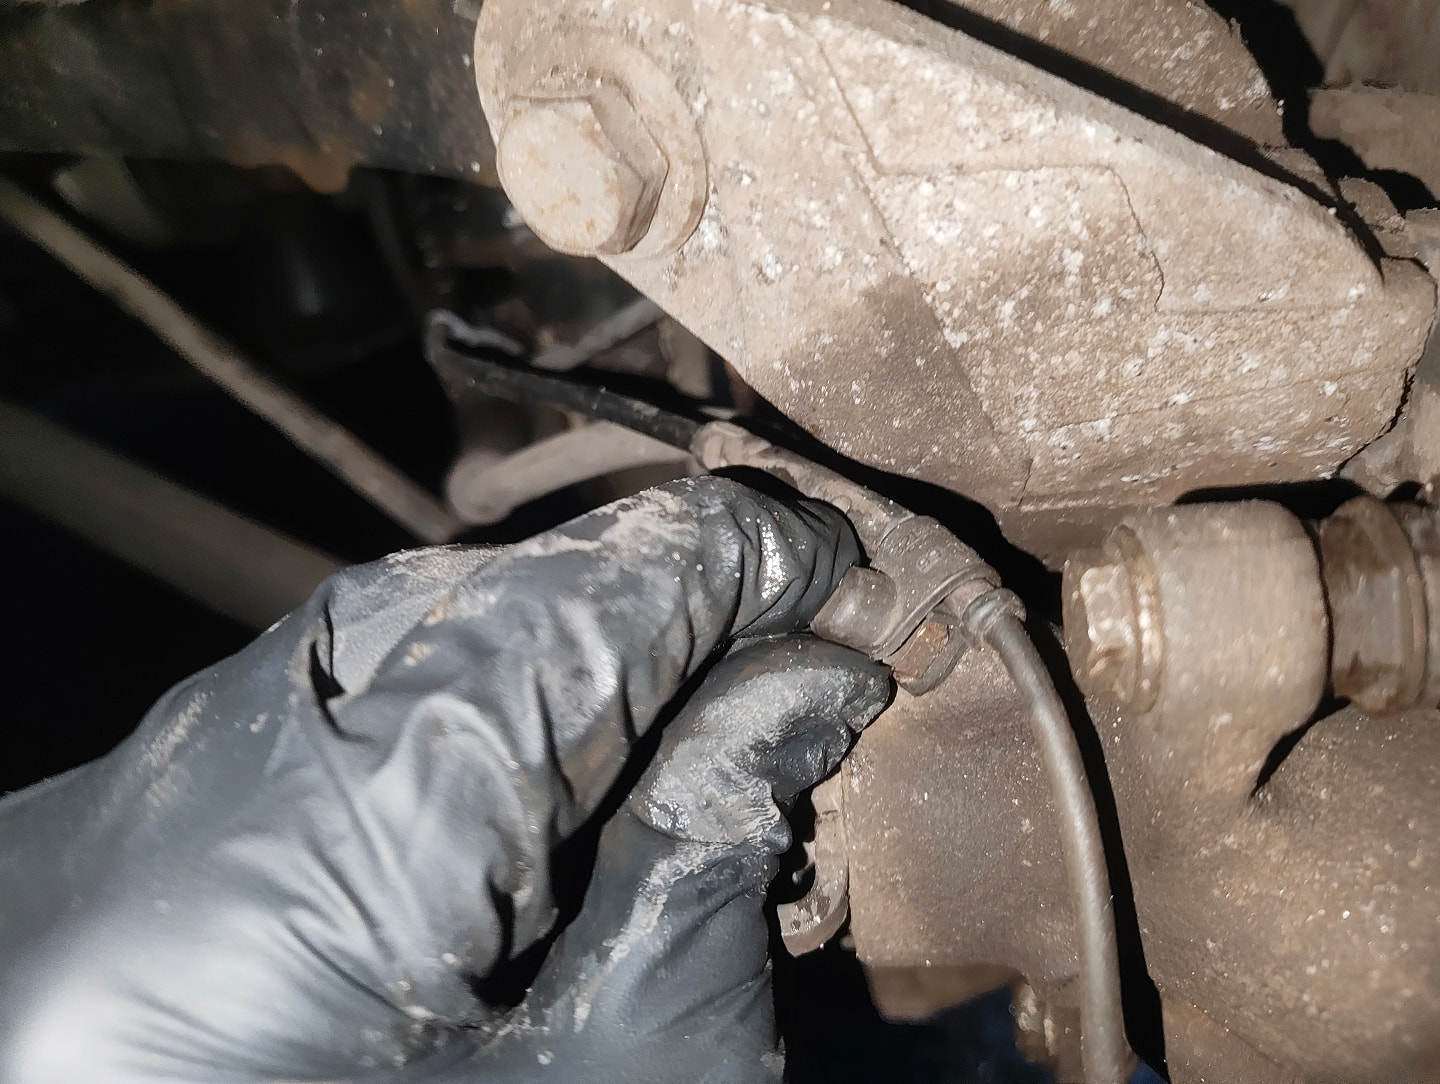
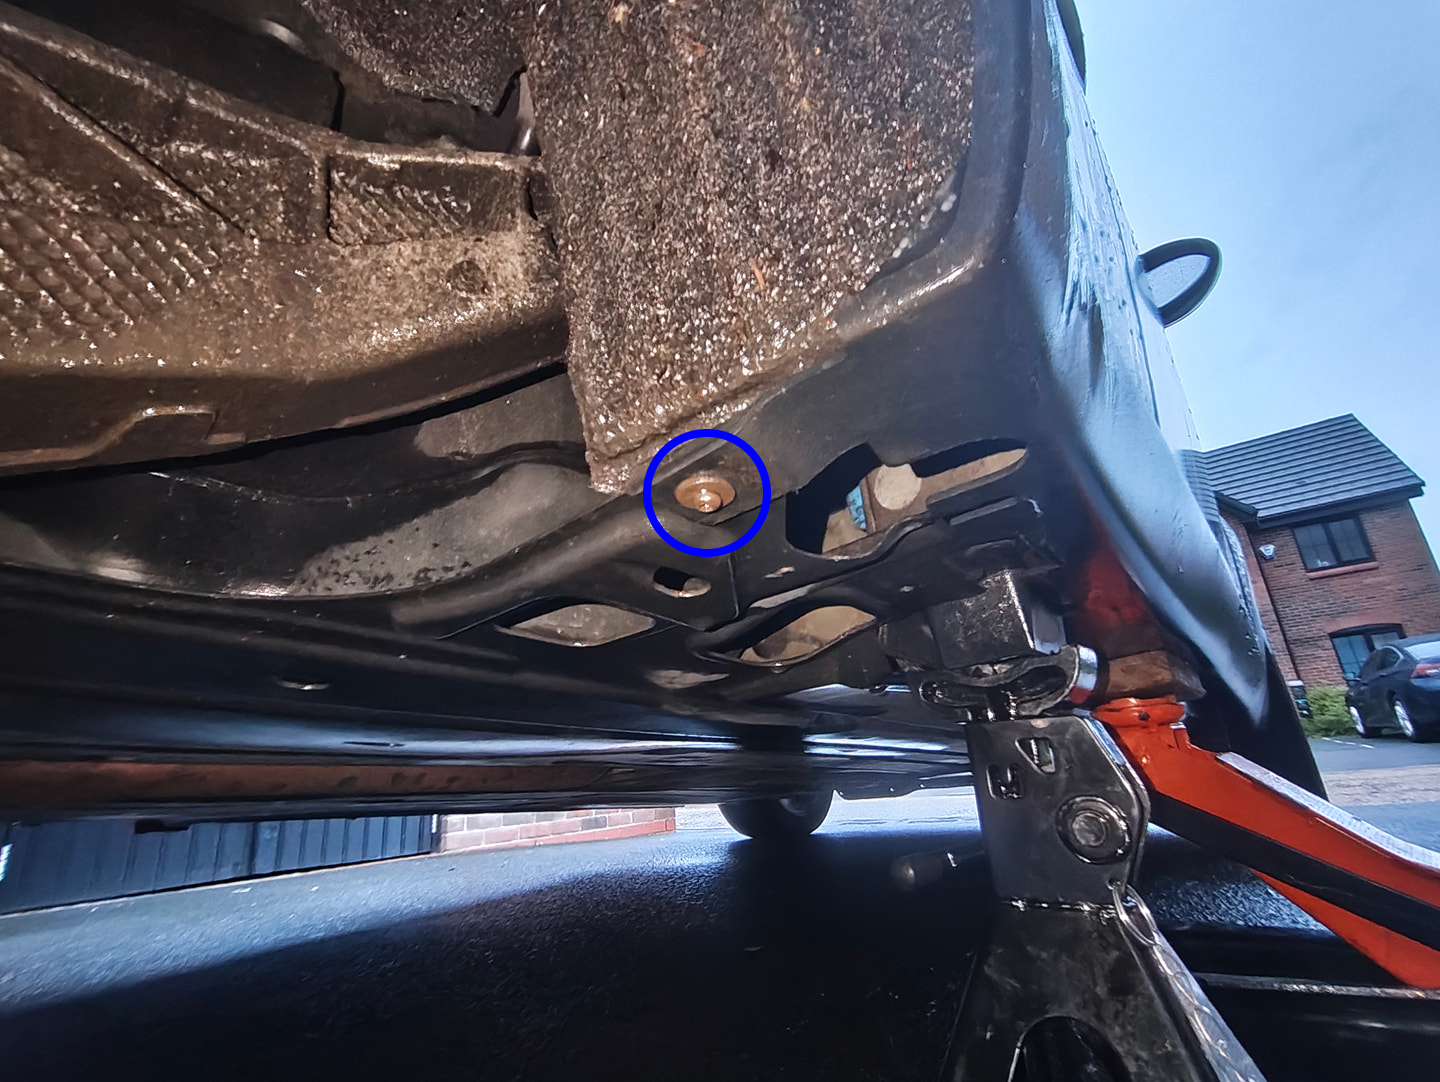
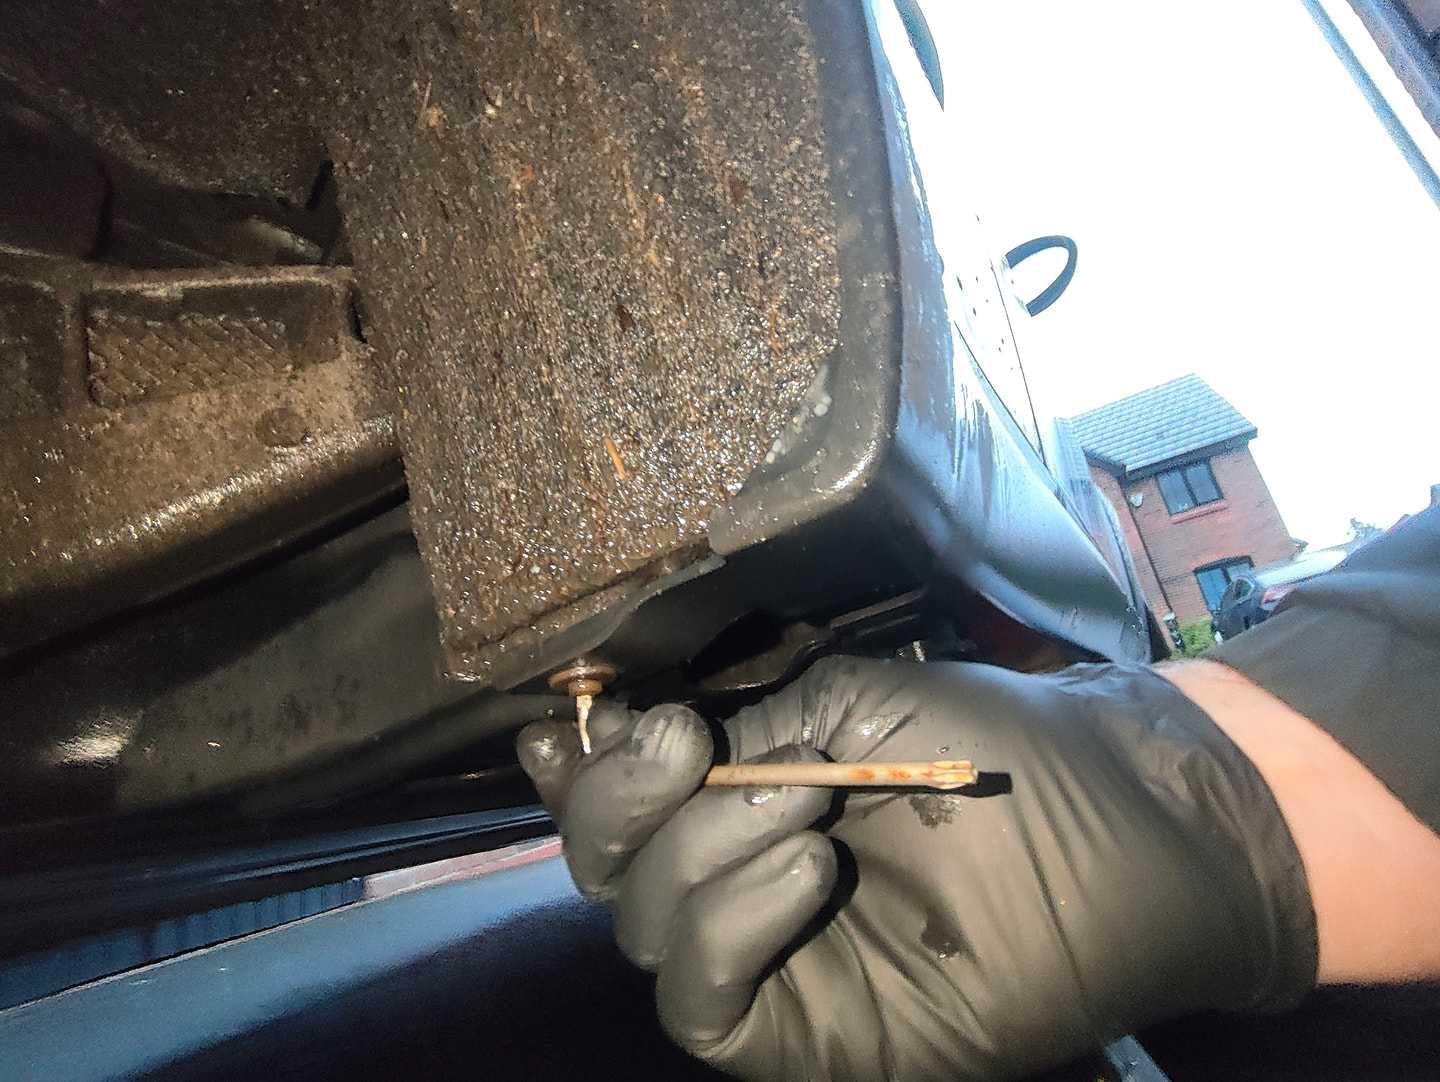
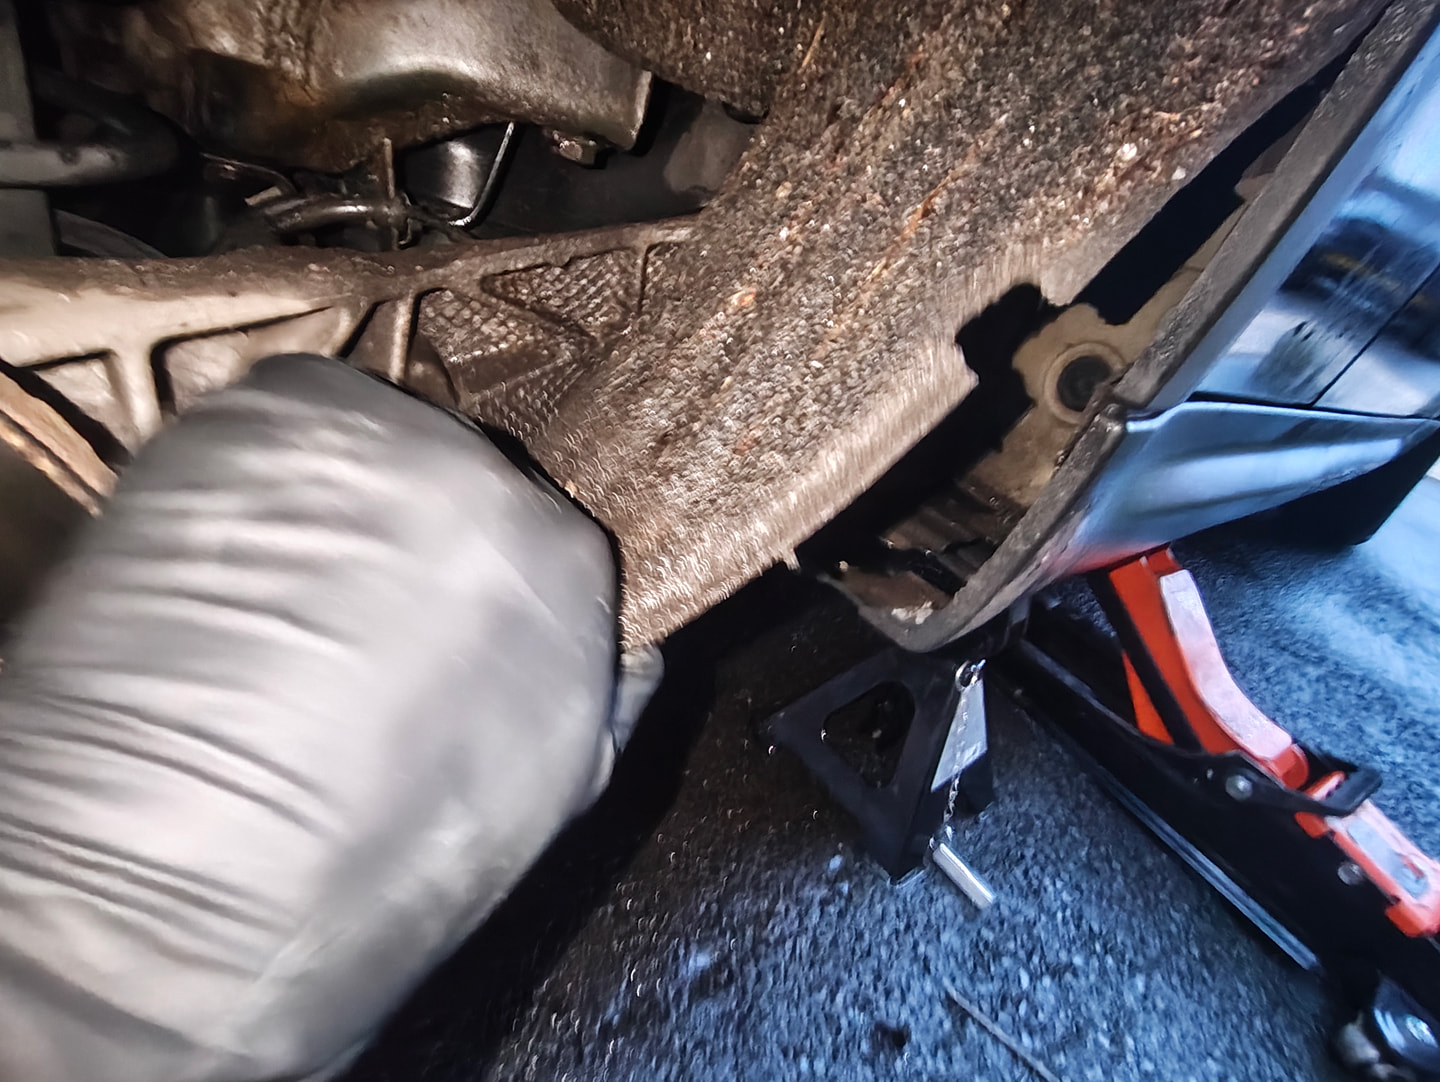
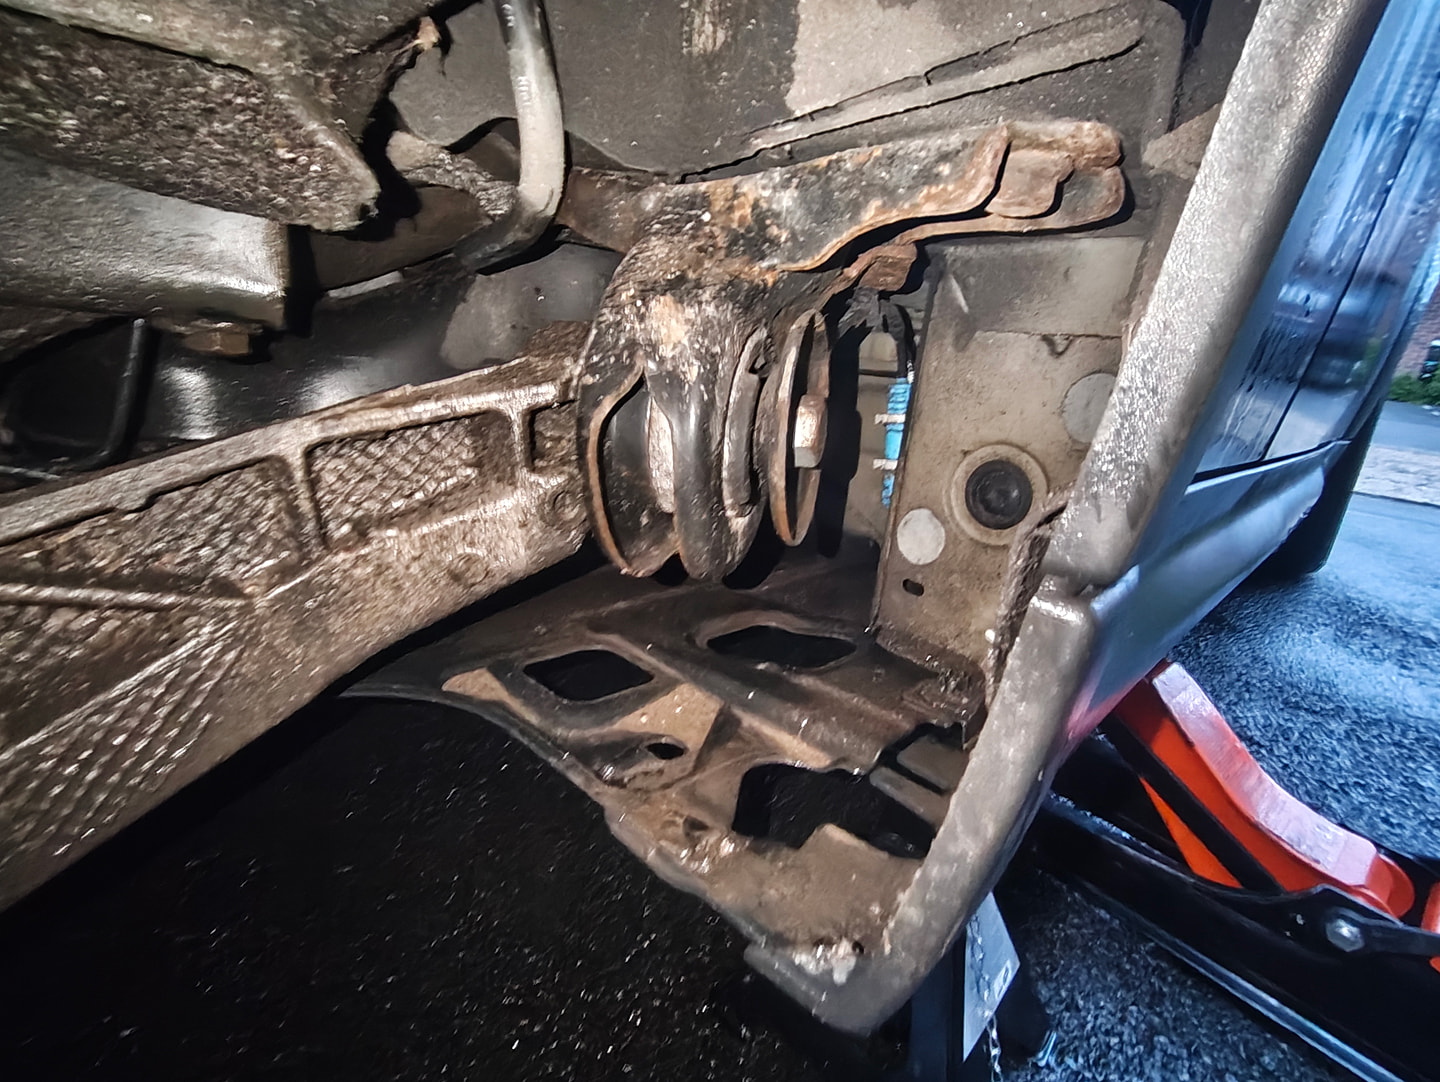
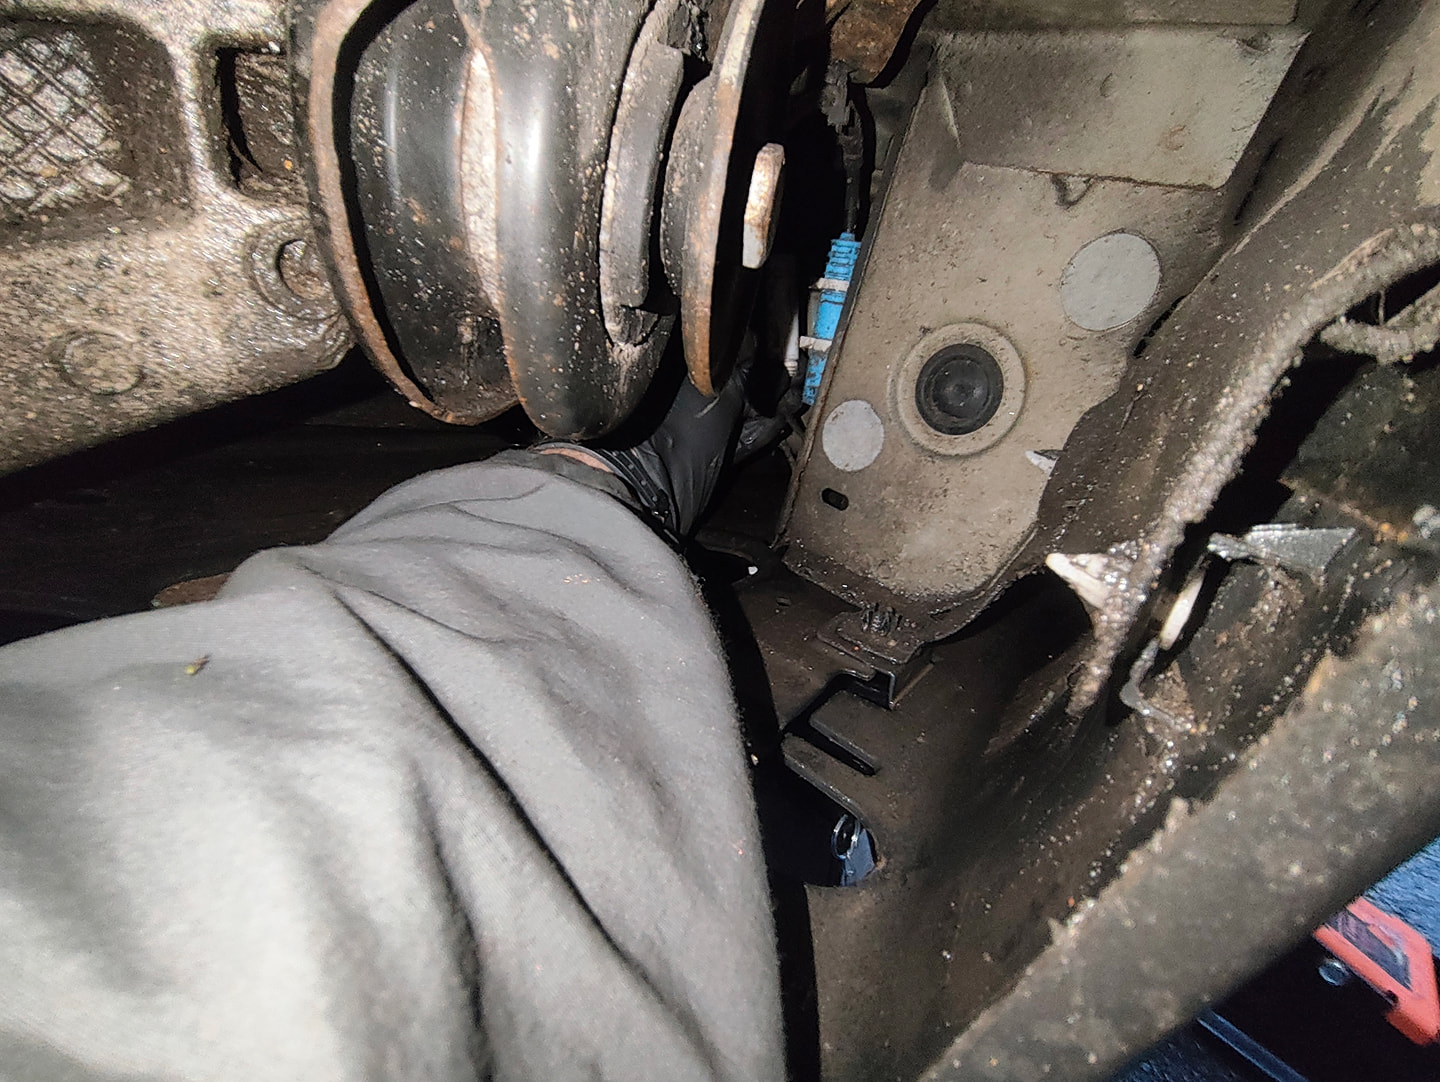
Relocate to the wheel well, peer over the suspension arm and remove the sensor cable from the metal clip that secures it to the chassis. A quick tug down should do it.
-
Next, grab your torx 20 tool and move to the bottom right of the wheel well and look underneath. There should be a torx screw securing the carpet to the fender, remove this screw and pry up the carpet.
-
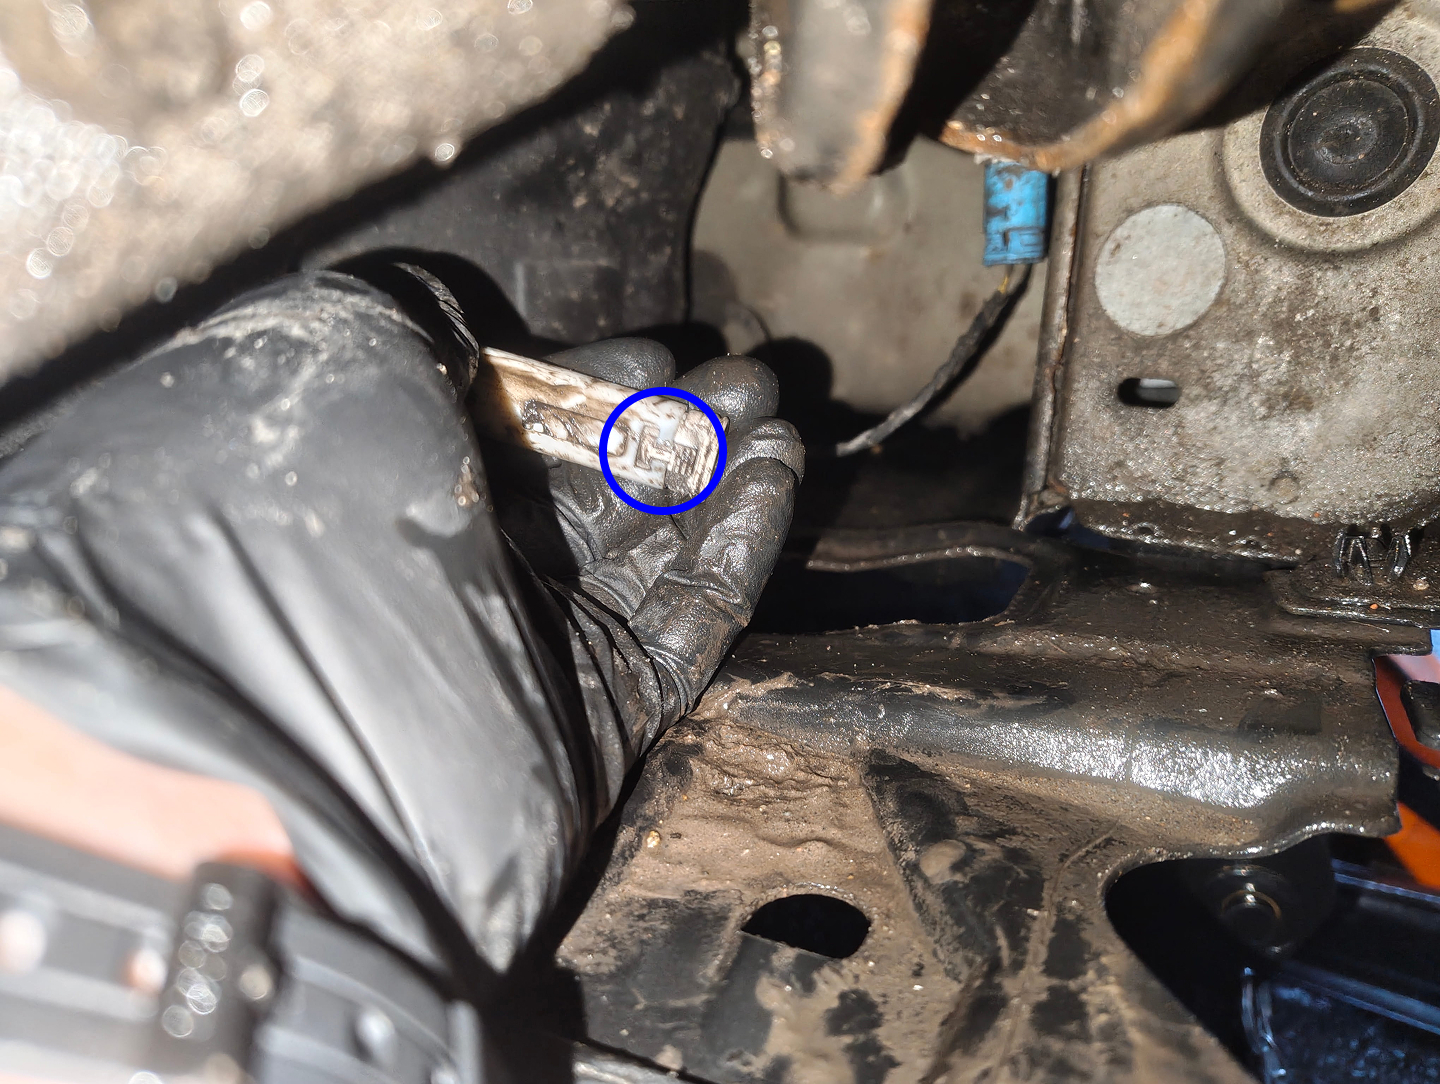
Following that, you should immediately see a blue connector on your right. Just behind it, slightly to the right, is a white connector where the brake pad sensor plugs in.
Reach in and carefully detach the white connector from it's bracket (the bracket clips break quite easily, ask me how I know...)

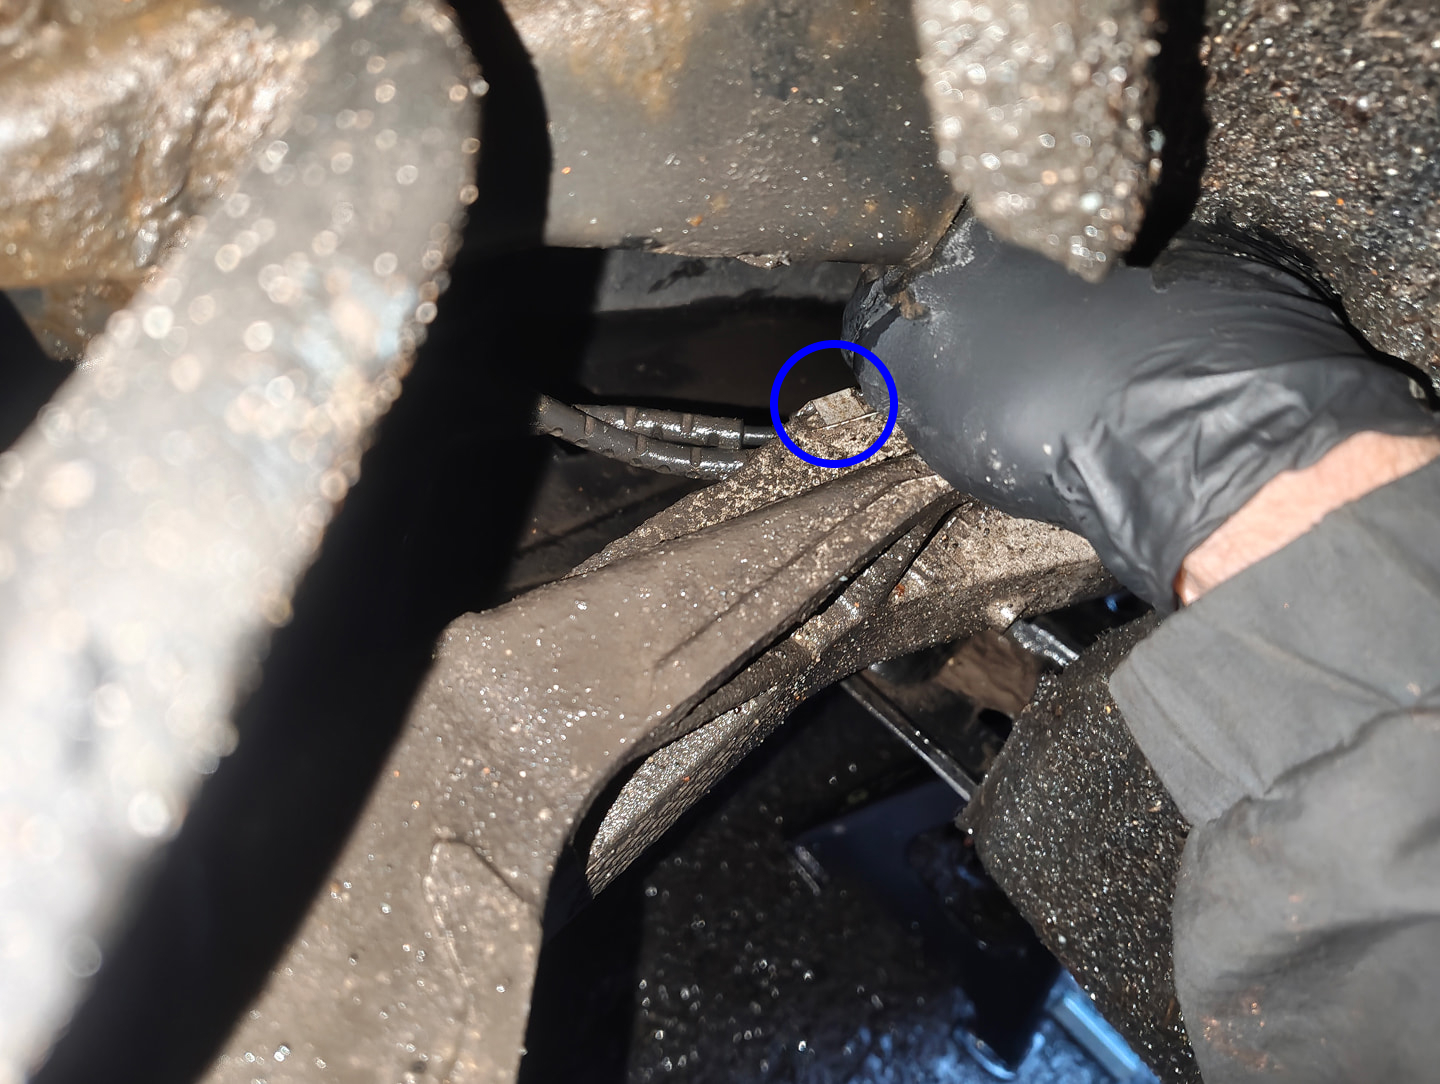
-
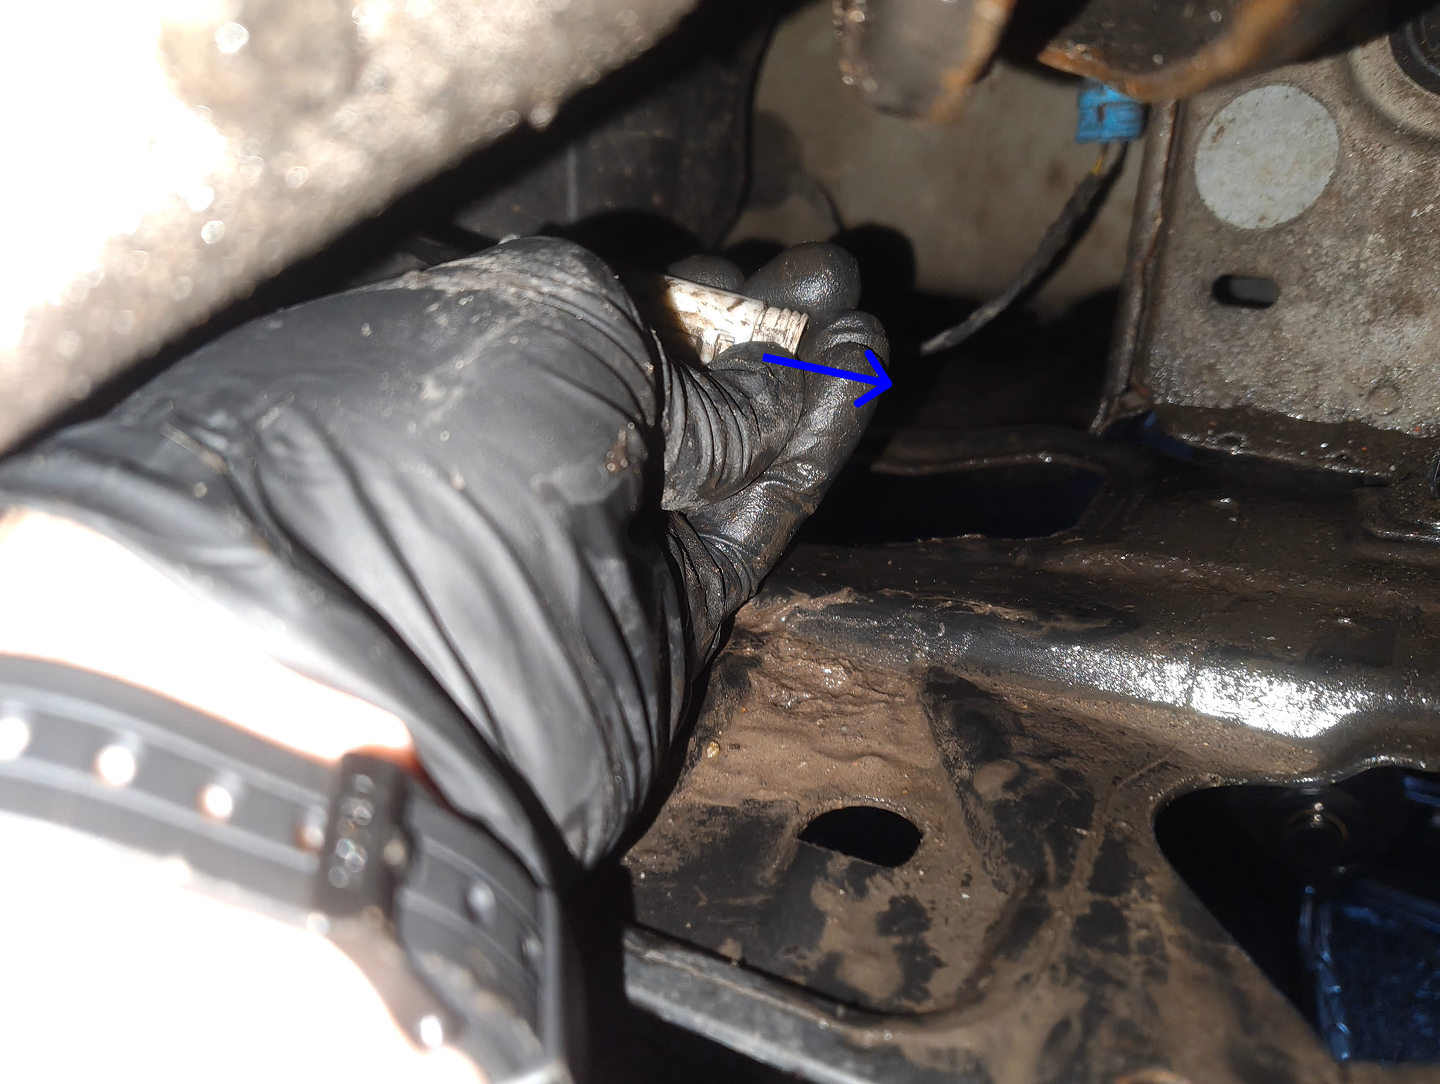
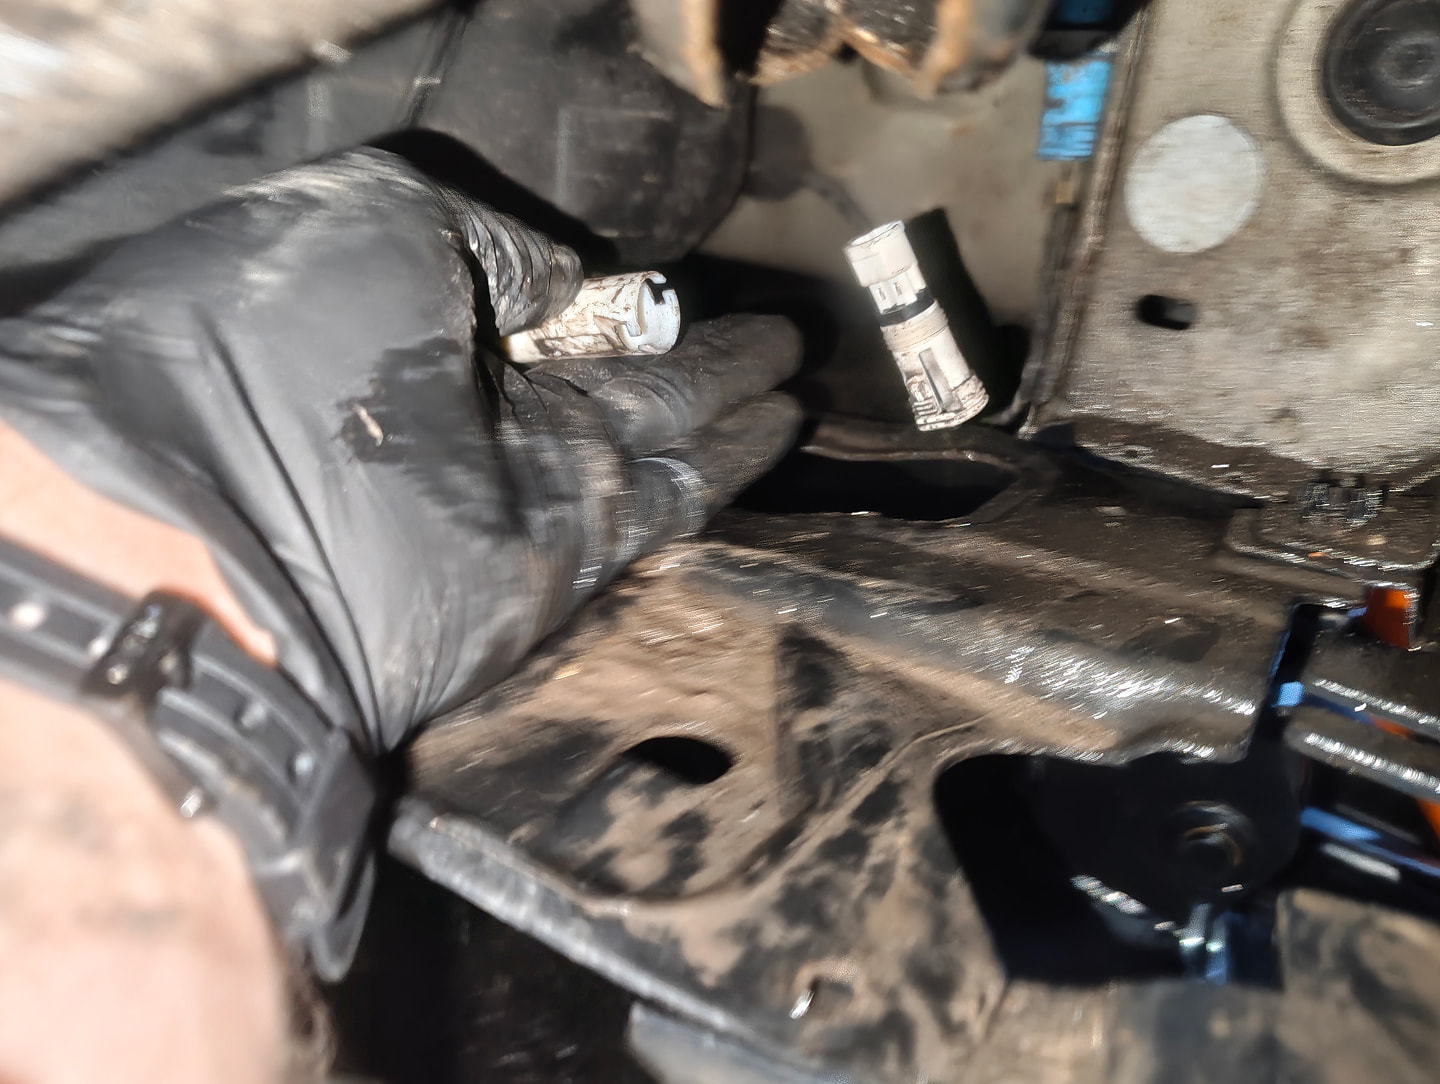
Finally, disconnect the sensor by pressing down on the textured tab and pulling outwards.
Once disconnected, you should now be able to pull out the entire brake pad sensor away from the car.
🏁 Conclusion
Reassembly is the reverse of removal. If installing a new sensor due to the previous one breaking, be sure to use a OBD scanner to reset the Rear brakes CBS after installation.